

Outdoor Fashion Photography: My Top Tips for Shooting on Location
Outdoor fashion photography tips from a pro: location permits, recces, moodboards, small teams and the Manfrotto ONE Photo tripod for faster shoots.

Written by Alice Greenfield, Shot by Alice.
When I first started photography, shooting outdoors was one of my favourite things to do. One of the biggest advantages of shooting on location is that, in many cases, you don’t have to hire a location. Over the last 15 years, I’ve learnt plenty of tips and tricks that have helped make my outdoor shoots run more smoothly, and I’d love to share some of them with you.
My Top Tips
Location permits: not every location is actually free
When choosing a location, always check whether you need permission to shoot there. The last thing you want is to arrive with a full team only to be told you can’t shoot, especially if you’ve planned your entire concept around that location.
Research permits in advance. Some locations are completely free to use, while others require a paid permit.
If you’re a student, you may find that some locations are more flexible if you have a valid student ID, but always check the requirements beforehand.
Building your team: less is more
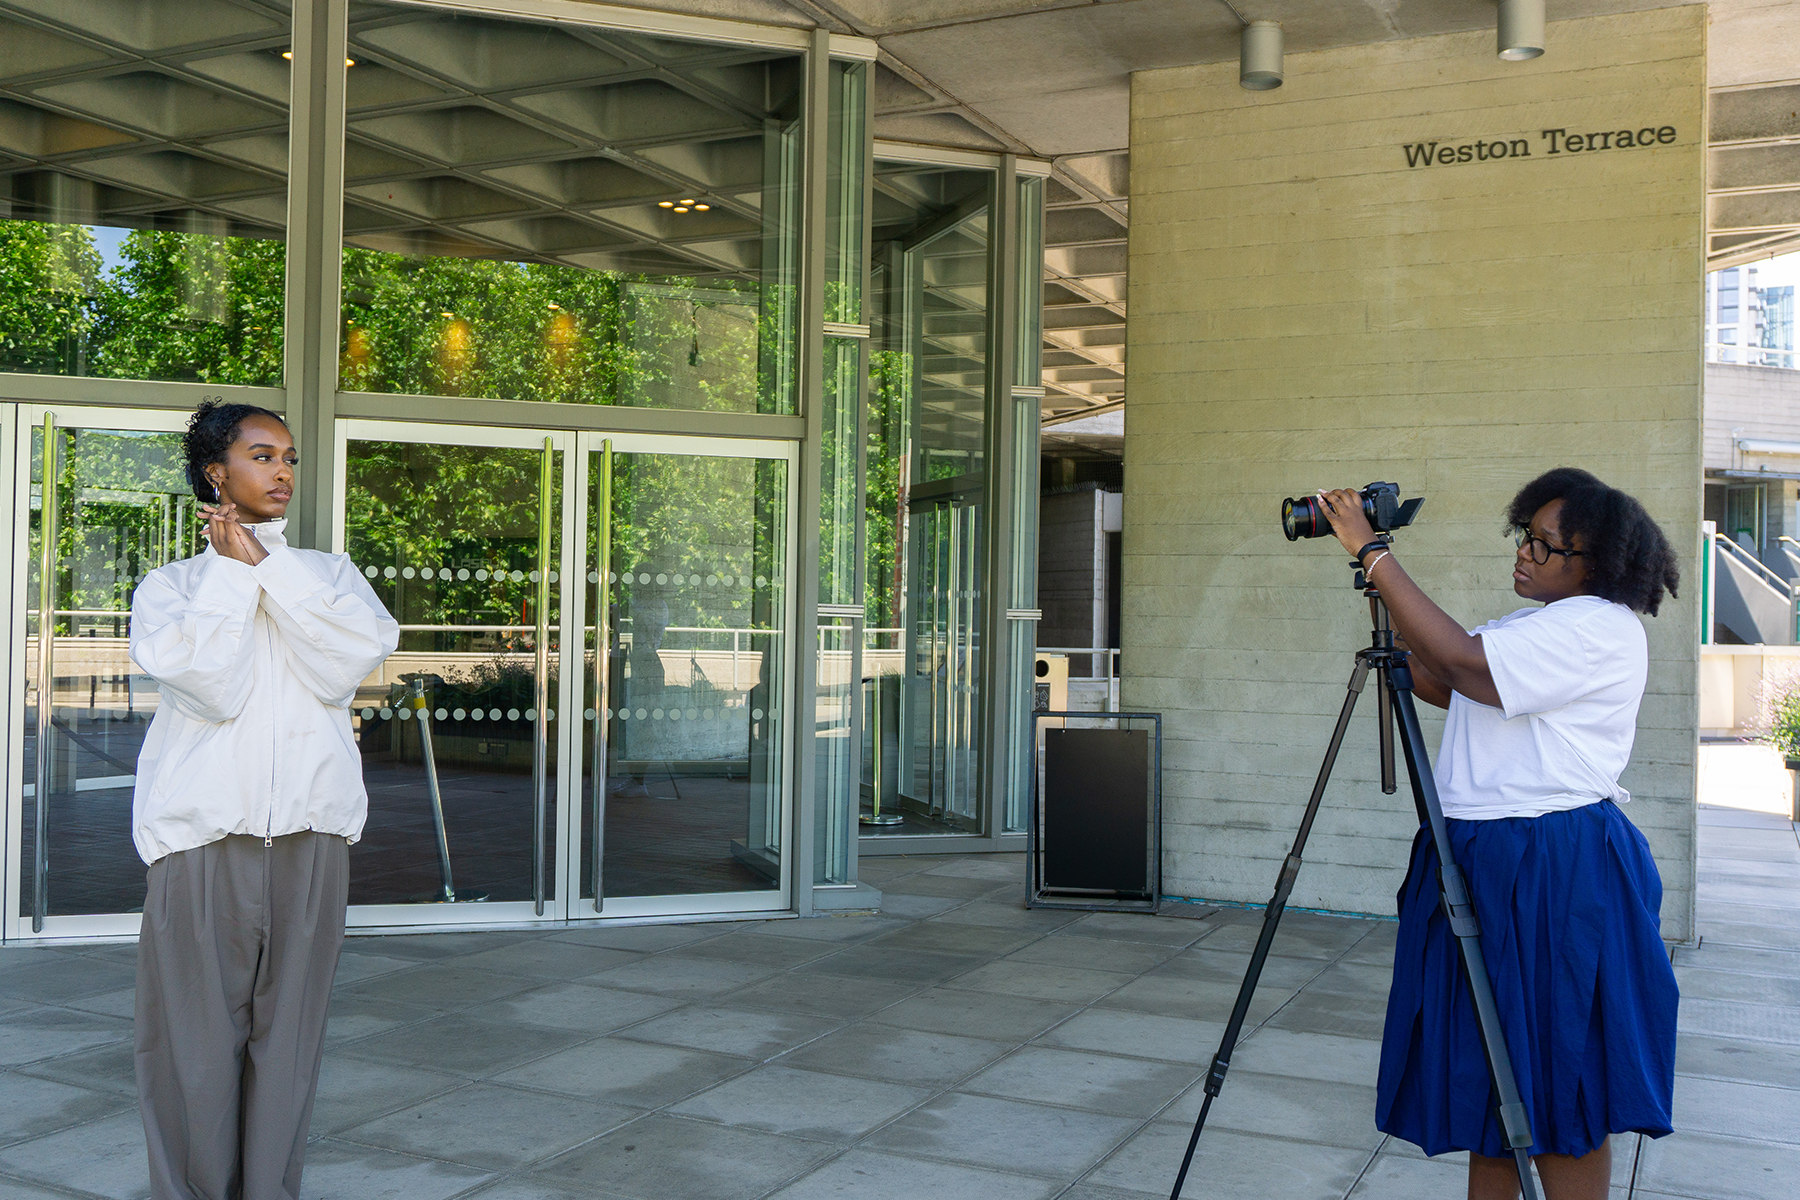
When shooting outdoors, I personally prefer to keep my team small. It makes it much easier to move between locations and stay flexible throughout the day.
For example, instead of hiring separate hair and makeup artists, consider finding someone who can do both.
When choosing a team, it’s also important to make sure everyone understands the creative direction. If your brief calls for bold, artistic makeup but your makeup artist specialises in soft, natural looks, they may not be the right fit for the project.
Always do a location recce
Before your shoot day, visit your chosen locations. Take photos on your phone, get familiar with the area and check where useful facilities such as toilets and cafés are located.
Doing this beforehand will save valuable time on the day and help avoid any unexpected surprises. If you’re shooting in London, here a few locations I’d recommend:
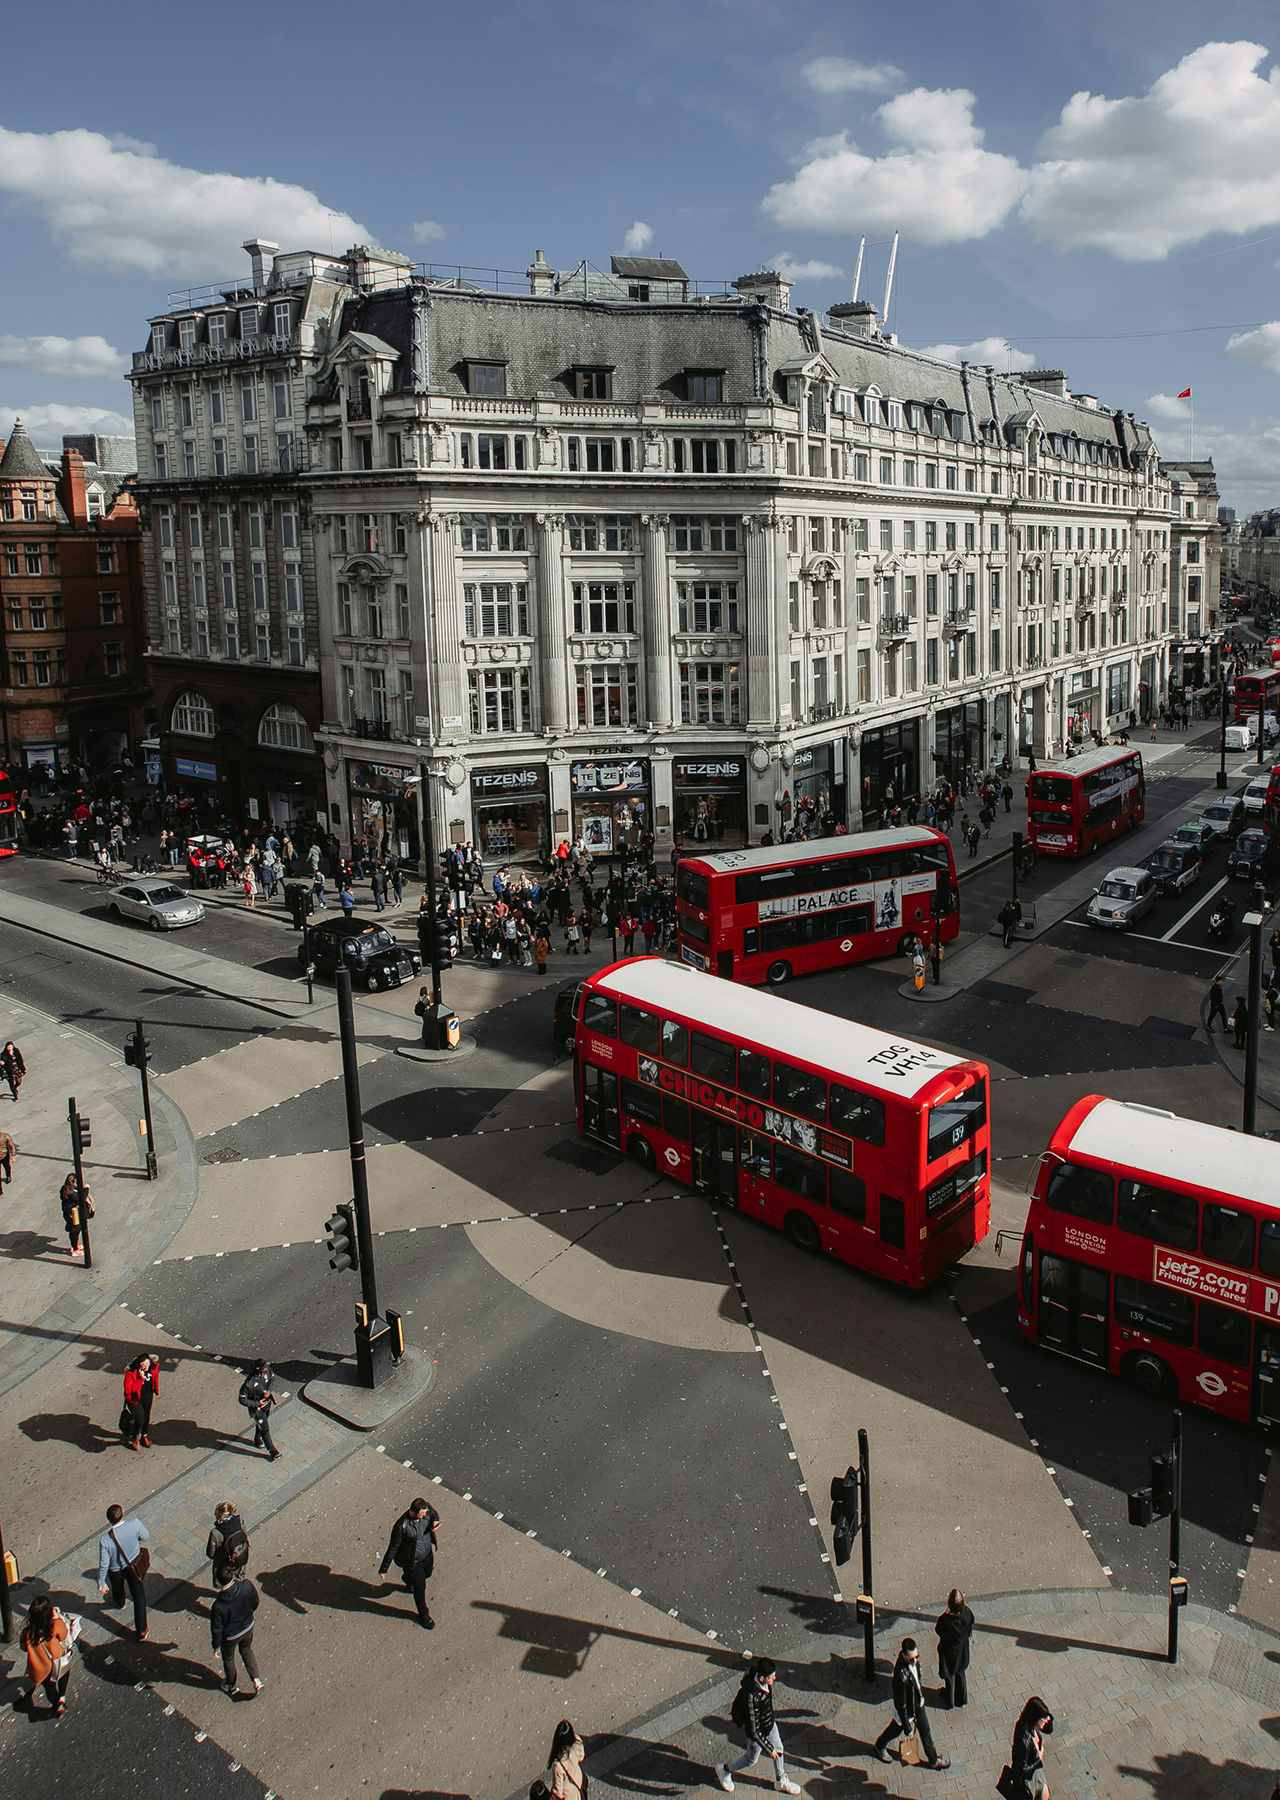
· Central London – Oxford Circus, Marble Arch and Victoria all offer a wide variety of architectural backdrops.
· Shoreditch and Brick Lane – Great locations for incorporating urban landscapes into your fashion photography.
· Barbican – One of my favourite locations. Some areas require permits, so always check the latest requirements before shooting.
· South Bank and Waterloo – A fantastic mix of architecture, textures and open spaces that provide plenty of opportunities for fashion photography.
Create a moodboard for your shoot
Having a moodboard allows you to maintain control of your creative vision and ensures the whole team understands the direction of the shoot. Sharing it in advance also helps collaborators prepare and decide whether the project is right for them.
I usually create mine using Pinterest because I can combine my own images with inspiration I’ve found online. If possible, print a few copies to have available on shoot day so everyone can refer back to the concept.

Putting the Tips into Practice
Shooting outdoors can be incredibly rewarding. I feel it gives you much more freedom than working in a studio. While you can create amazing sets indoors, outdoor locations often provide unique backdrops and environments that are already built for you.
Recently, I put together an outdoor fashion test shoot with a model I’ve worked with before. I brought together a small creative team: BTS photographer Andrea Darkoh, BTS videographer Emily from Ethico Studio, makeup artist Reme, and of course the model, Saida Jule. I also had Saida style herself, and she did an amazing job.

I created a moodboard using Pinterest and shared it with the team to see if they were interested in being part of the shoot. When creating test shoots, these are usually unpaid but collaborative projects, so it’s important that everyone involved benefits from the final images and content.
The concept was fashion meets architecture. I wanted to create shapes and lines with the model as the main focus, using angles such as bird’s-eye views while also shooting straight on and utilising the buildings around us to create structure within the images.
The outdoor fashion photography kit I used
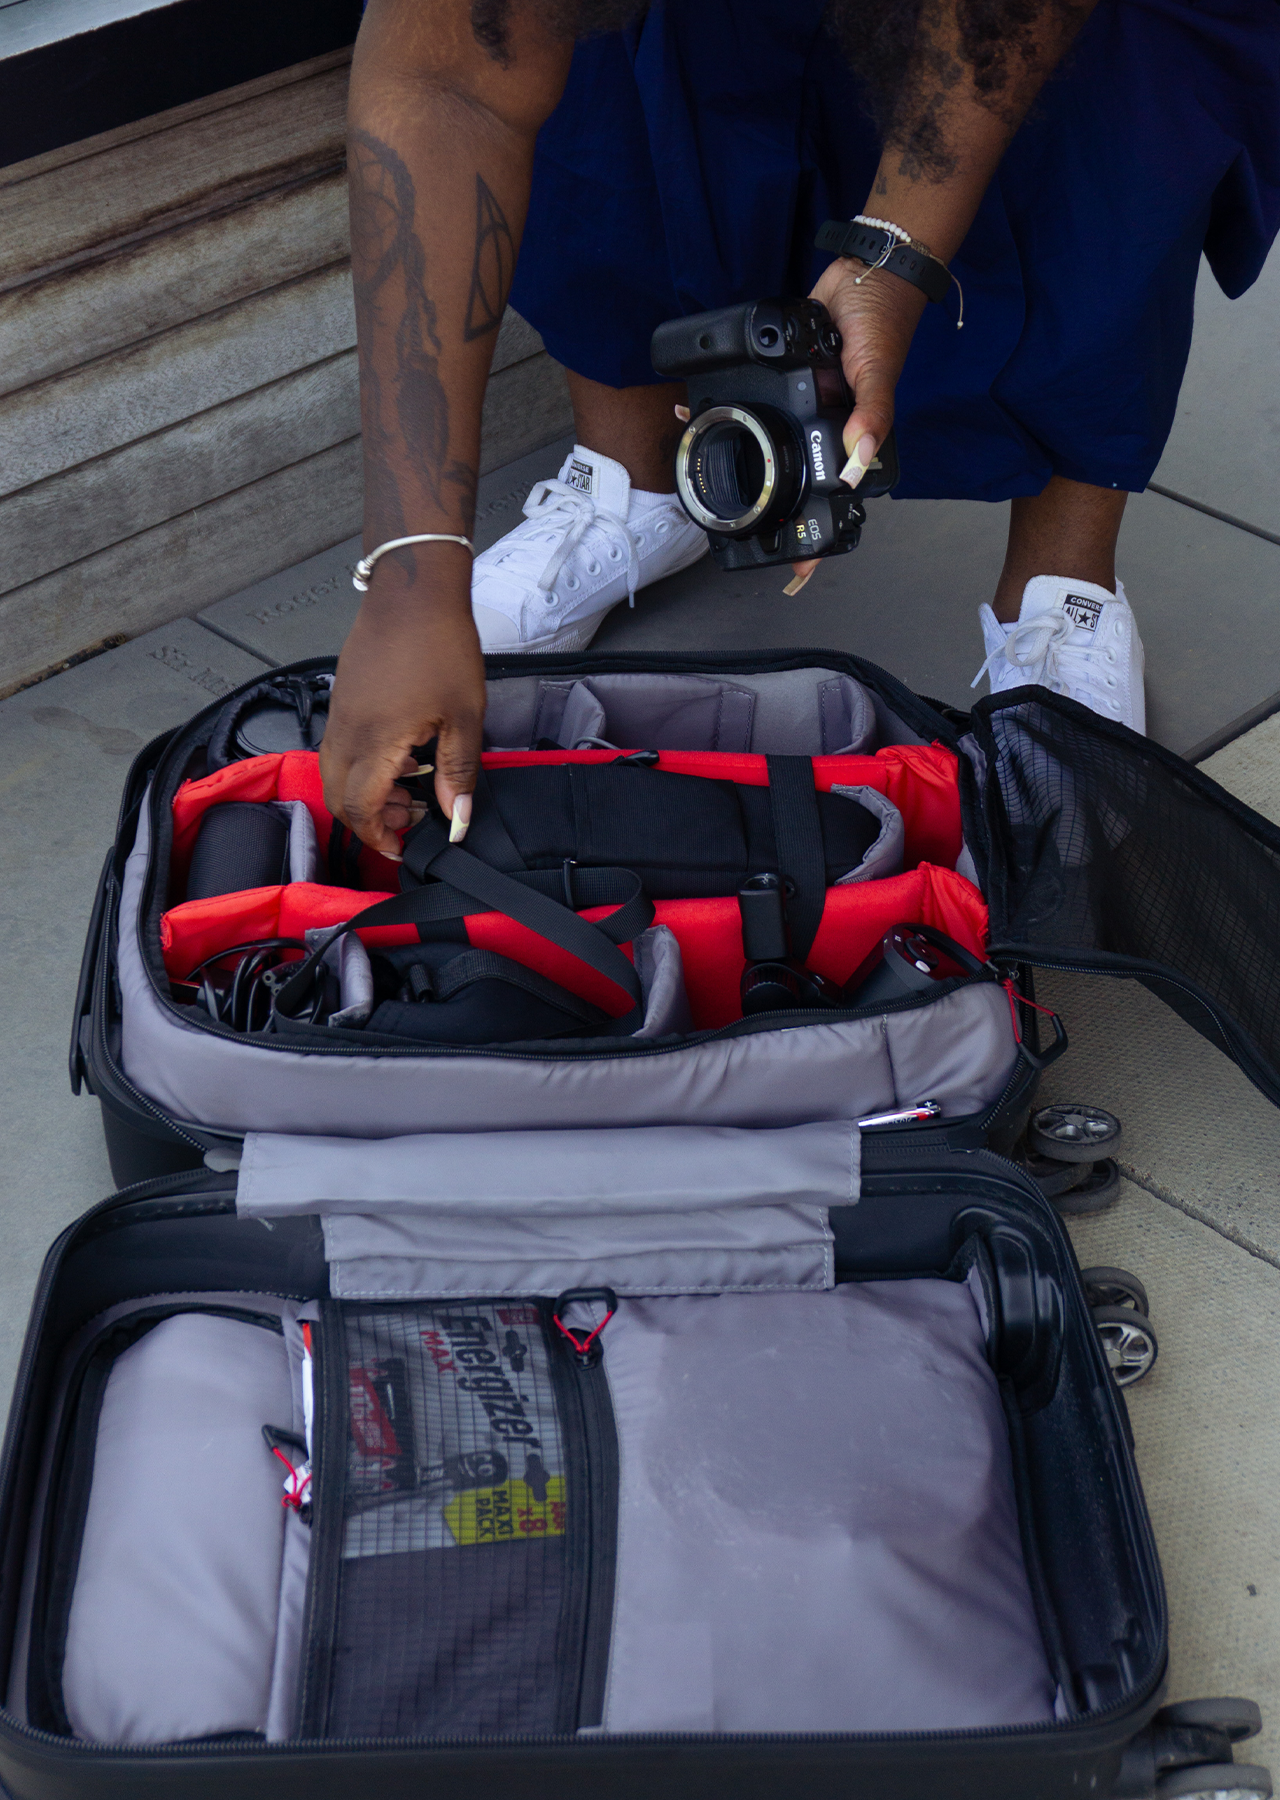
For this shoot, I used my Canon R5 paired with an EF 24-70mm f/2.8 lens. This is a great lens for outdoor fashion photography because it allows me to zoom in and out quickly, giving me the flexibility to move between different compositions without constantly changing lenses.
I feel that having a versatile zoom lens is key when shooting fashion outdoors.
In the past, I would usually shoot handheld. Recently, I noticed that my composition wasn’t always as consistent as I wanted it to be. While some adjustments can be made in post-production, I prefer my RAW files to be as close to perfect as possible with only minor corrections needed afterwards.
For this particular shoot, I tried the , and it completely changed the way I approached the day. For the first time, I finished a shoot without lower back pain.

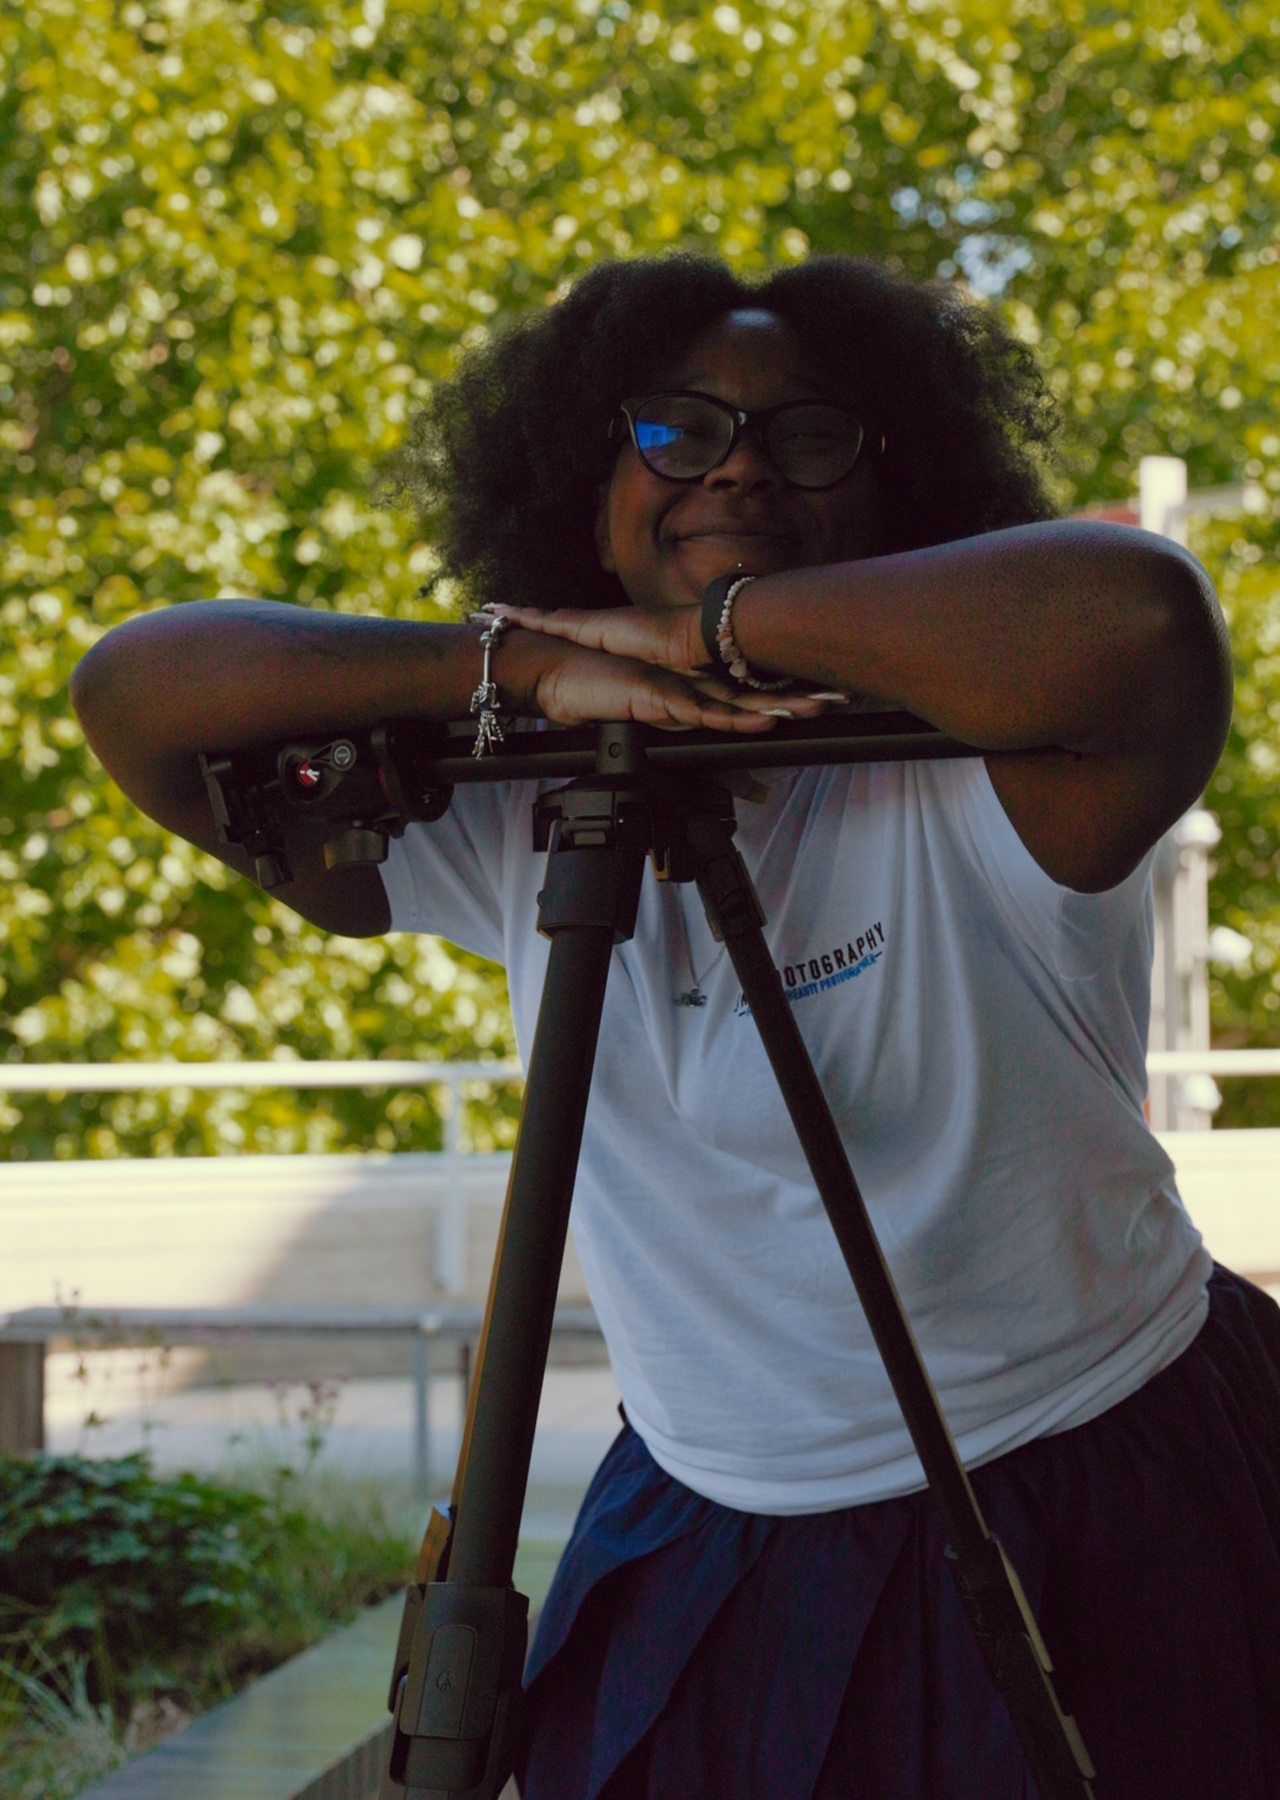

The ONE Photo’s Q90 mechanism allowed me to capture bird’s-eye angles without needing to lean over the edge of a building or put myself in an uncomfortable position. My camera was safely secured on the tripod, and the configurable centre column allowed me to adapt the setup depending on the location and the shot I wanted to achieve.
One of the things that had always stopped me from using a tripod on outdoor shoots was the weight of carrying one around and the amount of time it took to set up.
The solved both of those problems. It was genuinely ready to use in around 10 seconds. Instead of adjusting every leg individually, the XTEND system allowed me to extend all leg sections together, making setup much faster.
It was also easy to carry between locations and worked perfectly alongside my carry-on camera roller bag.
I love equipment that is clearly designed with photographers in mind because it makes my shooting life easier and allows me to concentrate on the most important part: getting the perfect shot.
Shoot day: three looks, three locations in London
We photographed three different looks across three locations around the South Bank and Waterloo area.
For the first look, I wanted to use the sunlight to my advantage. I positioned Saida in the shade while facing towards the sunlight, creating soft and flattering light. Having my camera on the gave me more freedom with the angles I wanted to create, from full-body images to tighter portraits, while maintaining consistent composition.

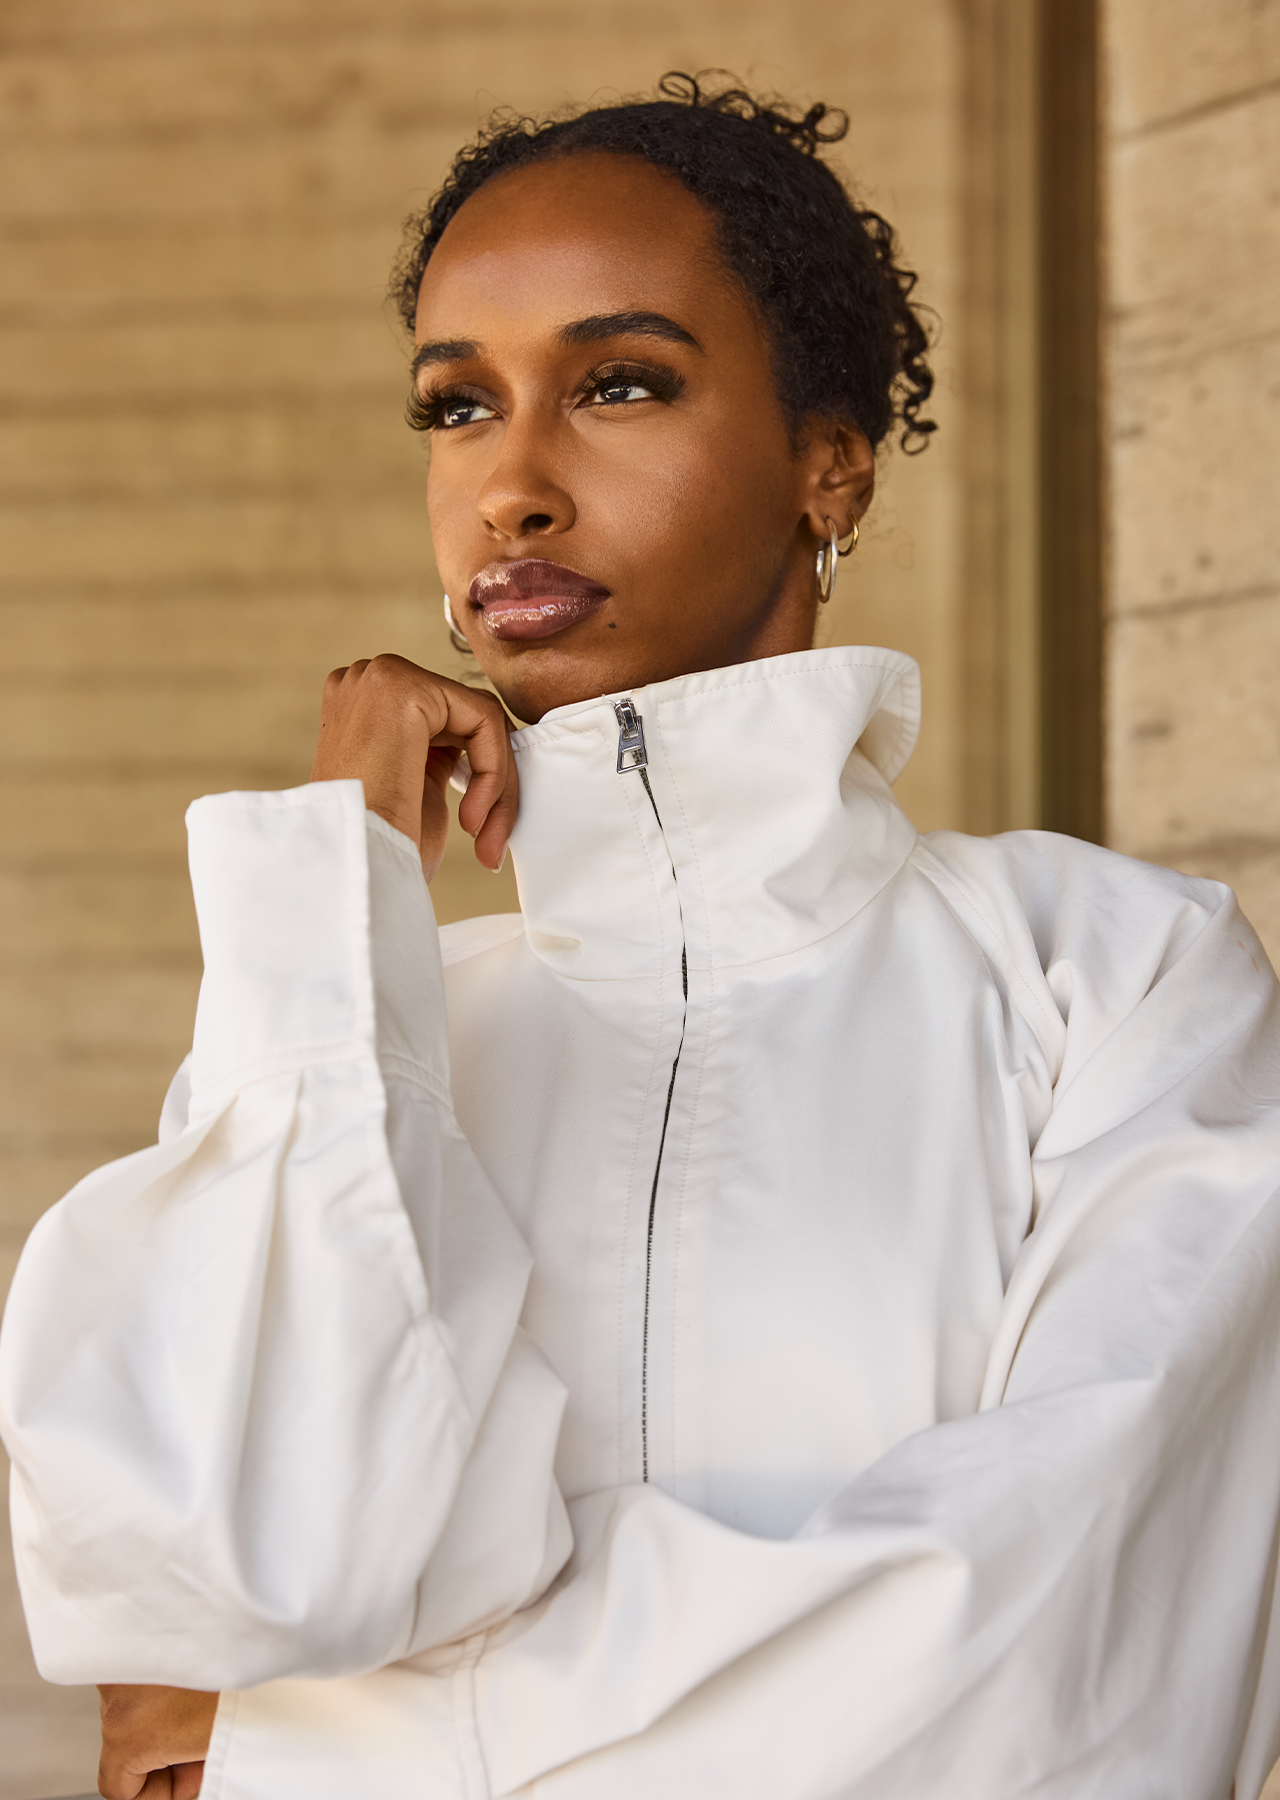
The second look was probably my favourite because of the angles I was able to capture. Bird’s-eye shots from above a ledge are normally challenging for me because I’m always conscious of dropping my camera. However, using the allowed me to create those perspectives while keeping my camera secure, maintaining composition and avoiding unnecessary strain. By extending the centre column, I could achieve the overhead angles I wanted without having to lean across or put myself in an awkward position.


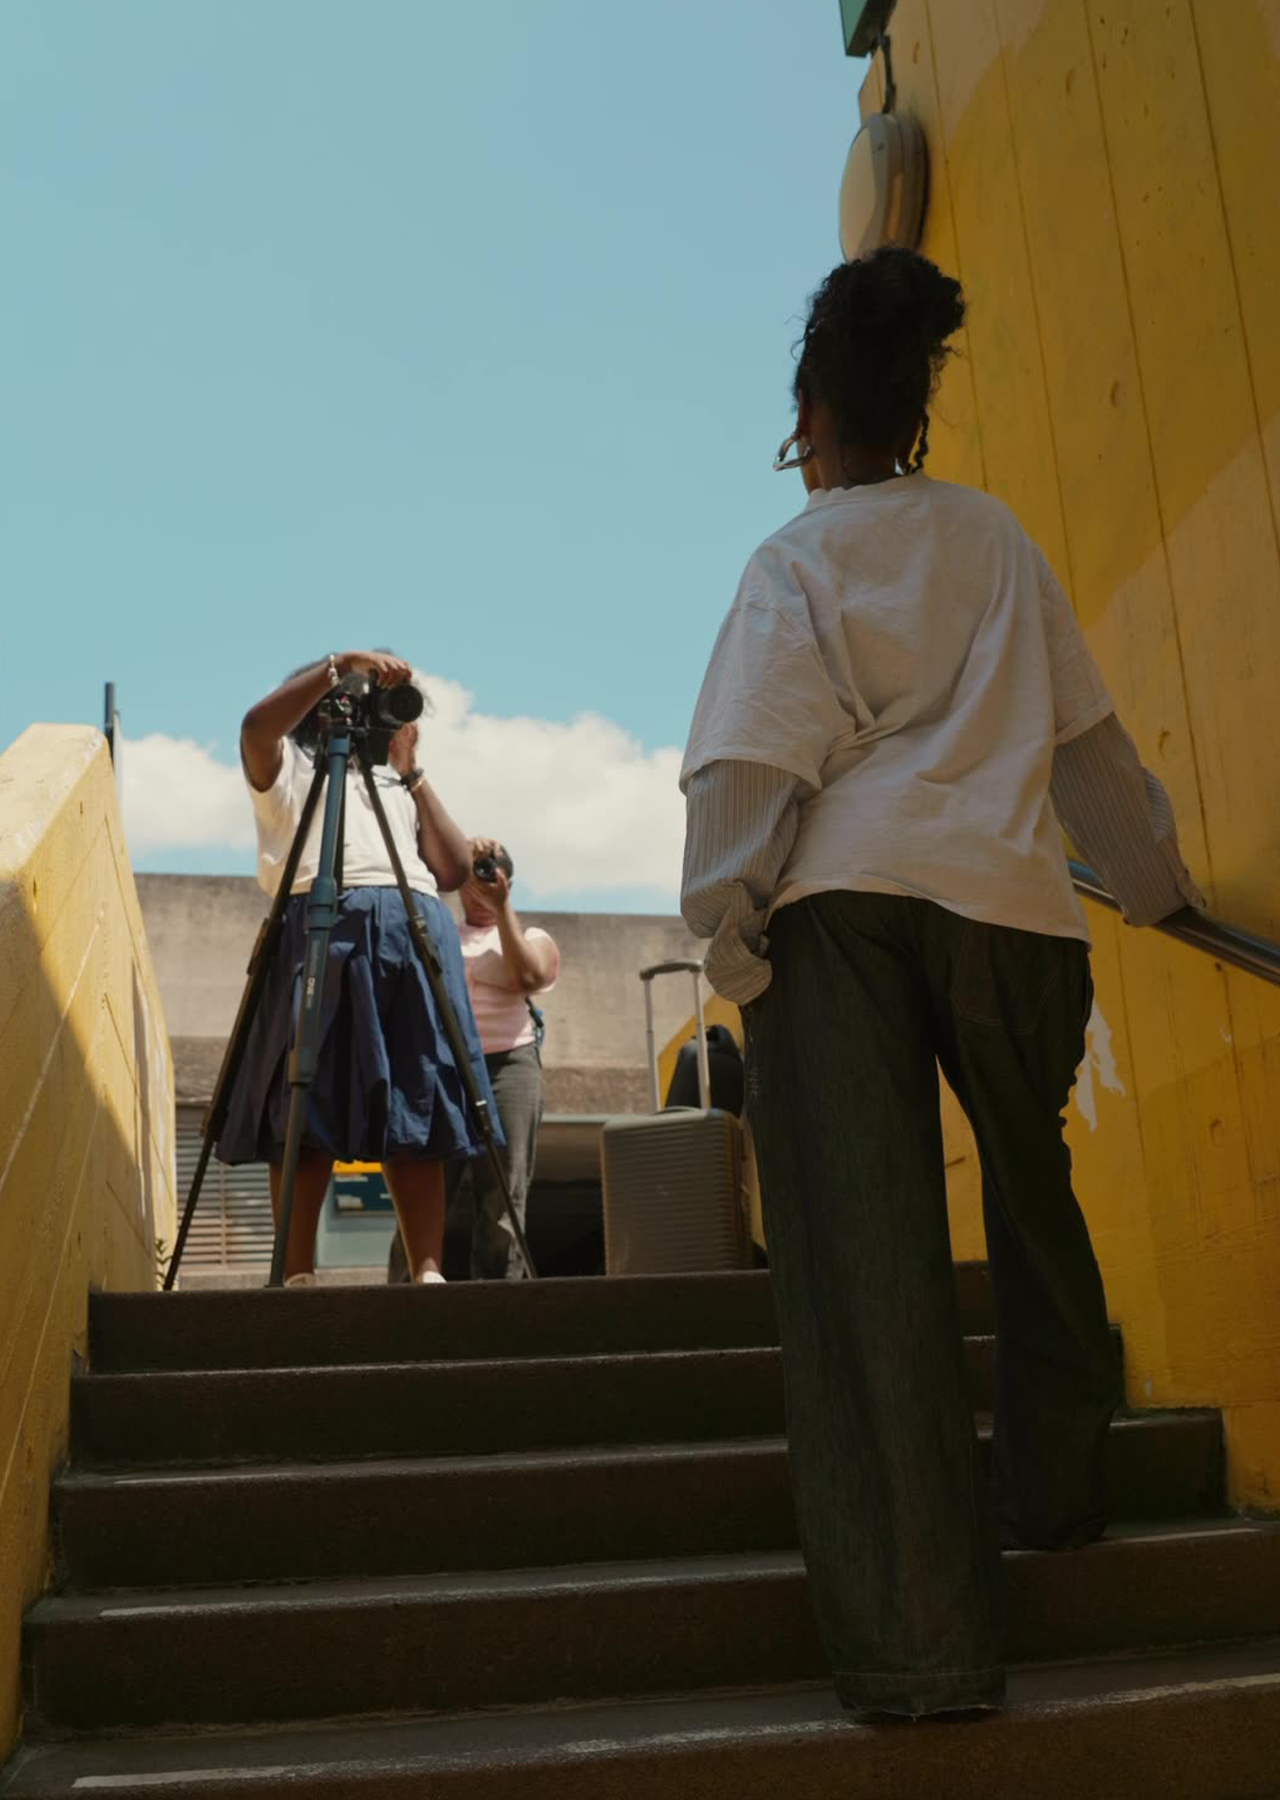
The final look was a lot of fun because we discovered a set of bright yellow stairs that added a welcome pop of colour to the series. As the outfits were mostly neutral tones, I knew the location would provide the perfect contrast and bring extra energy to the images.
Moving between locations and setting up was effortless thanks to the XTEND leg system. When I'm shooting on location, I'm constantly changing perspectives and adjusting my composition, so being able to deploy the tripod in seconds meant I could spend less time setting up and more time creating.
By mixing wide shots with tighter details, I was able to complete the visual story of the shoot and capture the character and atmosphere of Waterloo.

Final thoughts on shooting fashion outdoors
Outdoor fashion photography is all about adapting to your surroundings and making the most of the locations available to you. Good preparation, the right team and reliable equipment allow you to focus less on the logistics and more on being creative.
For this shoot, the gave me the confidence to work faster, experiment with new angles and stay comfortable throughout the day.
From capturing overhead compositions to moving quickly between locations, it became a natural part of my workflow rather than something I had to think about.
It’s definitely earned a place in my outdoor kit, and I’ll be taking it with me on many more shoots.
