


How to shoot cocktail videos
When it comes to making crisp, decadent food and drink videos, the devil truly is in the details. Those details? Proper lighting and production design. A set up which has been well thought through can make all the difference between a mediocre scene and a convincing one. It can create the kind of scene which envelops your product in a mood and draws the viewer in. And that’s what you want, right?
Whether you’re shooting technology or burgers, building a world around your product is all part of the creative process. At Syrp Lab, it’s one of our favourite parts - it adds spice to your filmmaking and seriously elevates the end result.
So, we thought we’d run you through our scene-building, beverage-shooting process, using cocktails as our product. You may as well have something fun to drink when you’re done, after all.
We’ll take you through five different cocktails in five different scenes and share some of our favourite lighting and production tips along the way. These should be helpful no matter what gear you’ve got on hand, and whether you’re shooting video or stills.
Alright, let’s shake it up.
Scene One: The Retro 60’s Motel.
Close your eyes and imagine yourself poolside at an American roadside motel in the 60’s. The colours are bright, the vibe is shady, and there’s definitely something clandestine going on in the background. Alright, open your eyes: time to create the mood. We’ll head indoors for this one, though.
Props.
We thought we’d have a bit of fun and go for full nostalgic vibes. We used a panelled background, so we chose some props to compliment it. A burnt orange pleather table did the trick, along with some old style keys and a few other vintage knick knacks.
Lighting.
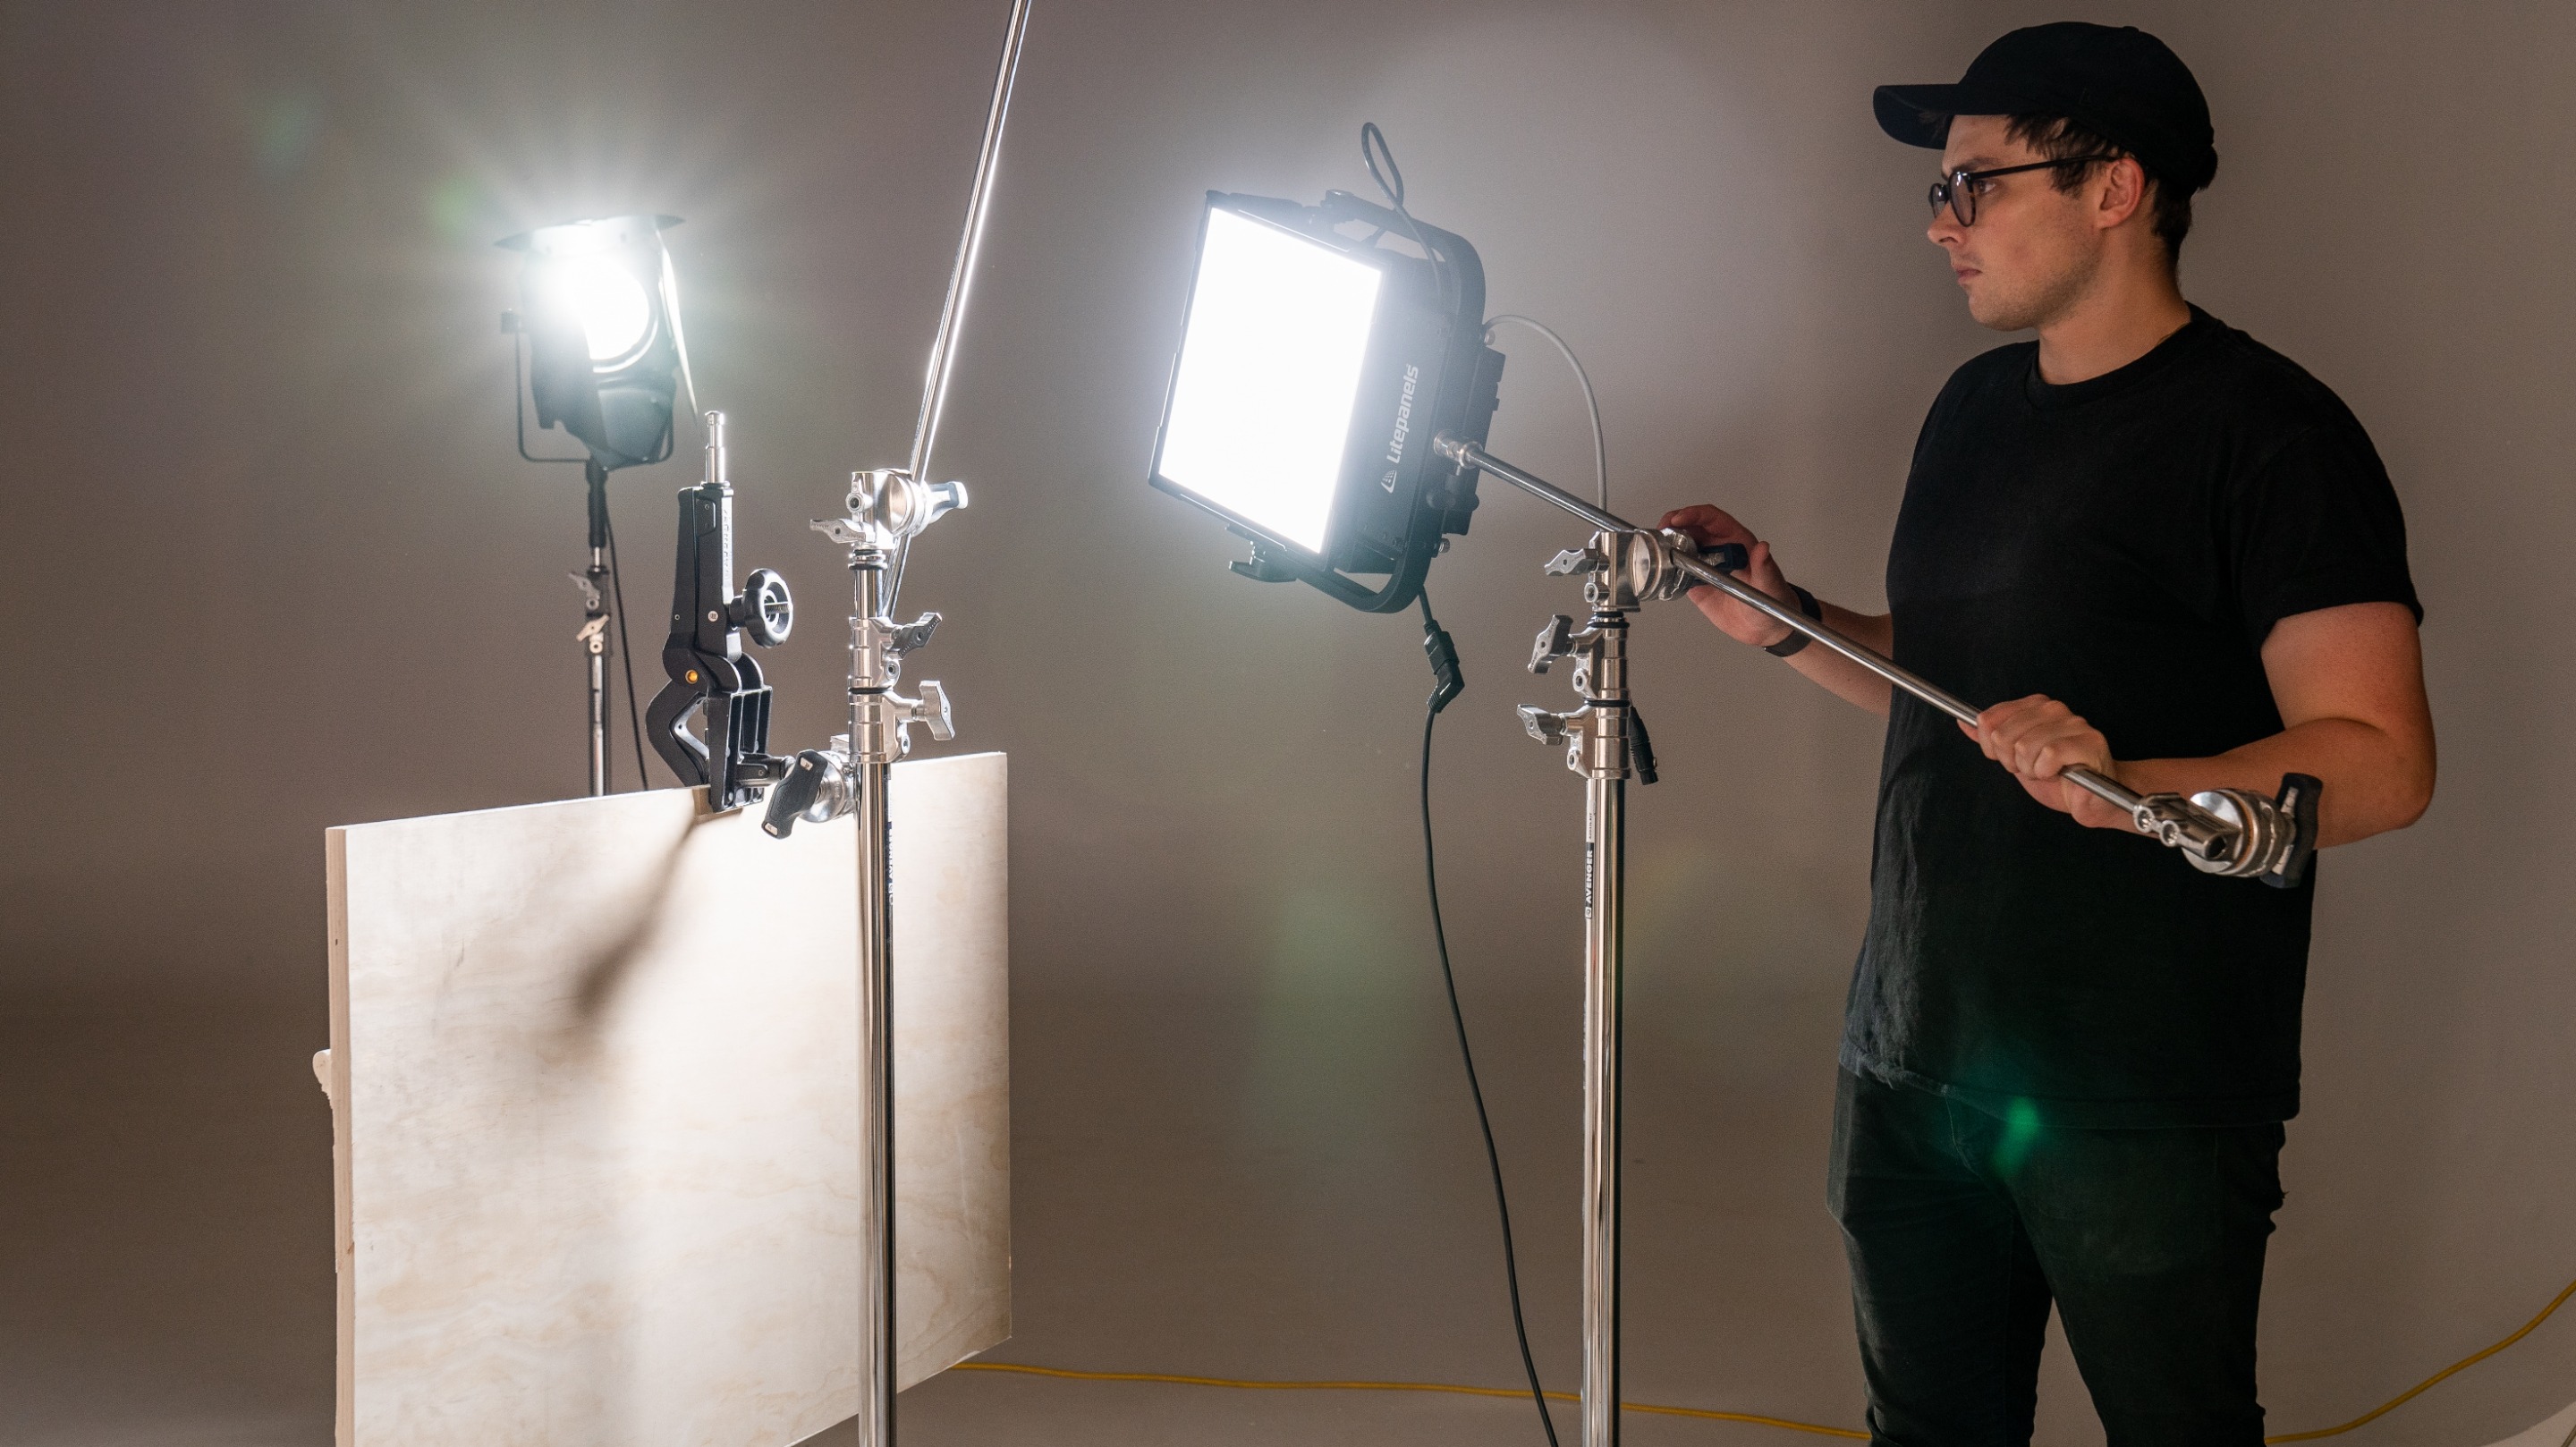
Okay, so we were looking for one sharp, directional shadow here. To do this, it was important to use just one main light source: we used Sola 6 + Fresnels from Litepanels. This gave us the focused beam of light we were after. You can use to block any spillover, but we actually used barn doors to shape our beam.
Though we only wanted one main light source, we used multiple Fresnels to achieve this. Our main one did most of the work, shining from high up and at a decent distance from the product to get a long shadow.
We positioned a second Fresnel to the left to shine directly through our cocktail. This would give us the warm glow we were looking for. Then, we used a rim light from the right to bring some sparkle to the ice on top. To achieve the kind of precise control and cinematic look we were after, we used a Gemini 1x1 panel for this part.
Last but not least, we lit up our panel background with a third Fresnel - this would allow us to control the brightness independently and also give us a soft radial gradient.
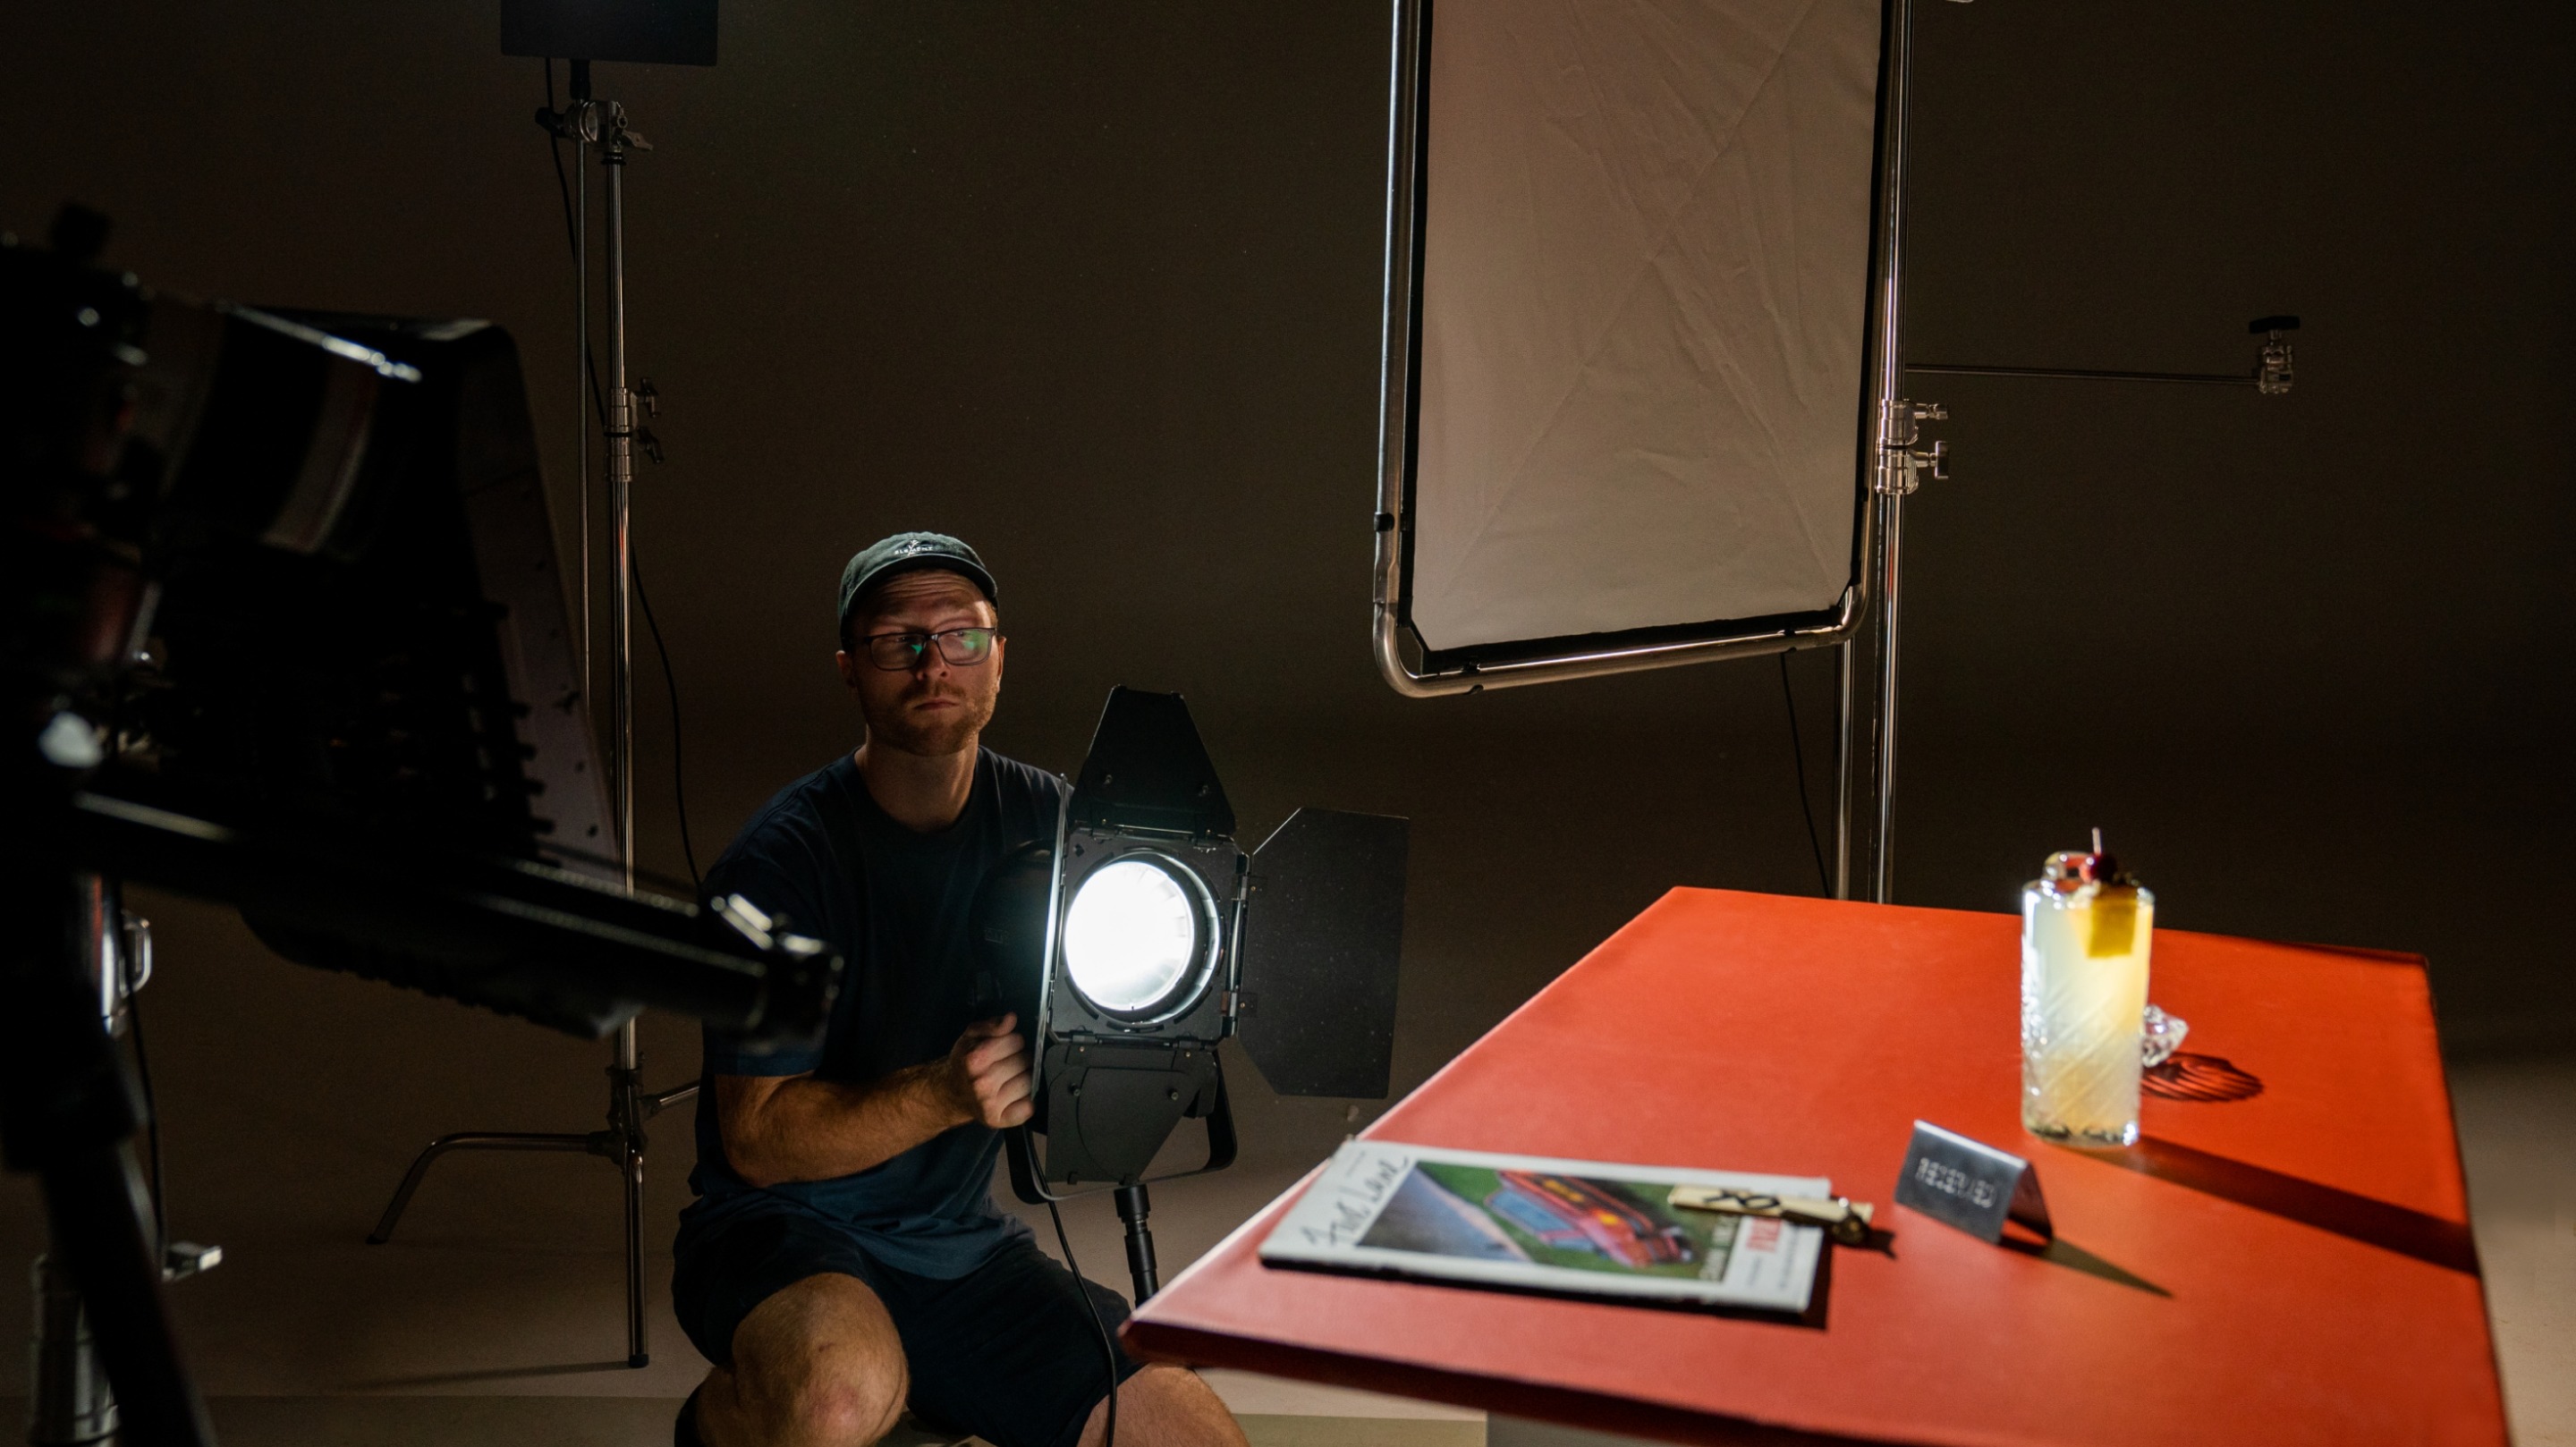
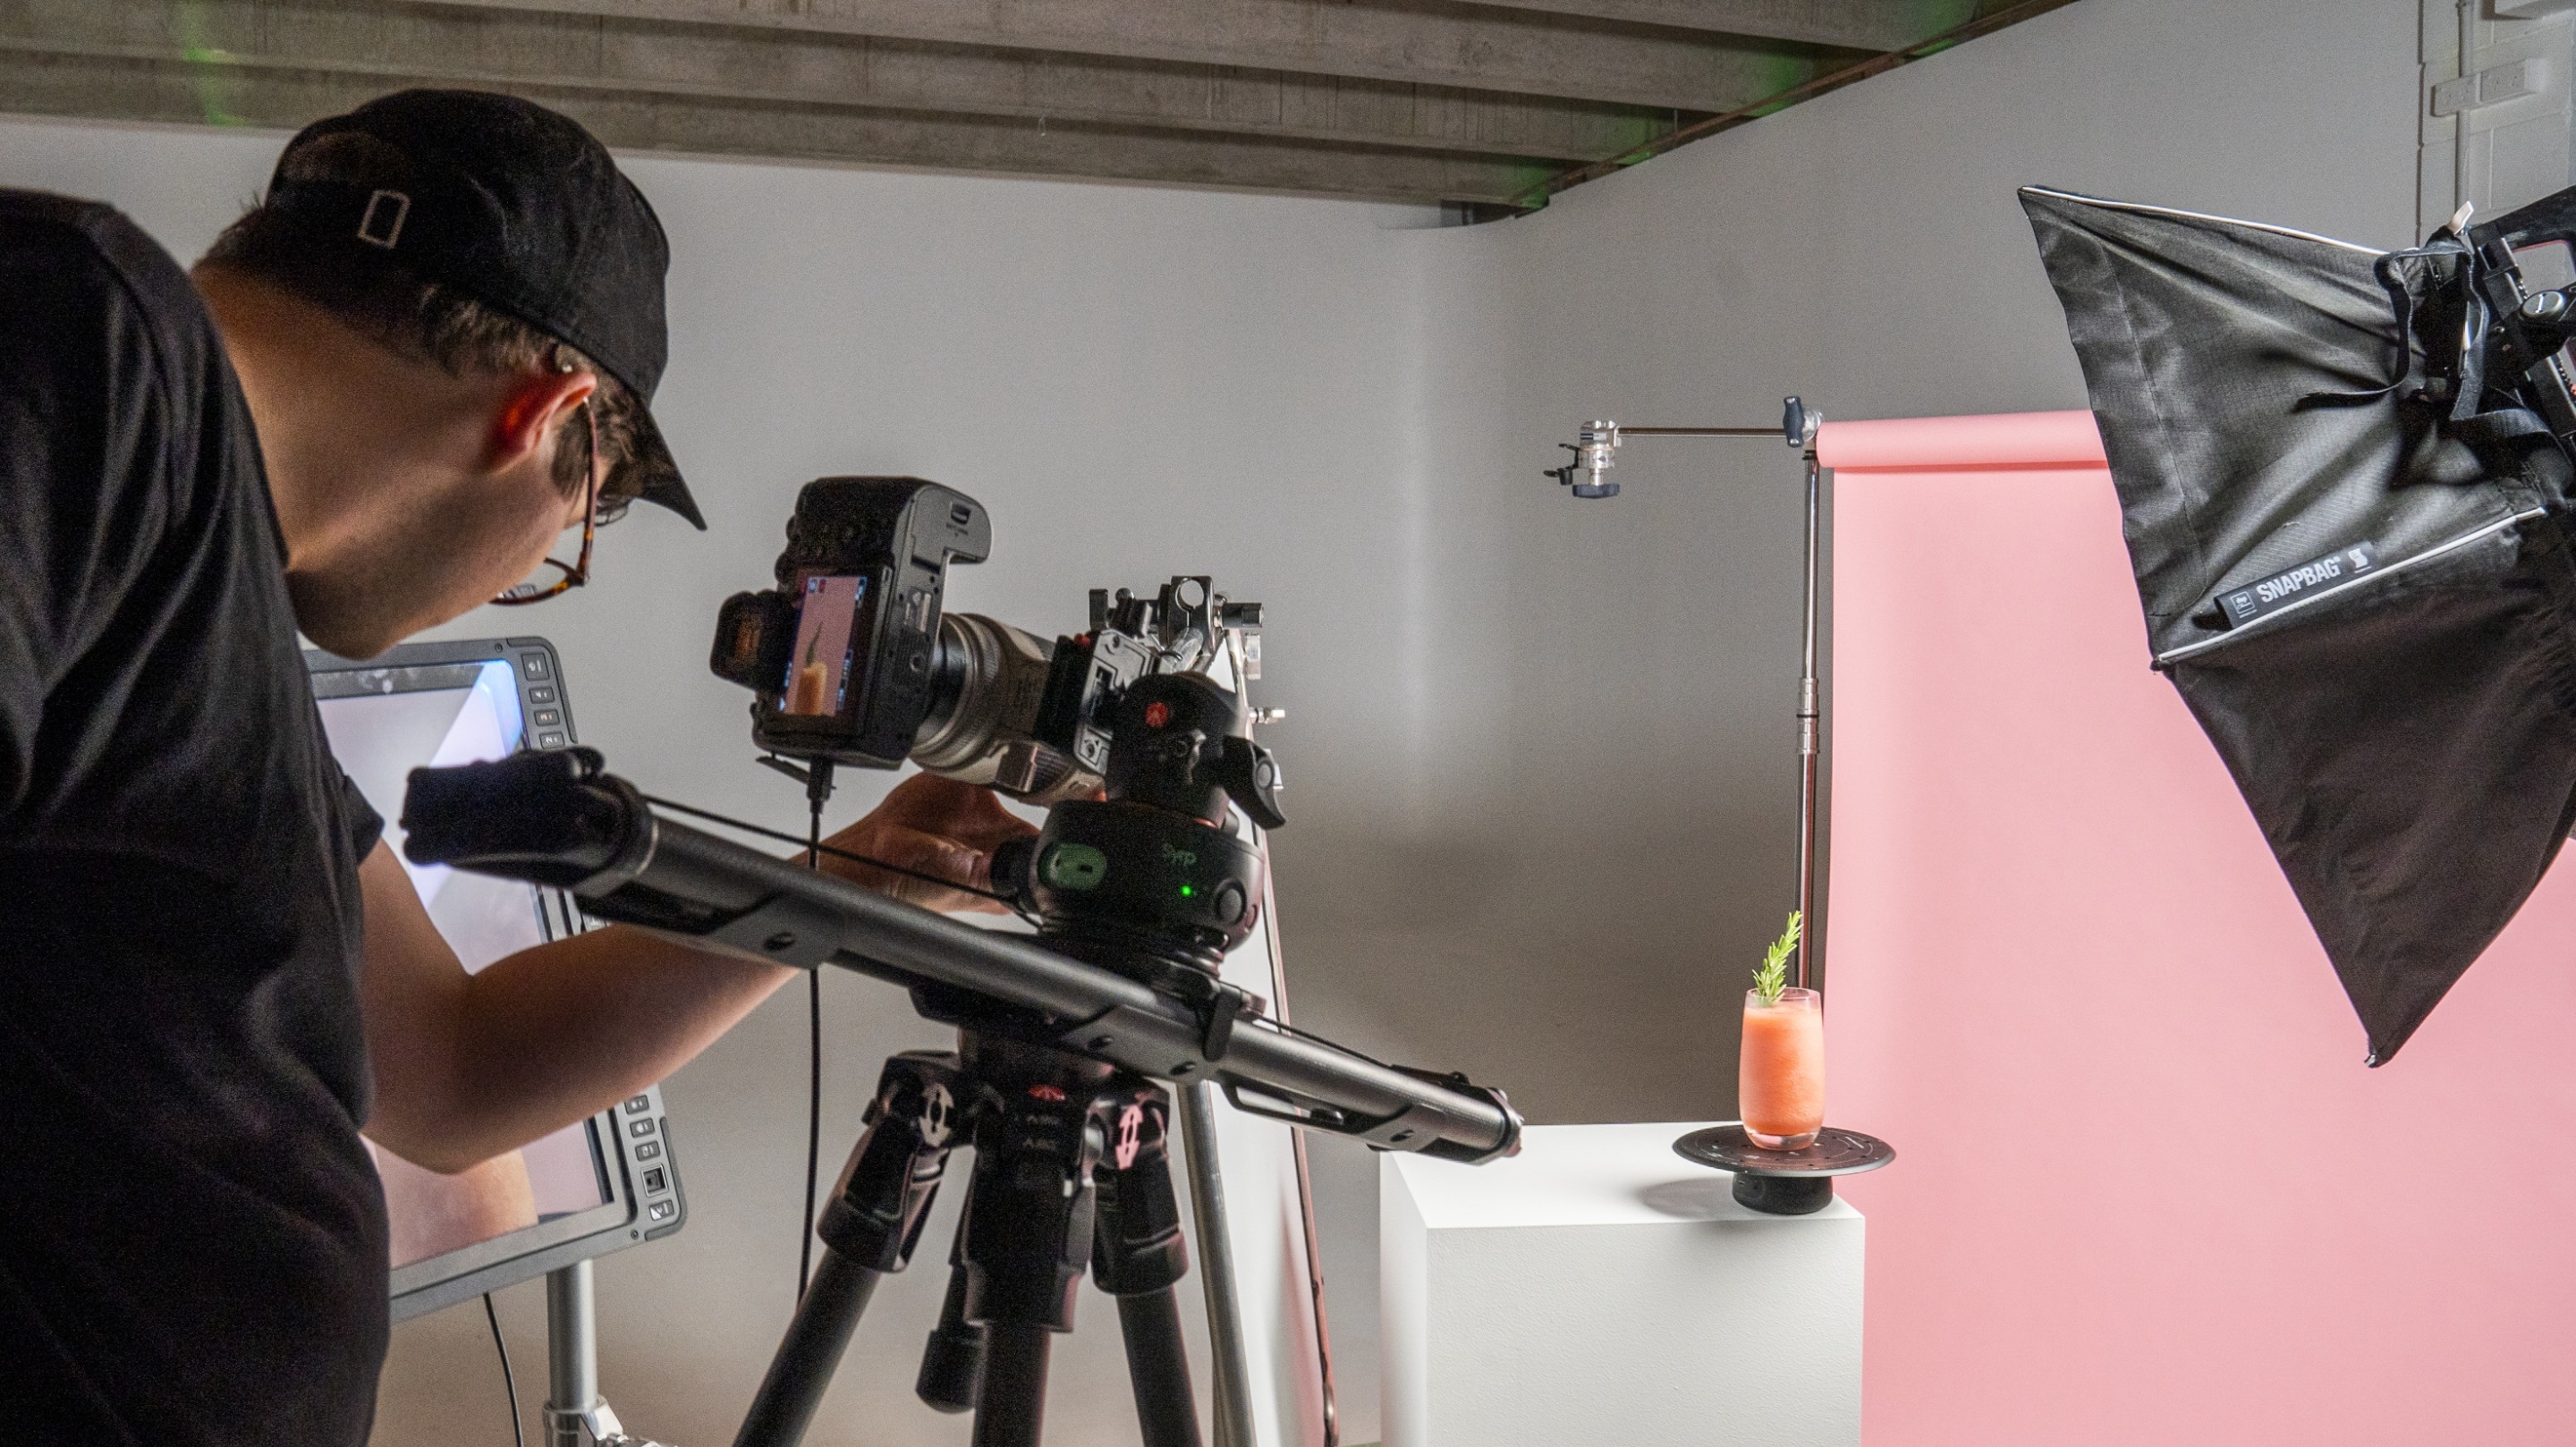
Scene Two: The Food Magazine.
Think New York Times Food. We were going for a simple set up to really emphasise the product, and a really good way to get this effect is by using large geometric objects and soft diffused lighting.
Props.
We used a plinth and a roll of Savage background paper - in coral, to be exact. It also pays to do a dry run of your shot first with just a glass and a piece of paper, as your cocktail’s going to melt pretty quick and you want to have your process dialled before it does.
Lighting
Because you want an even gradient of soft lighting across the background paper, you’re going to start your lighting setup with a bit of maths: the inverse square law, to be exact. If maths isn’t your thing, don’t be alarmed. It basically states that the further a light source from the object, the more gradual the fall off will be. So, you want your light far away and above your product.
Because we were shooting in macro for this one, we needed to bring our f-stop to around 13. That’s because using a low f-stop at this range leads to a super narrow depth of field, and we wanted our whole product in focus. This is different to, say, portraits or outdoor shooting, when you want a shallow depth of field to create contrast between the subject and the background.
We just used a couple of Gemini 1x1 light panels to support the simple vibe. They’re easy to use and allow for fine control, so they were just the tool for the job. We used the first to light our background from above, which gave us a perfect soft glow. We used the second to light the plinth and the drink, using it with a Softbox to get the highlights and shadows we were after.
We decided not to light it from the front, as although we were going for a low contrast ratio, we didn’t want the shot to be totally washed out.
Lastly, we wanted to add just a little subtle movement to this shot, so we set up our camera for a pull-out shot using and the supported by a .
Scene Three: The Sci-Fi Shot.
This scene was where we got to do some production design flexing. We wanted mysterious, futuristic feels for this cocktail shot, and to get this we got a little fancy.
Props and design.
To create some serious sci-fi vibes, we went for a black background and black perspex under the product to reflect it back. We used a
as our backdrop. For the perspex, it’s important to use a new, unscratched sheet with the protective film having been freshly pulled off. Any scratches or even dust will stick out like a sore thumb.
Now for the ice. We wanted it perfect, so we used specialty clear ice, which is frozen from the bottom so that it’s completely clear of air bubbles. It might be a little harder to find than fake ice, but trust us, you want to avoid the fake stuff. We sourced our ice from the Bar Society, and you should be able to find it at your local specialty supplier.
Lighting.
This scene called for really good backlighting. We decided to go with one single source, above and behind our cocktail, using our trusty Gemini 1x1 panel mounted on a . You’re aiming to light up the glass, but avoid any reflection in the perspex.
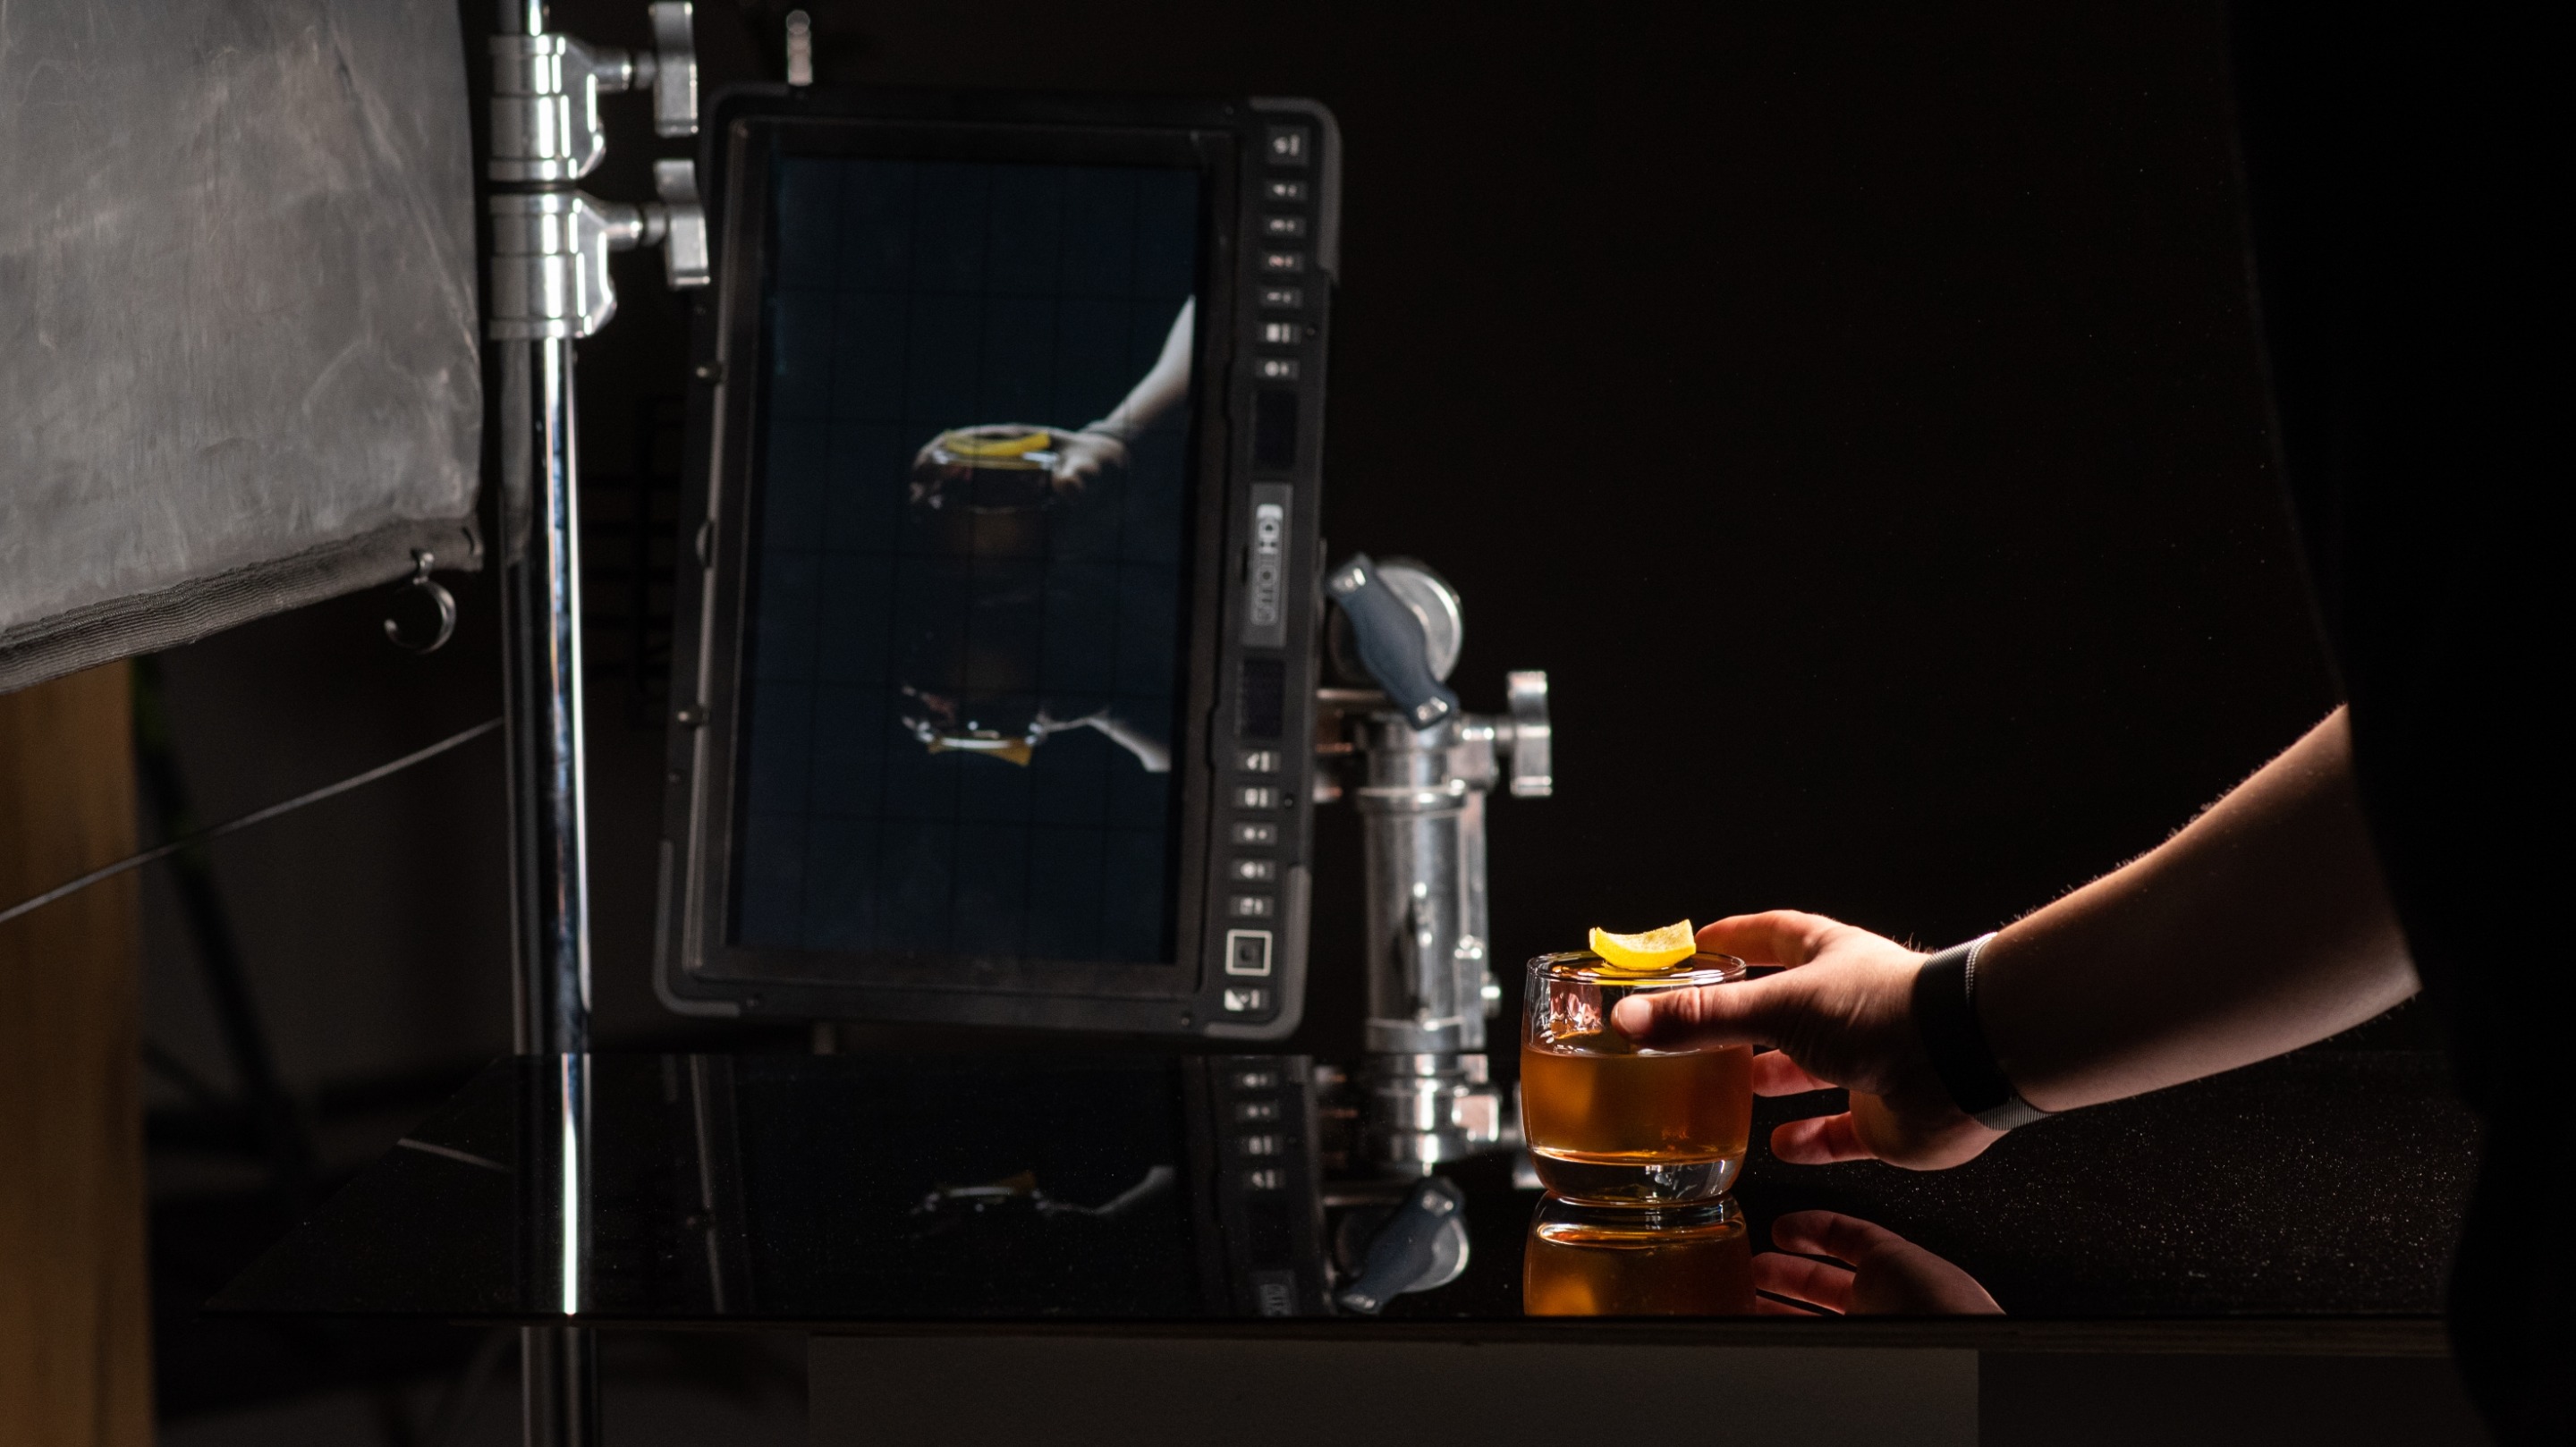
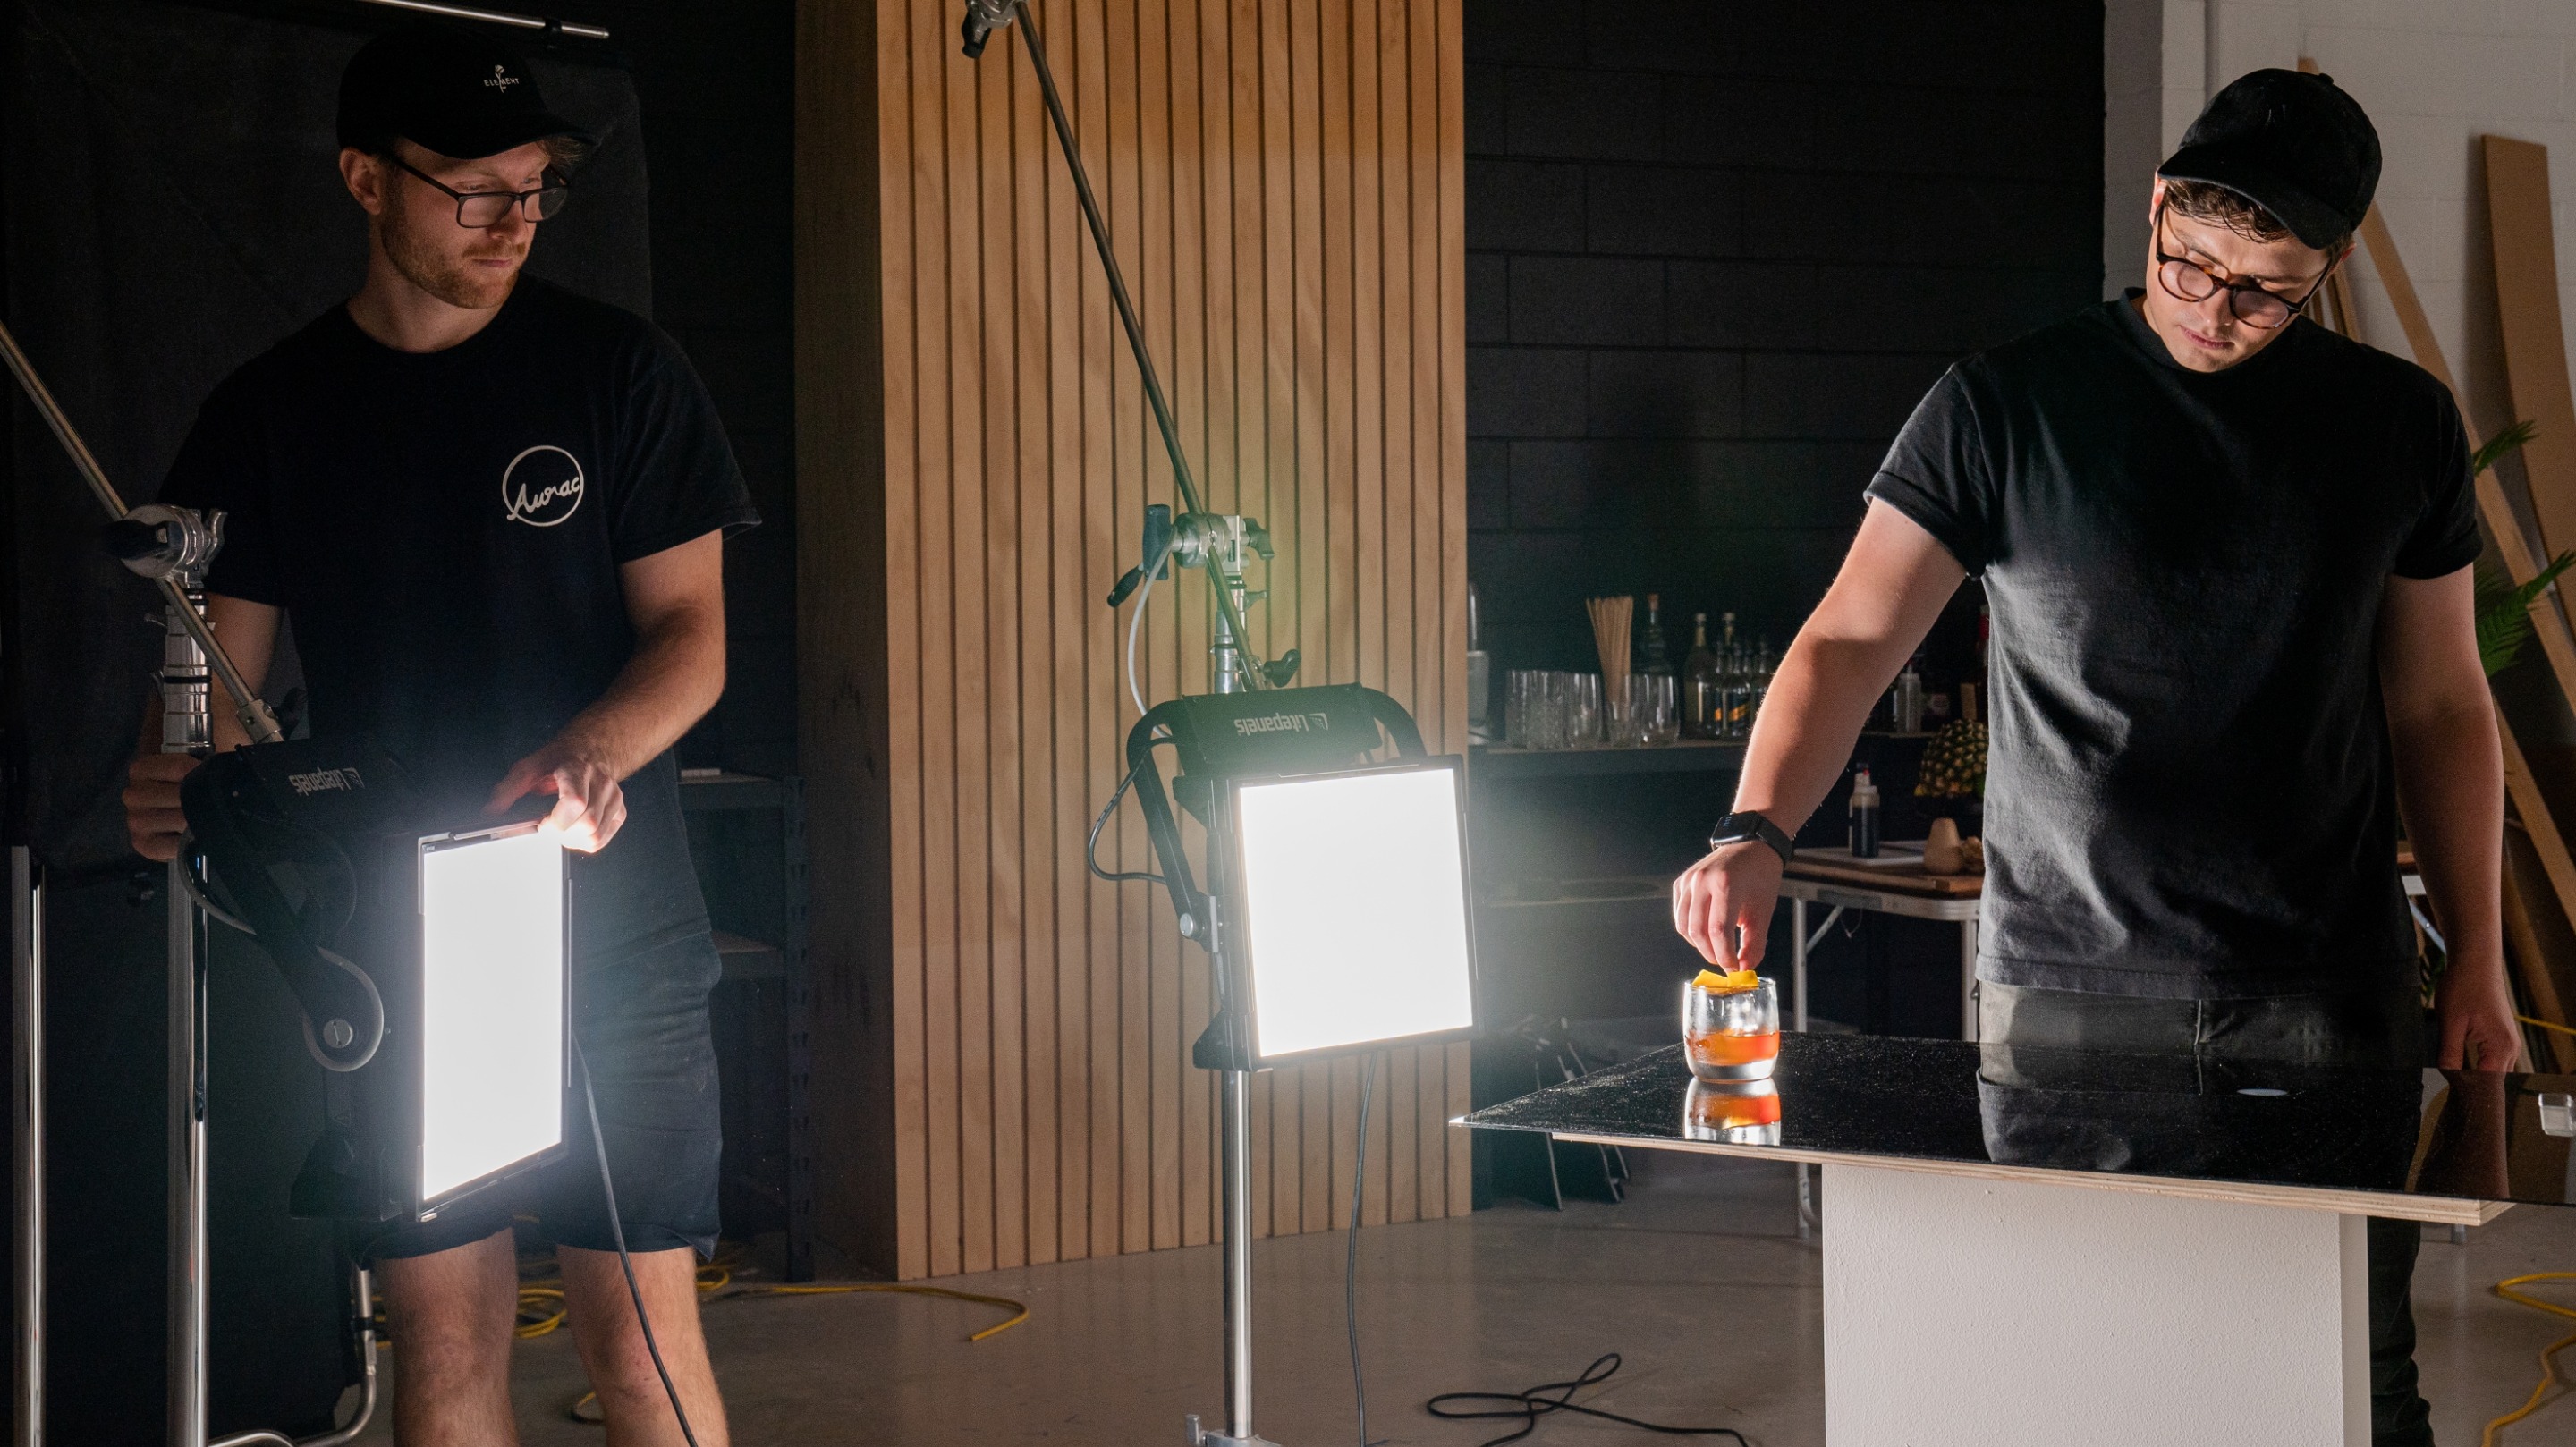
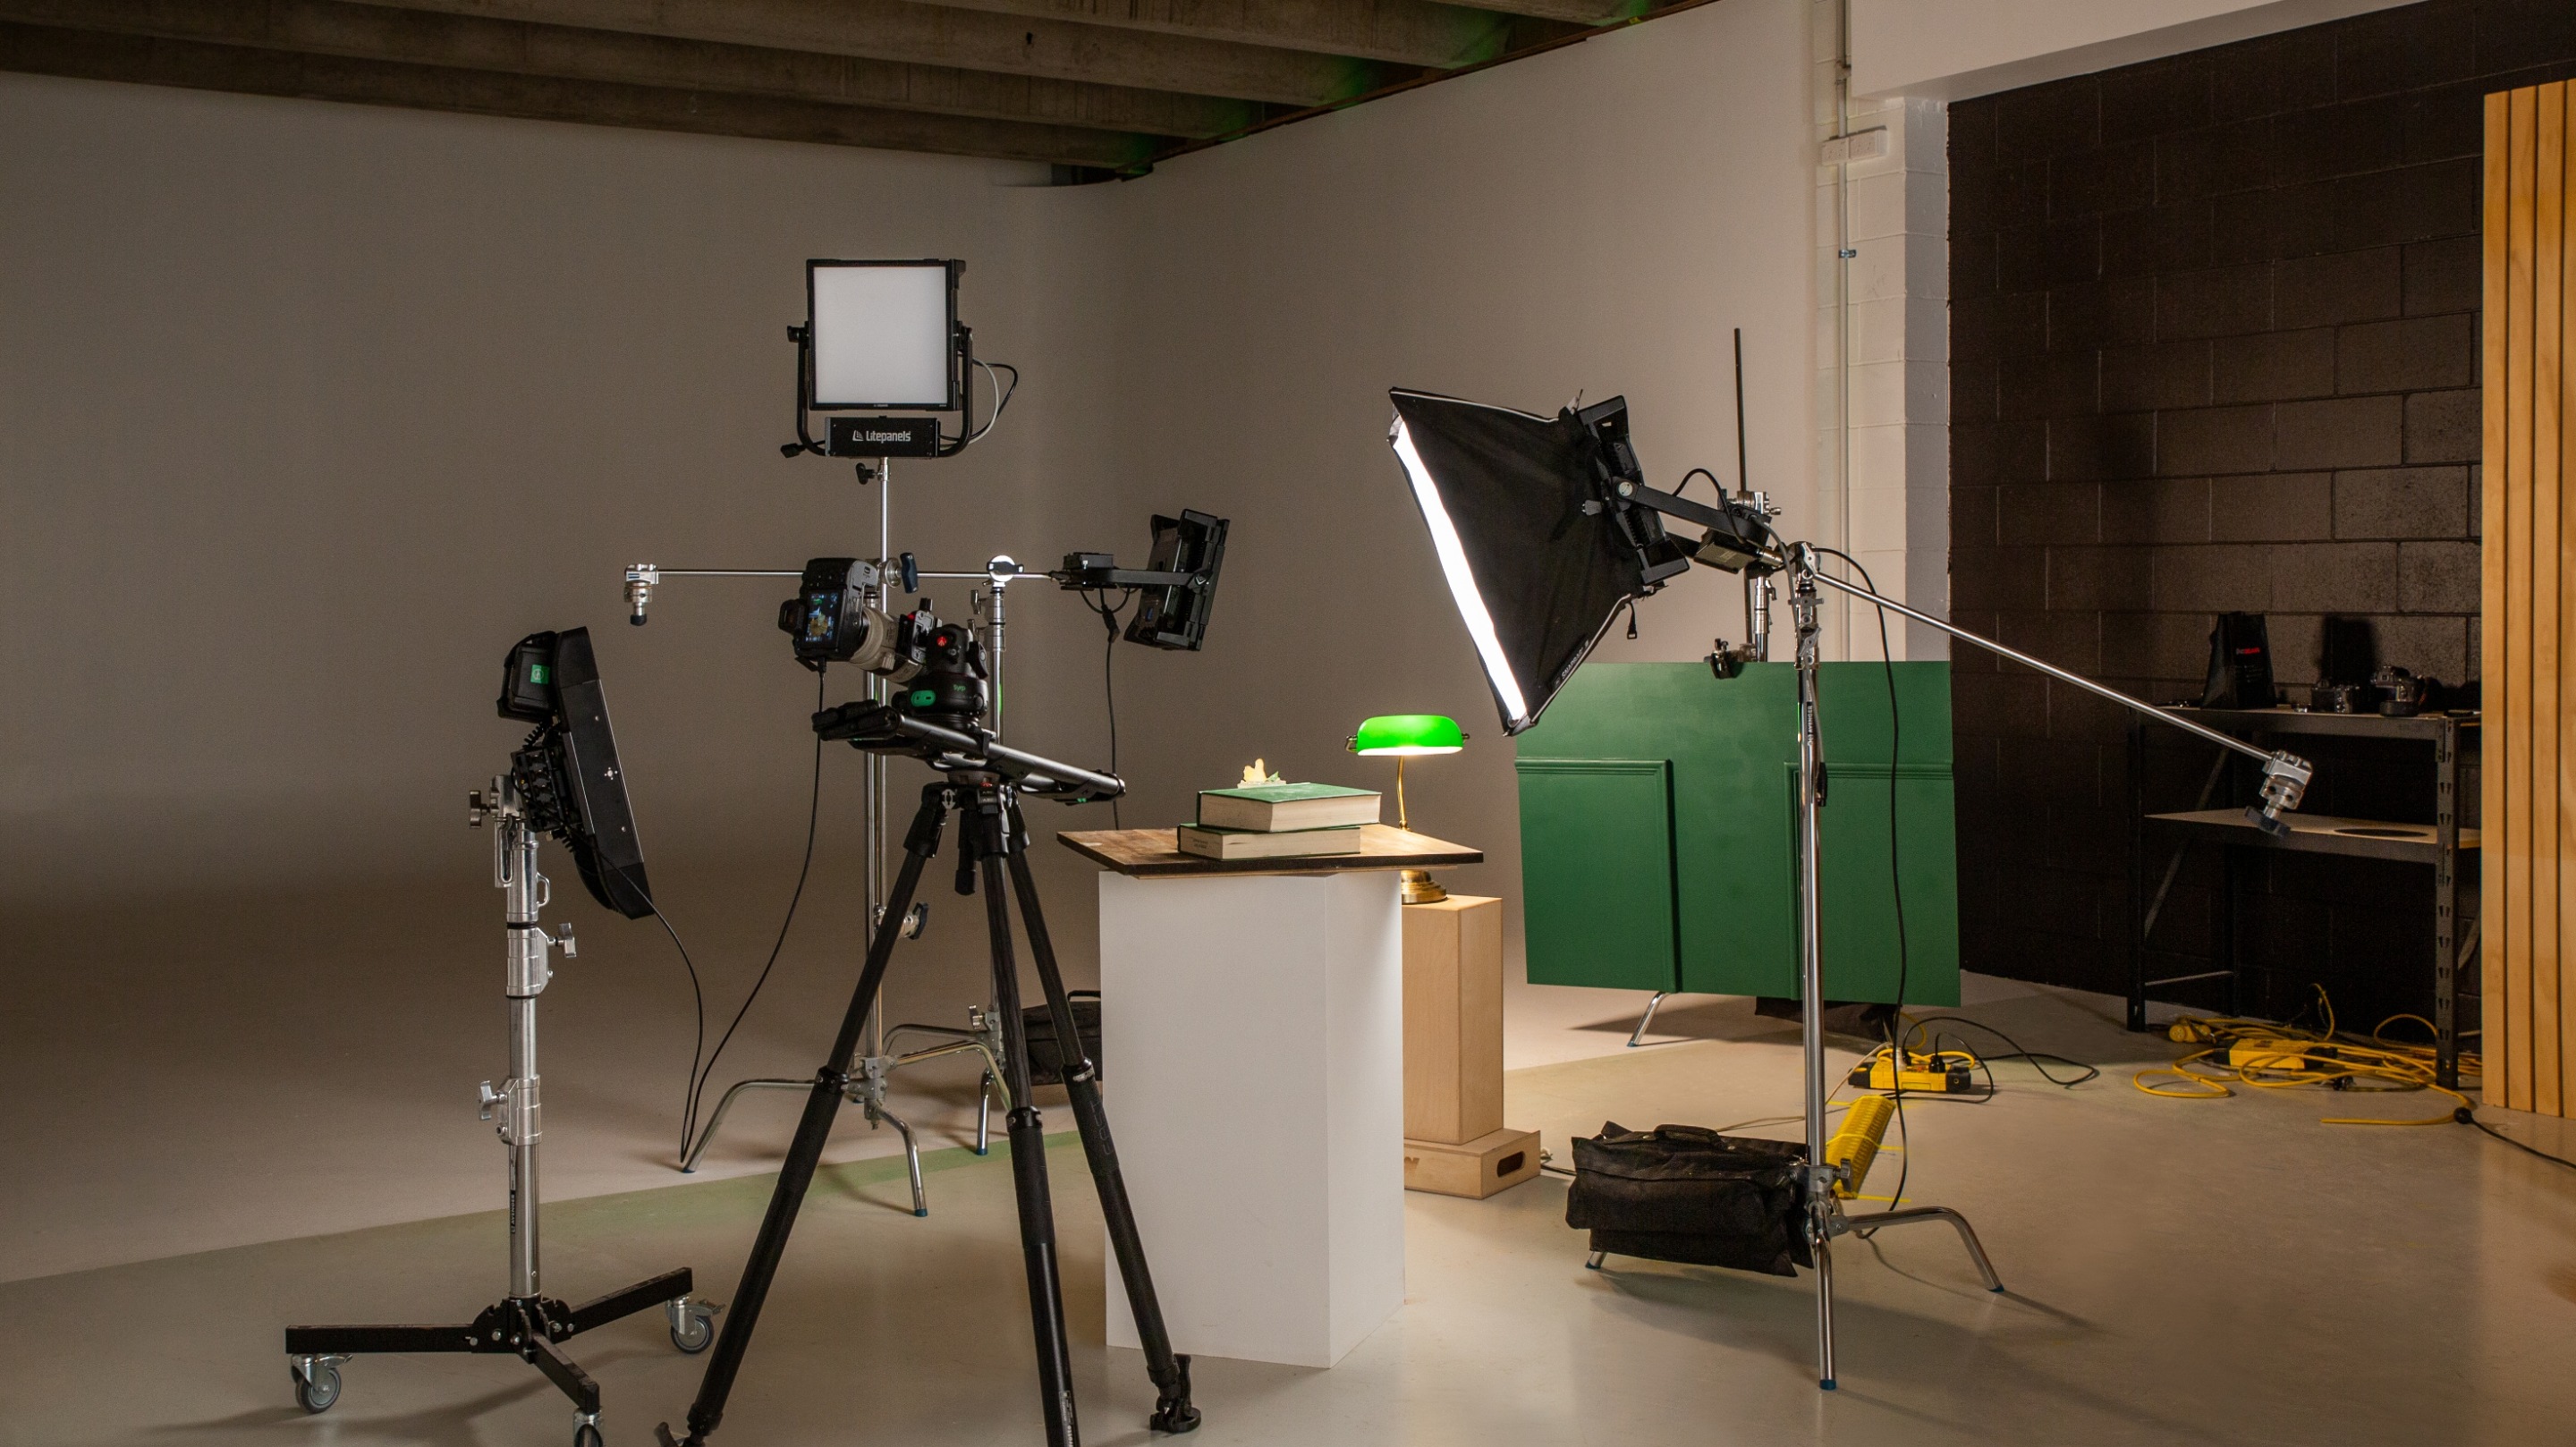
Scene Four: The Library.
This scene was all about soft lighting and production design which mirrored this, as well as the right depth of field. us, futuristic feels for this cocktail shot, and to get this we got a little fancy.
Set design.
Our goal was to create warm, earthy vibes. We used greens and browns to reflect the colours of old books usually found in the library. We wanted some texture to create depth, so for the background we used a painted green piece of MDF with crown moulding. We perched our cocktail on a dark wooden benchtop.
Lighting.
This scene was all about soft diffused light, to create the feeling of being in a big room with lots of natural light. We wanted to create a shadow which would look like light hitting a windowsill. Because we wanted this scene to feel as natural as possible, we built our light around the lamp that was in shot. We used (yep, you guessed it) a Gemini 1x1 panel, softening the light with a Softbox so that the lamp didn’t steal the thunder from our cocktail. We used another Gemini facing the glass to create some rim lighting.
We had another background Gemini, which we cut with a piece of poly and an for exact control and to create the shadow we were after. The most important thing was that the light was all coming from a consistent direction to make the ‘window’ effect a convincing one.
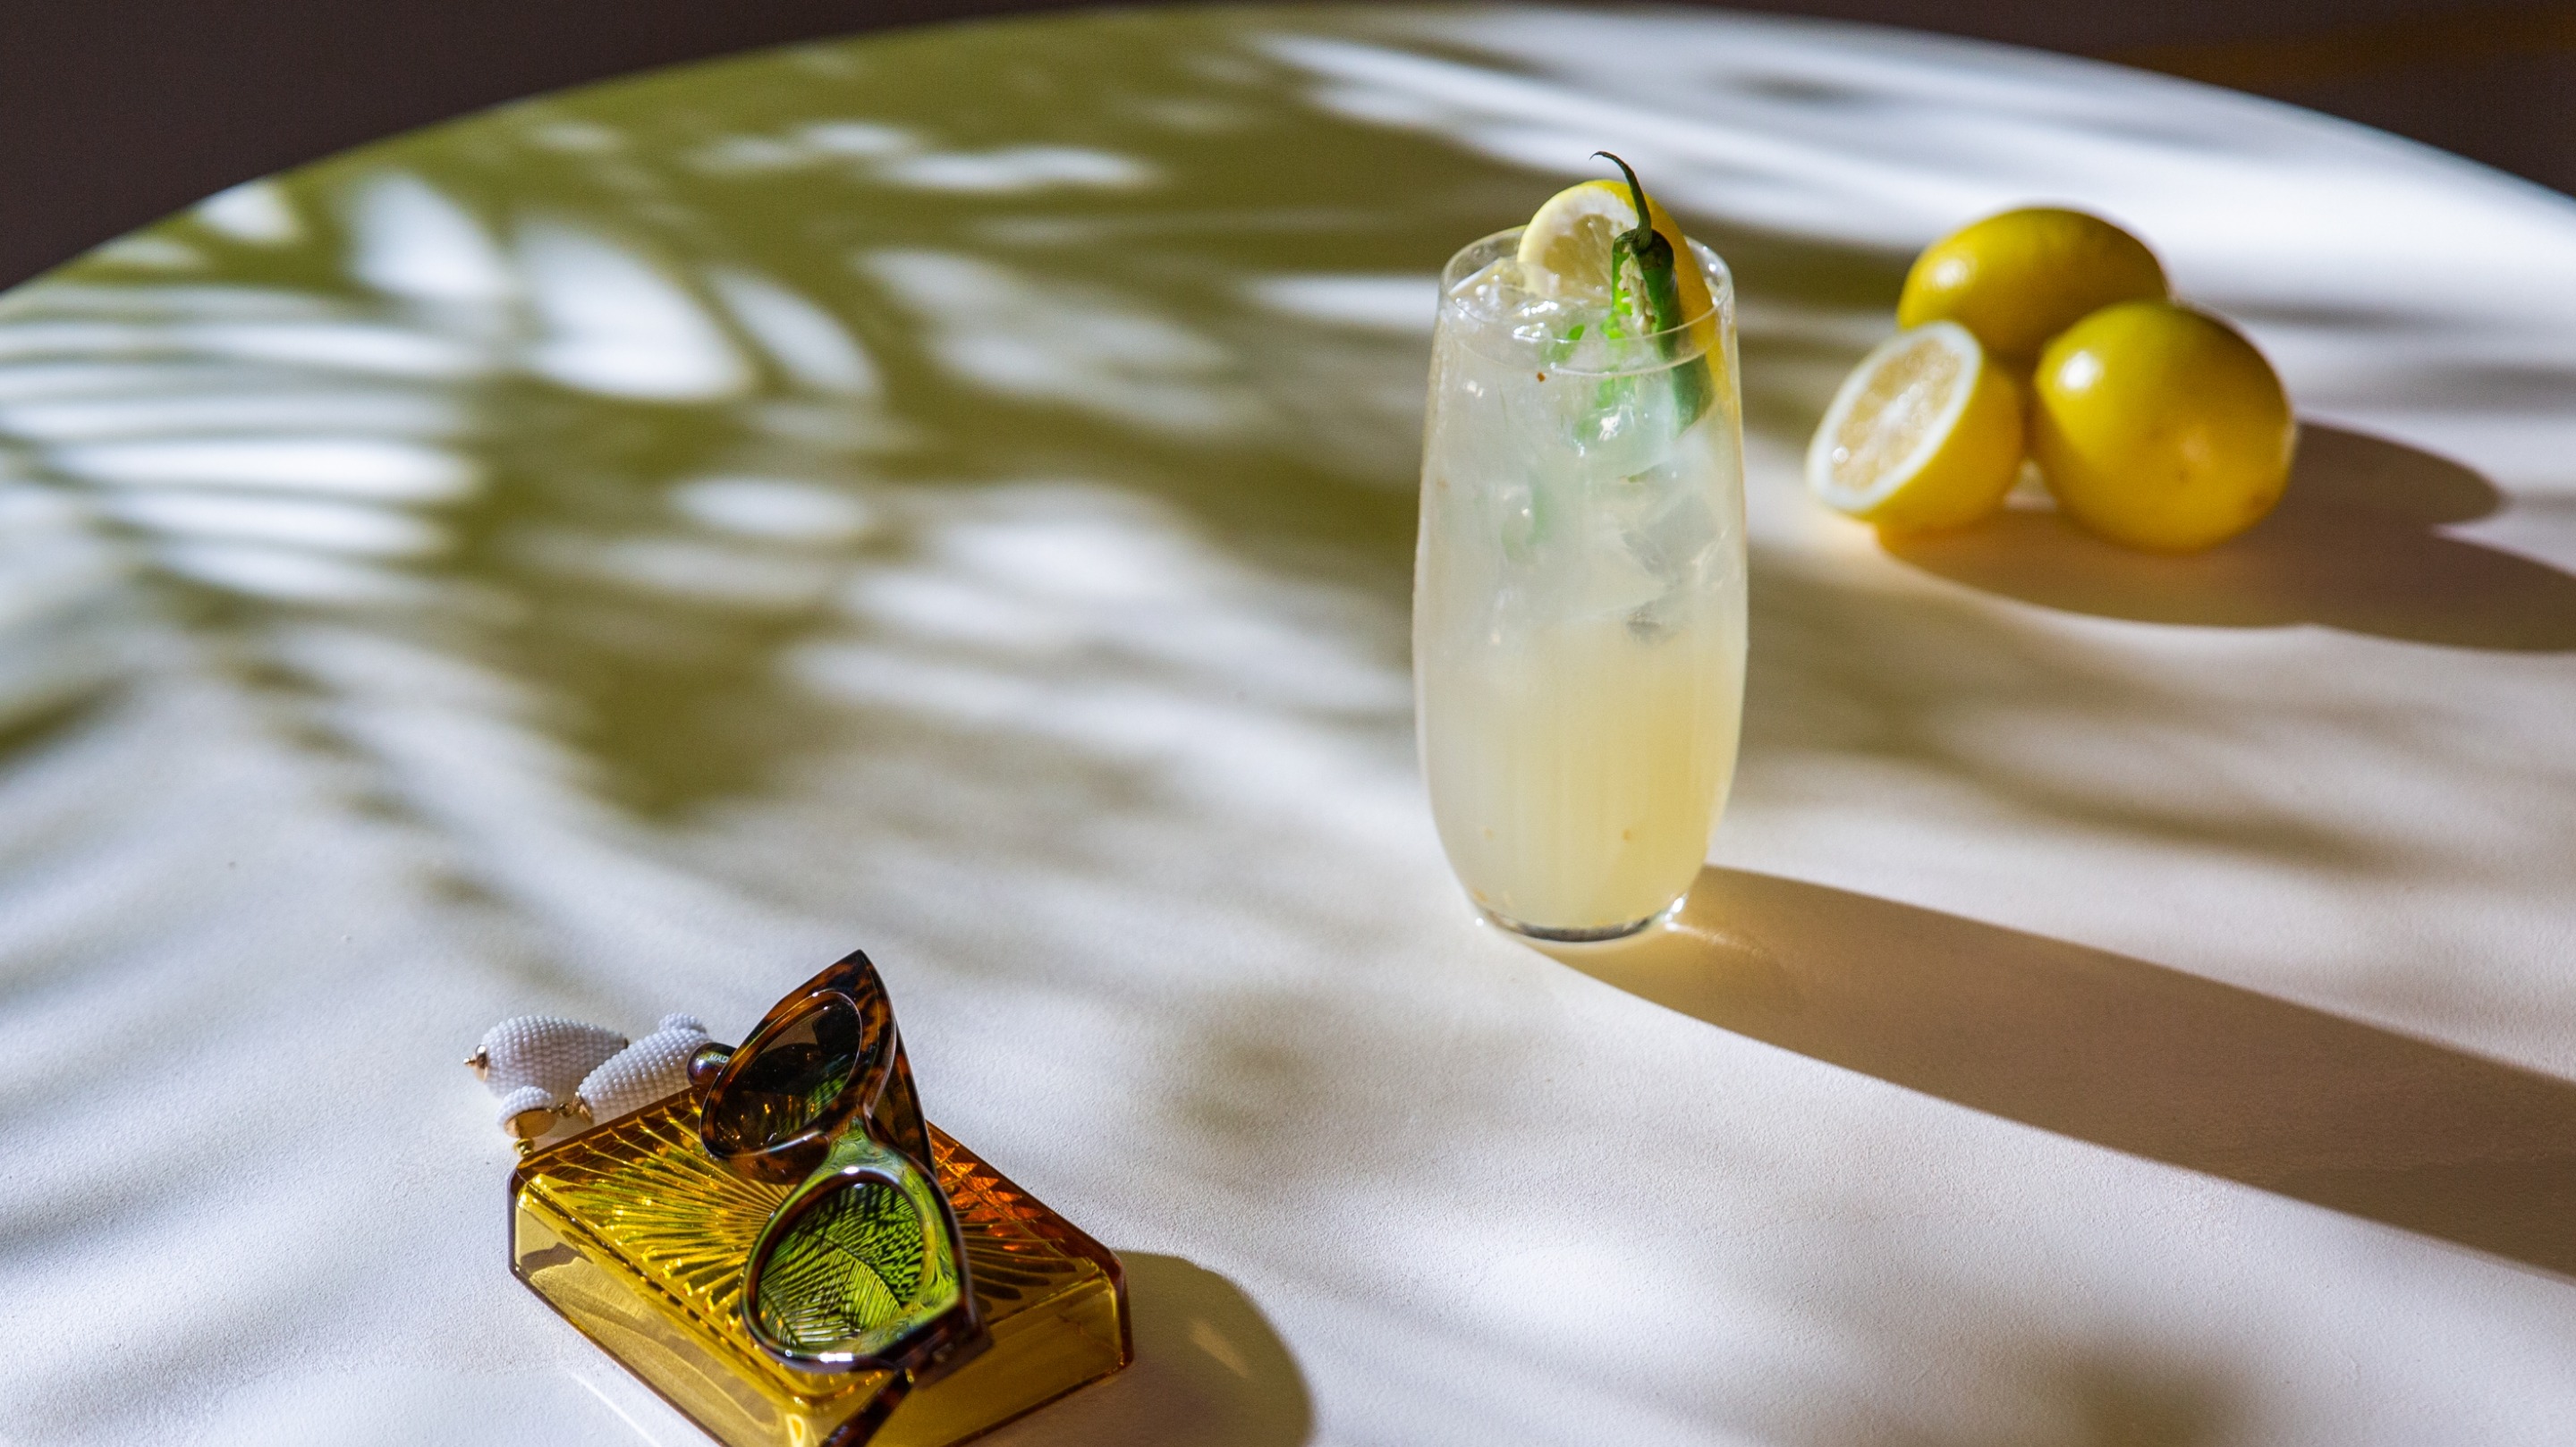
Scene Five: Summer Garden Party.
For the final shot, let’s take it outside. Well, let’s pretend to take it outside, anyway. We wanted to create breezy, sunlit feels for this scene.
Props.
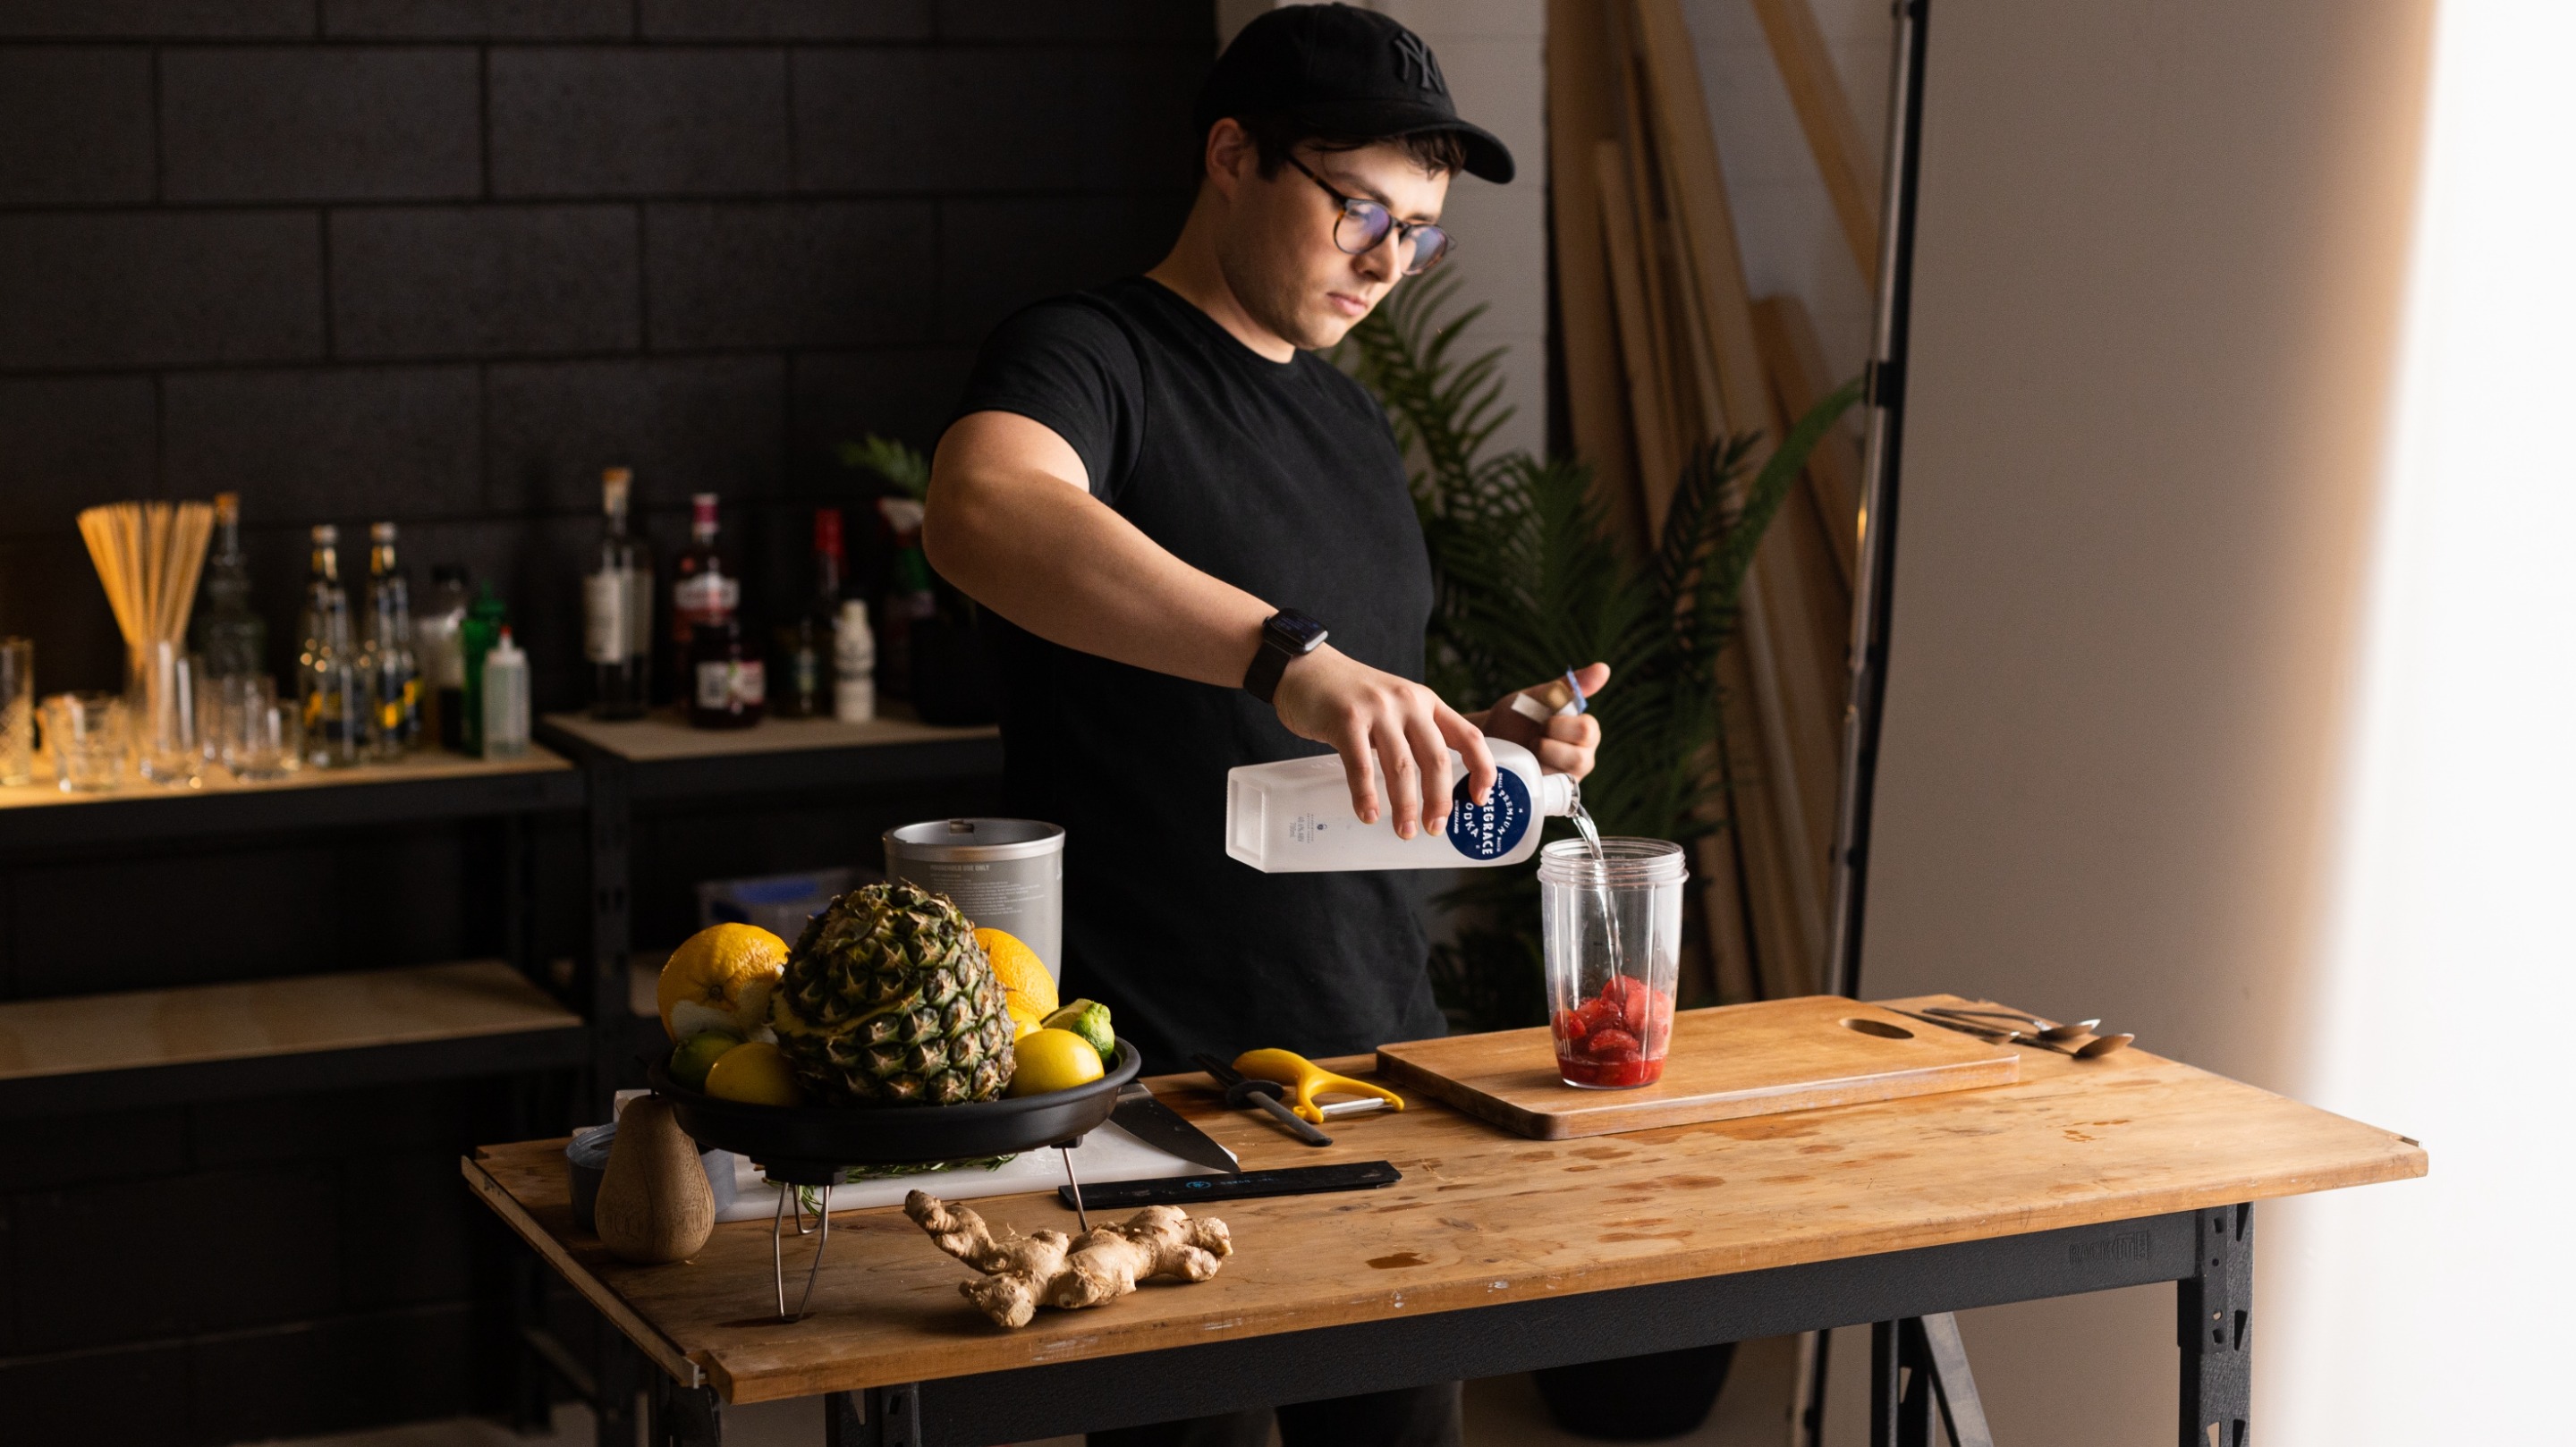
A key component of this scene was leaf shadows, to create the impression that our summery drink was surrounded by plants. We used the plastic variety. The plants might have been plastic but we wanted to keep our scene alive, so we made sure to whip up our cocktail just before we started shooting. That way, the ice was crisp, and the soda water was fizzing with energy.
Lighting.
For outdoor scenes like this one, you want direct lighting to give crisp shadows. To get the leafy shadows thrown across your product, make sure the distance between the plant and the light is greater than the distance between the plant and the cocktail.
As our key light, we used a Sola 6 position to the left, casting plant shadows across the table. Then, we used a white poly to bounce this back from the other side of the cocktail, filling in some of the shadows and balancing it all out. To perfectly position our poly, we used an
and a trusty
.
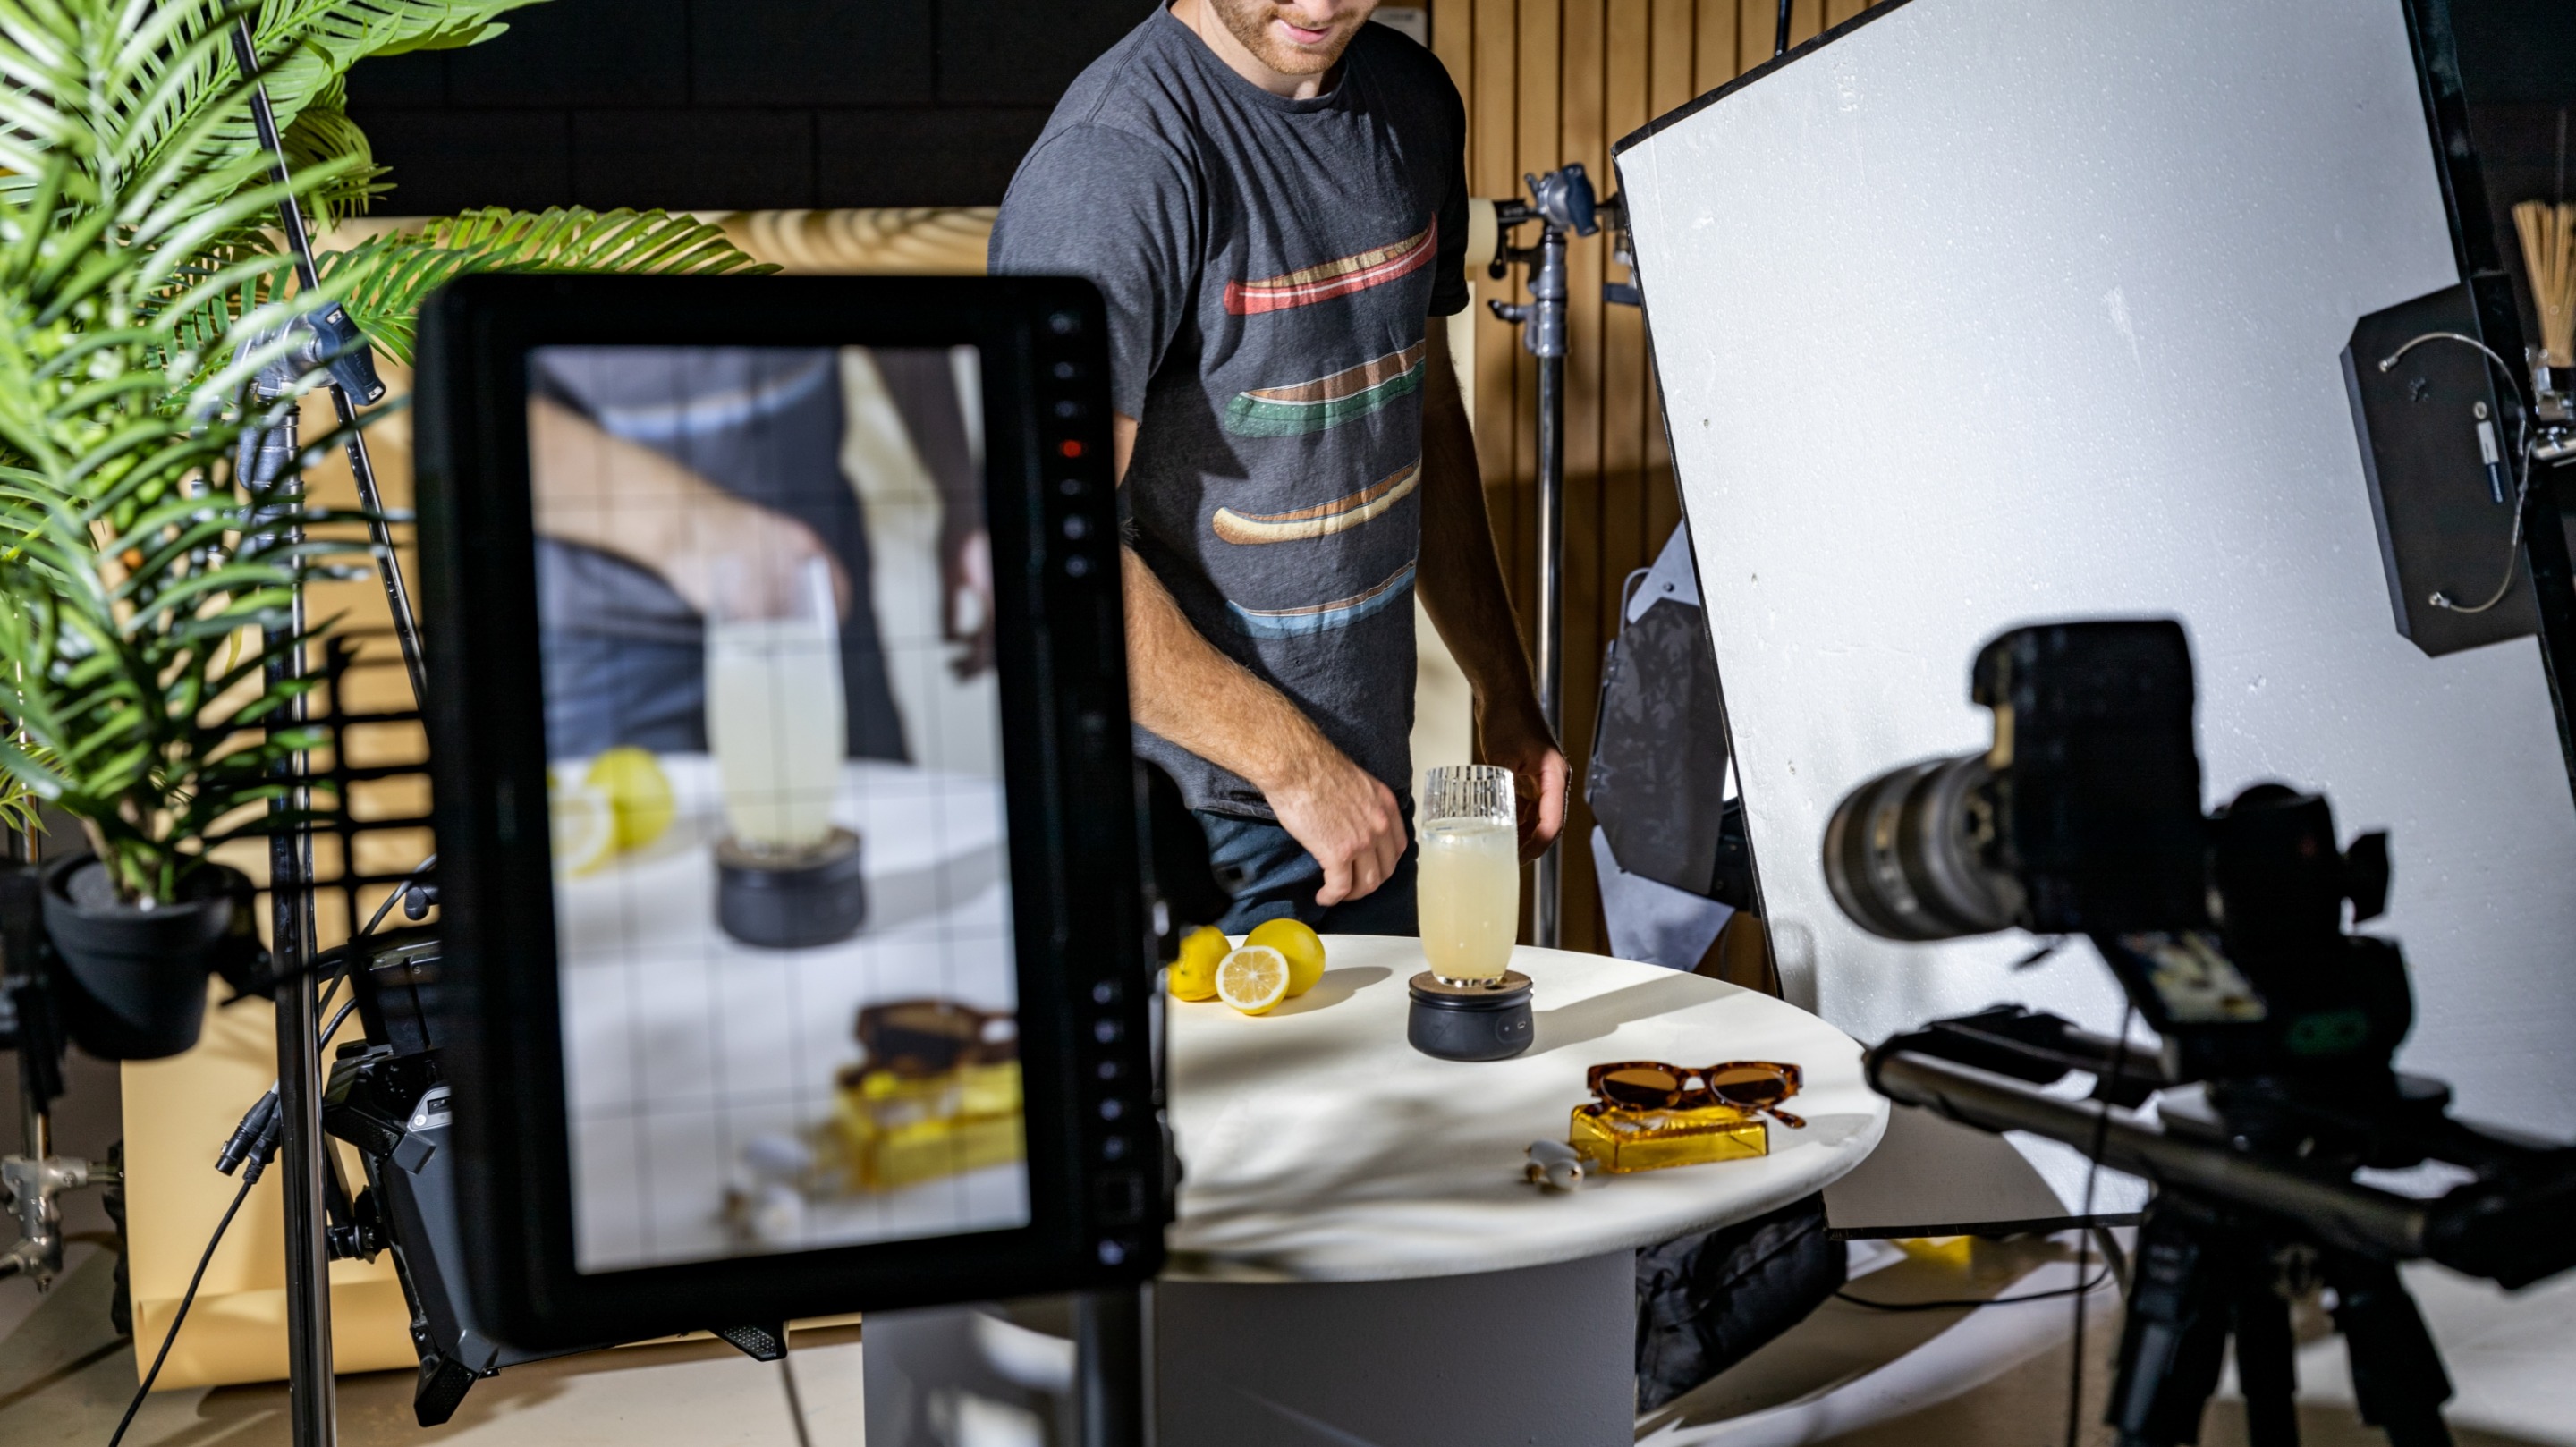
We also wanted to bounce our ‘warm sunlight’ off a few different objects. For our background light, we used a Gemini 1x1 panel, highlighting the drink and the edge of the glass from behind. Then, it was a Sola 6+ Fresnel from the left for background shadows, and to round it off, another Gemini at the back right to balance out these shadows. This wasn’t our simplest set up, but we wanted to nail the sunlit look.
And voila! Some tips and techniques to elevate your next food or drink project. We’d love to see what details you use to bring your shots alive - let us know what you’ve been creating in the comments, or flick us an email.
For more filmmaking and photography tips, subscribe to Syrp Lab. We’ll hit you with good stuff only.