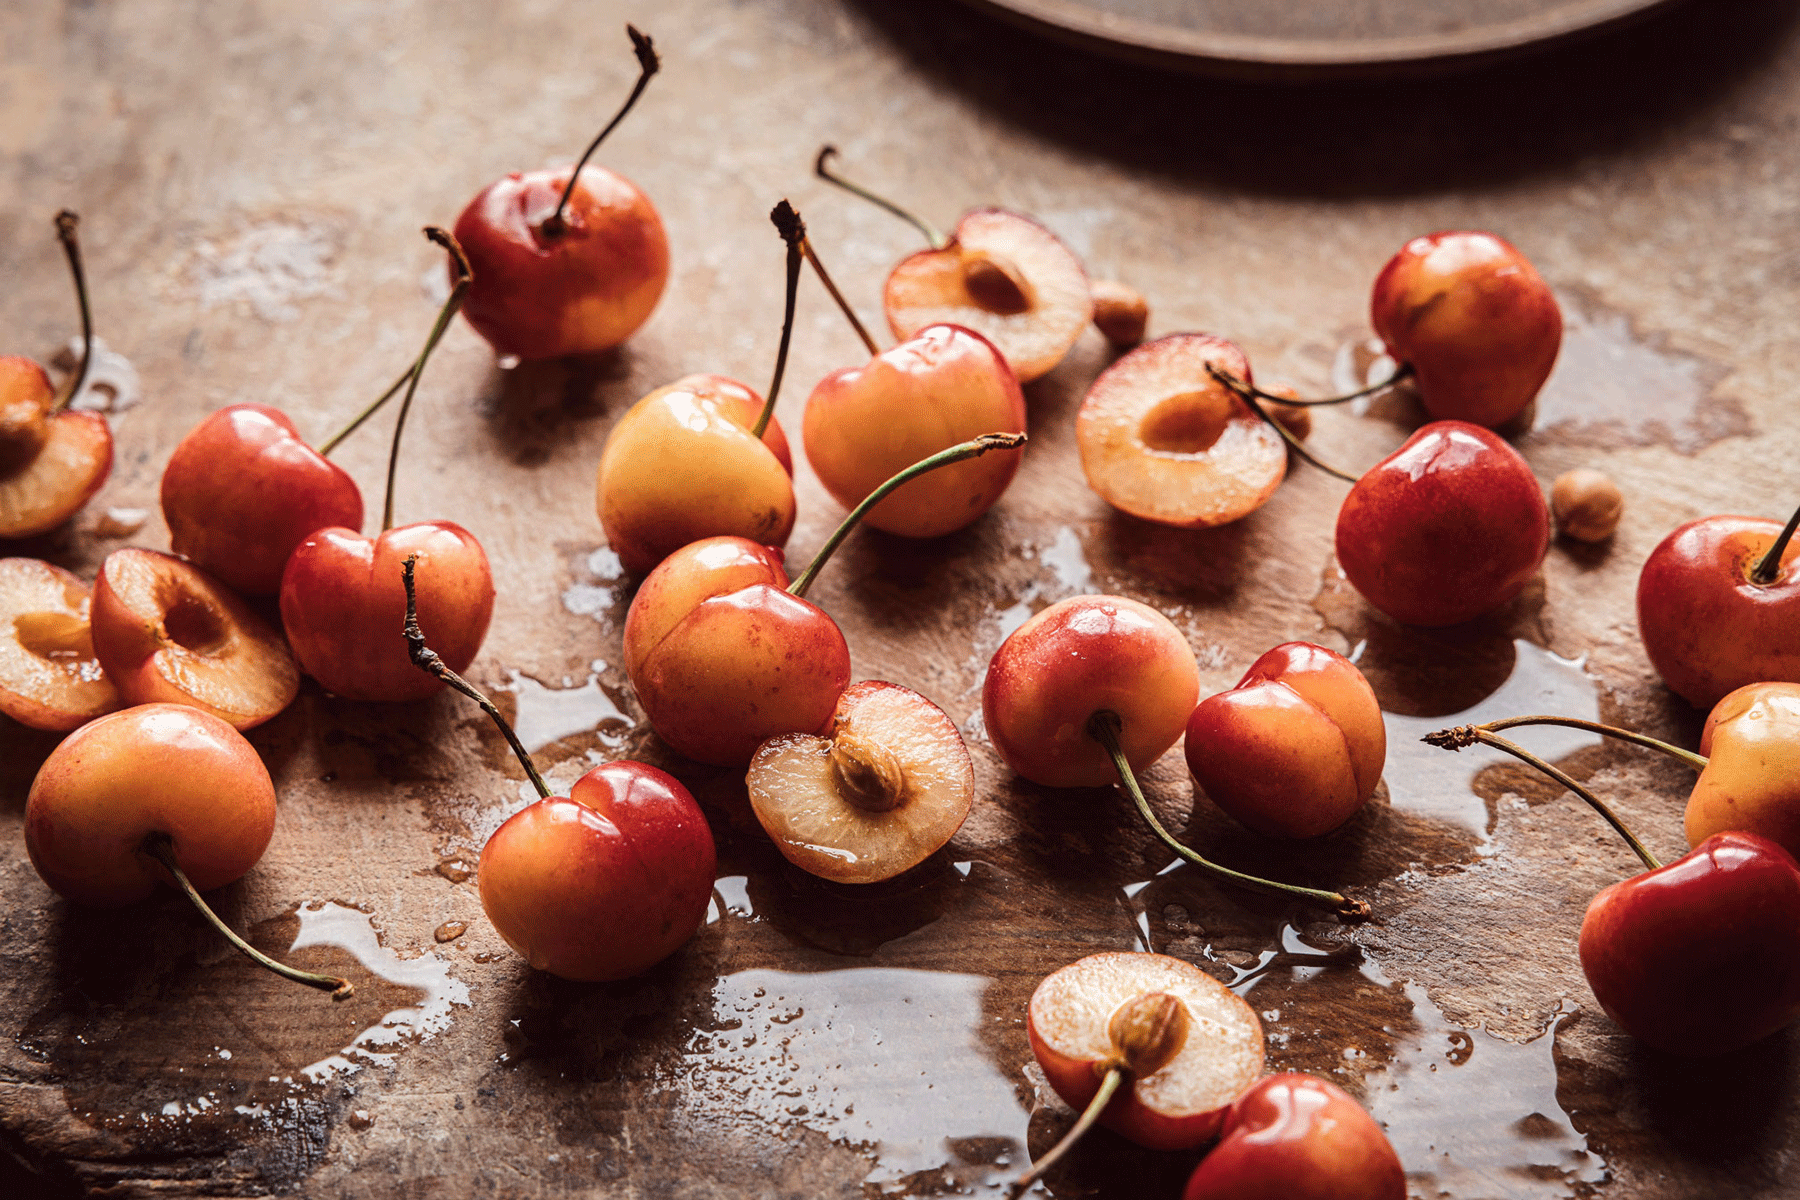








How to Photograph Food Like a Pro: 5 Essential Food Photography Tips
Learn how to photograph food like a pro with 5 essential food photography tips on light, styling, composition, storytelling and editing by Bea Lubas.
Written by Alice Greenfield, Shot by Alice.
Great food photography is a lot like a great recipe: it starts with a handful of carefully chosen ingredients. Light, food styling, composition, storytelling and editing all play an essential role in creating strong food images.
The challenge is that even when the food looks and tastes delicious in real life, it doesn't automatically translate into a captivating photograph. A lot of the time, the difference comes down to a few thoughtful decisions, some of which are often made before the shutter is pressed.
In this guide, I'll share 5 essential food photography tips that, in my experience, have the biggest impact on the final image: from mastering natural light to editing with intention.
In this article: 1. Learn to see the light - 2. Present food with intention - 3. Build your composition step by step - 4. Use storytelling to bring your images to life - 5. Edit to make your images pop.
1. Learn to See the Light
Light is one of the most important elements in food photography. When an image feels flat and lifeless, it's usually because there are no highlights and shadows to create a sense of depth.
For most food photography setups, placing the food on a small table next to a medium-sized window and working with side light is the safest and most reliable option. Side lighting naturally creates beautiful shadows that highlight textures, shapes and details, helping food look as appetising as it is in real life. From the crisp edges of a pastry to the glossy drips of maple syrup, it's the interplay of highlights and shadows that brings food to life.
If the light feels too strong on a bright, sunny day, we can use a diffuser to soften it. Placing a diffuser between the window and the subject helps reduce strong contrast and creates a softer, more controlled light that's easier to work with.
But while direct sunlight can feel challenging at times, it can also be a powerful storytelling tool. It creates strong highlights, defined shadows and a more graphic quality of light that can add atmosphere, mood and visual interest to a food story.
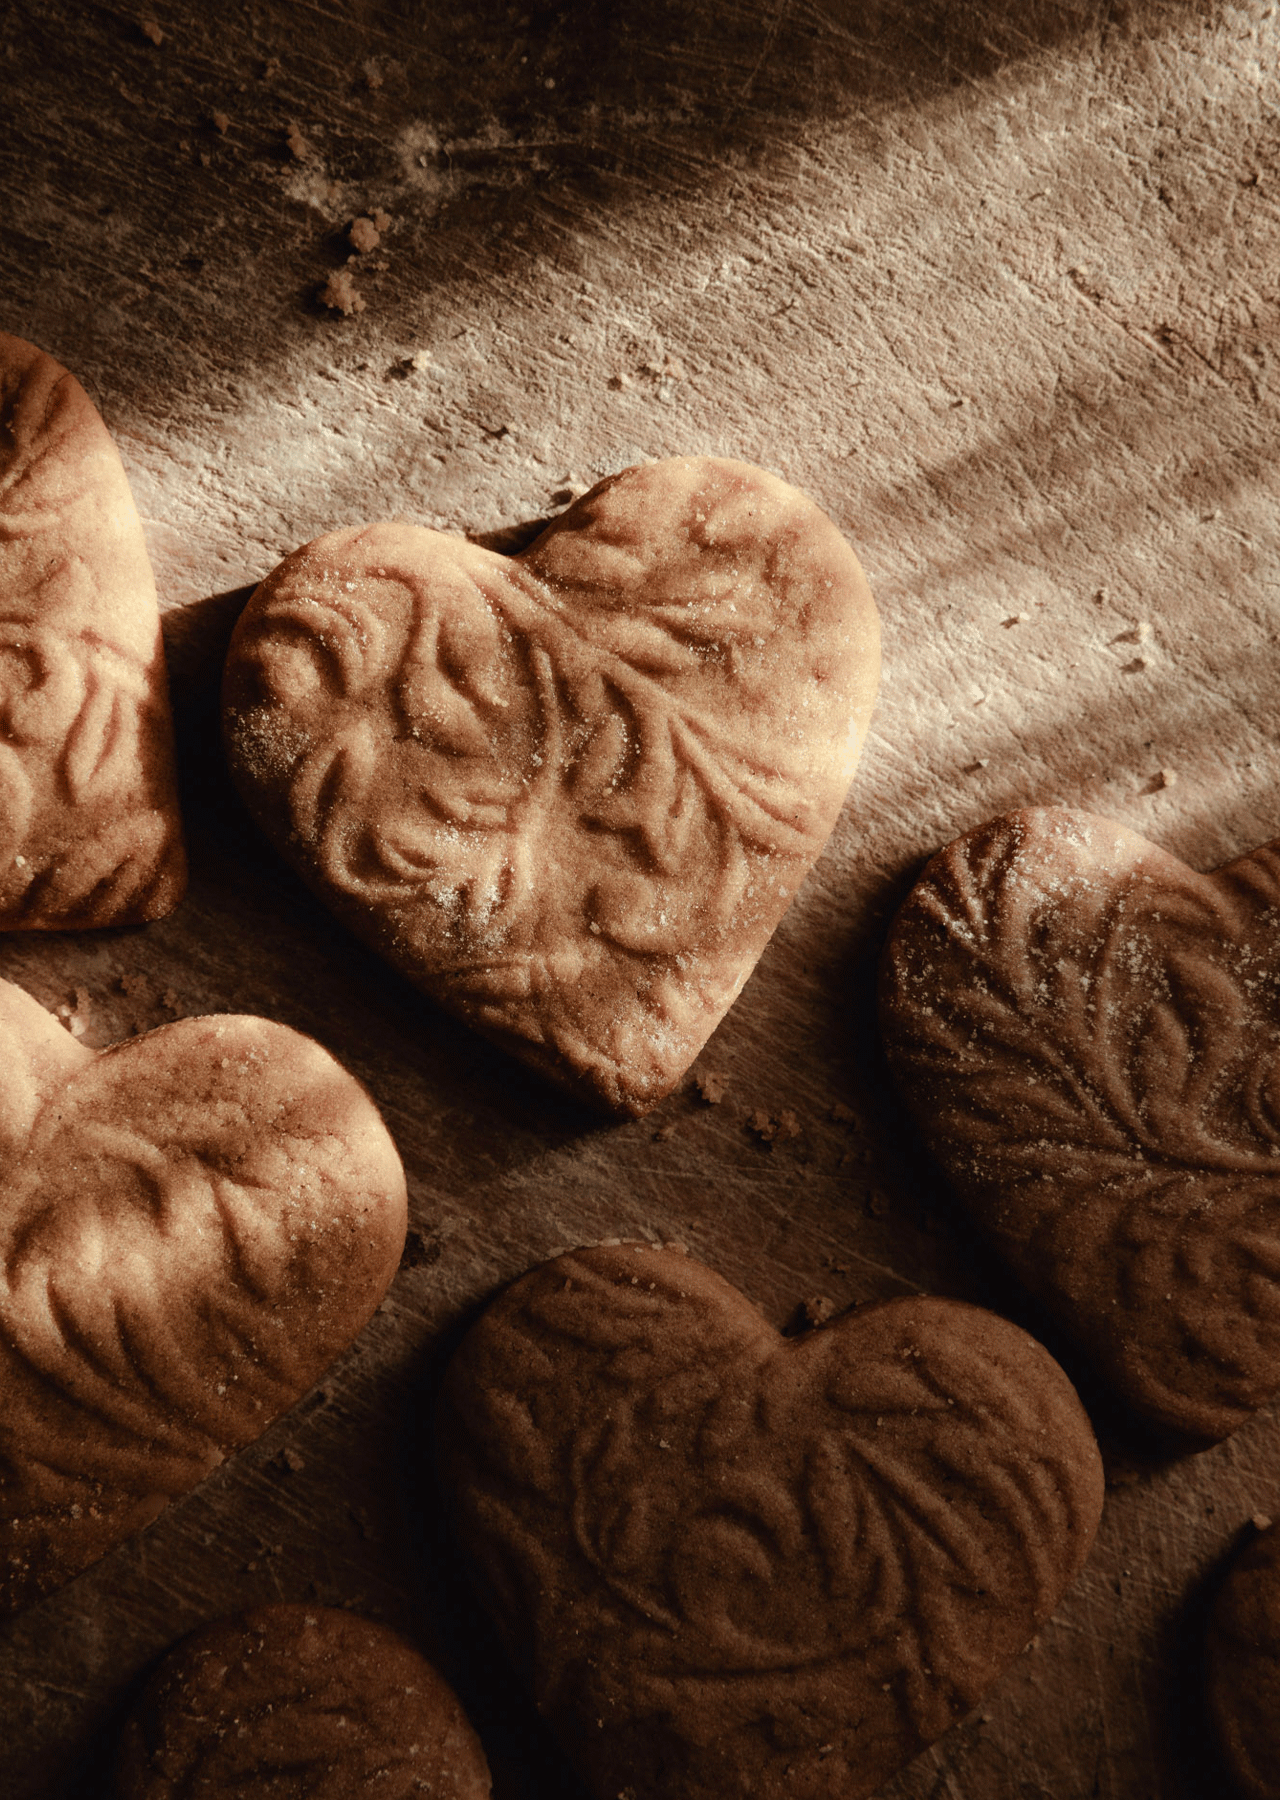
Notice what the light reveals, what it hides, and how it changes the feeling of a scene. These observations will help you develop your own photographic style. Learning light is, above all, about observation. Paying attention to how light falls across a table, how it changes throughout the day, and how it interacts with different textures and shapes helps gradually sharpen your photographic eye and your instincts. It's also worth experimenting with how light can be shaped. Try partially covering a window with a curtain, moving a diffuser closer to the subject, or placing a white reflector opposite the light source and notice how the shadows change. Keeping the camera fixed on a tripod can be particularly useful during this process, as it allows you to see how each change affects the final image.
2. Present Food with Intention
Even the most beautiful lighting won't help if the food doesn't look fresh or inviting. Great food photography starts with great-looking ingredients.
Look for produce with vibrant colours, beautiful textures and interesting shapes. Fresh ingredients and thoughtfully presented dishes naturally photograph better, as they immediately communicate flavour, quality, and freshness.
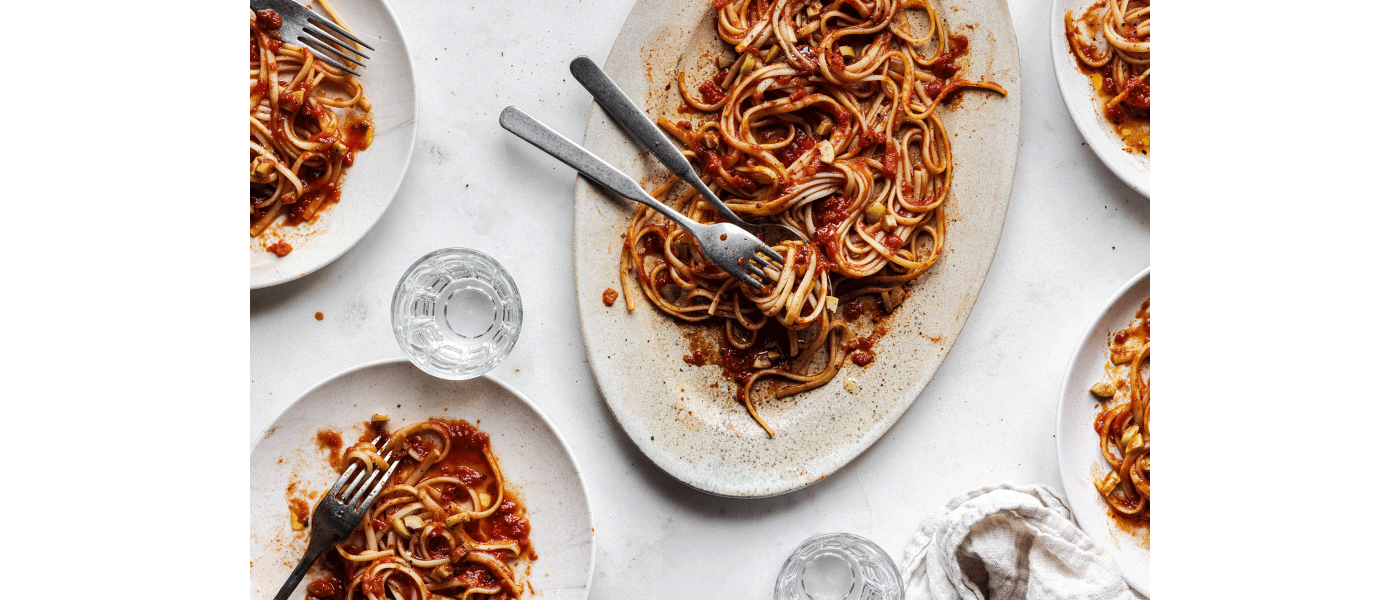
When styling a dish, layering different textures and shapes helps create visual interest. And don't be afraid of small imperfections too. A few scattered crumbs or a drip of sauce can make an image feel more natural, delicious and authentic.
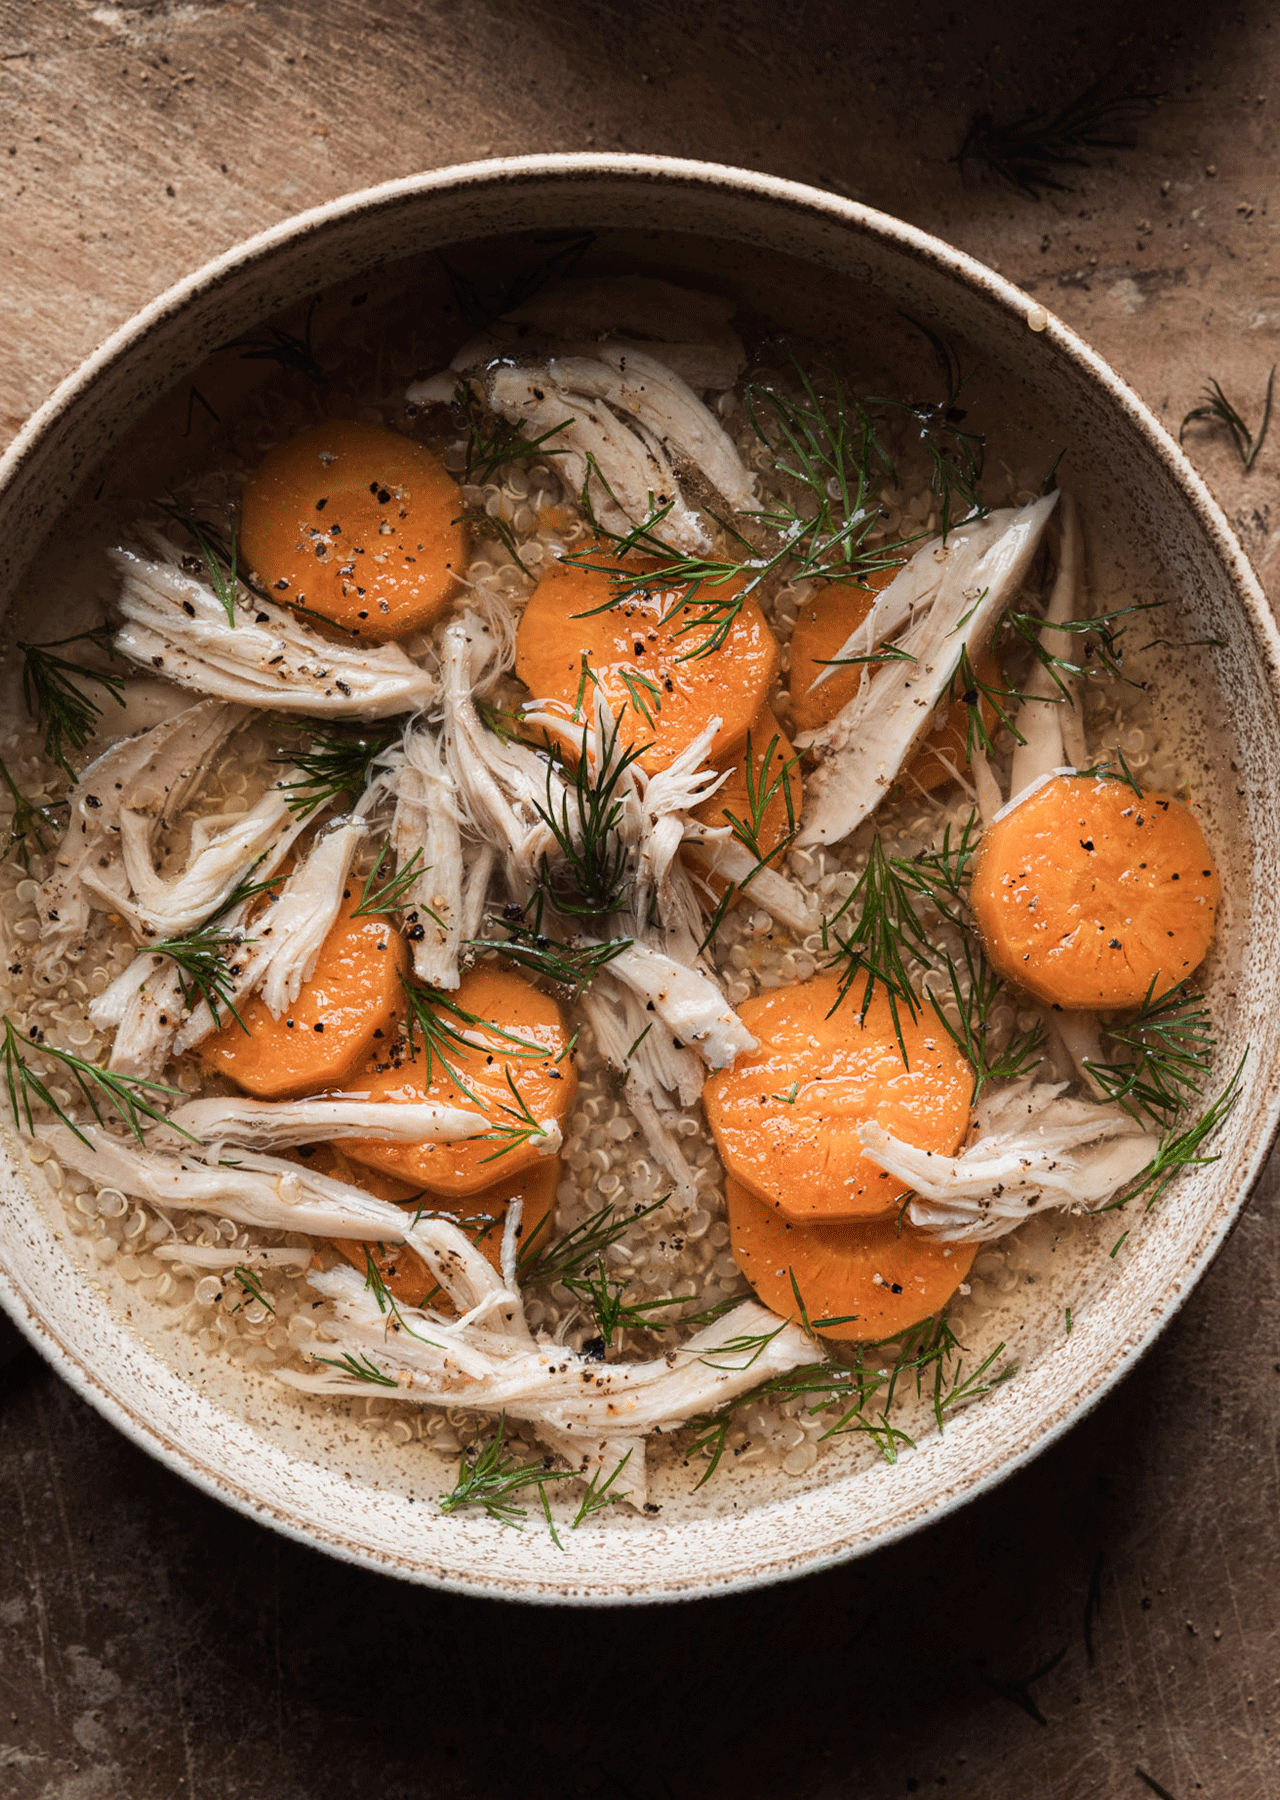
Often, when an image feels like something is missing, it simply needs another layer of texture or detail to bring it to life. And when a scene looks too perfect or staged, introducing subtle imperfections helps make it look more natural. It's often these small, intentional imperfections that make food feel most irresistible.
3. Build Your Composition Step by Step
Building a food photography composition is like working with a blank canvas.
It begins with selecting a background that complements the food and helps it stand out. This might be achieved through colour, texture or pattern, anything that allows the subject to naturally pop. Often, just a quick test of a few variations helps you discover what works best.
Next comes the selection of props. The goal is not to compete with the food, but to support it. One simple and effective approach is to choose props and backgrounds in the same or similar colour, and make sure that this colour provides a nice contrast for the food, for example, brown background and props to contrast with vibrant green salad. This creates a natural separation and draws attention to the subject, making it the main focal point of the image.
To avoid flat looking compositions, focus on creating a sense of depth in your frame. For three-quarter and straight-on angles, think about layers and placing elements in the foreground, middle ground and background, and allowing objects to overlap naturally helps create a better sense of dimension in the image. For overhead shots, variation in height, different distances, and cropping some of the items out of the frame helps create a natural looking composition.
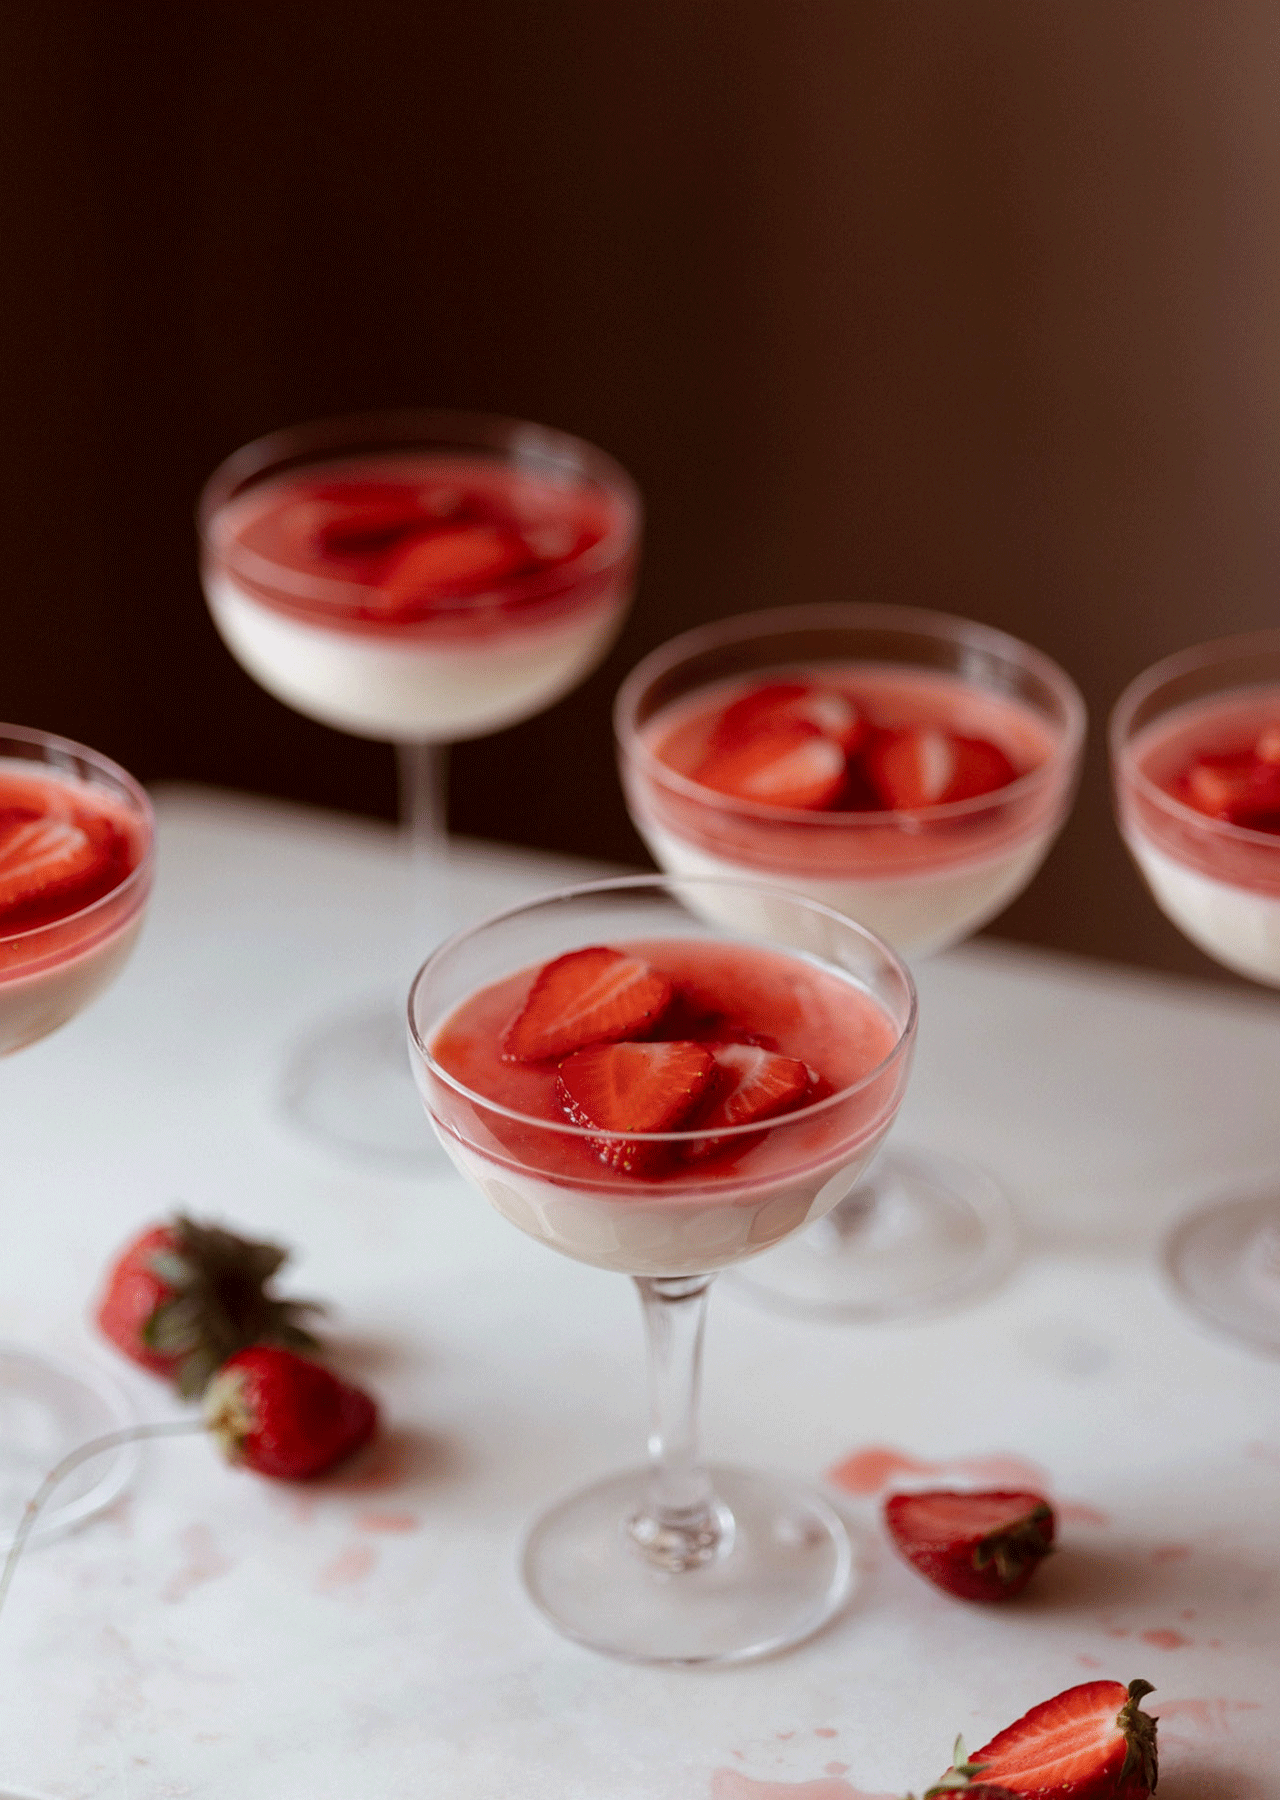
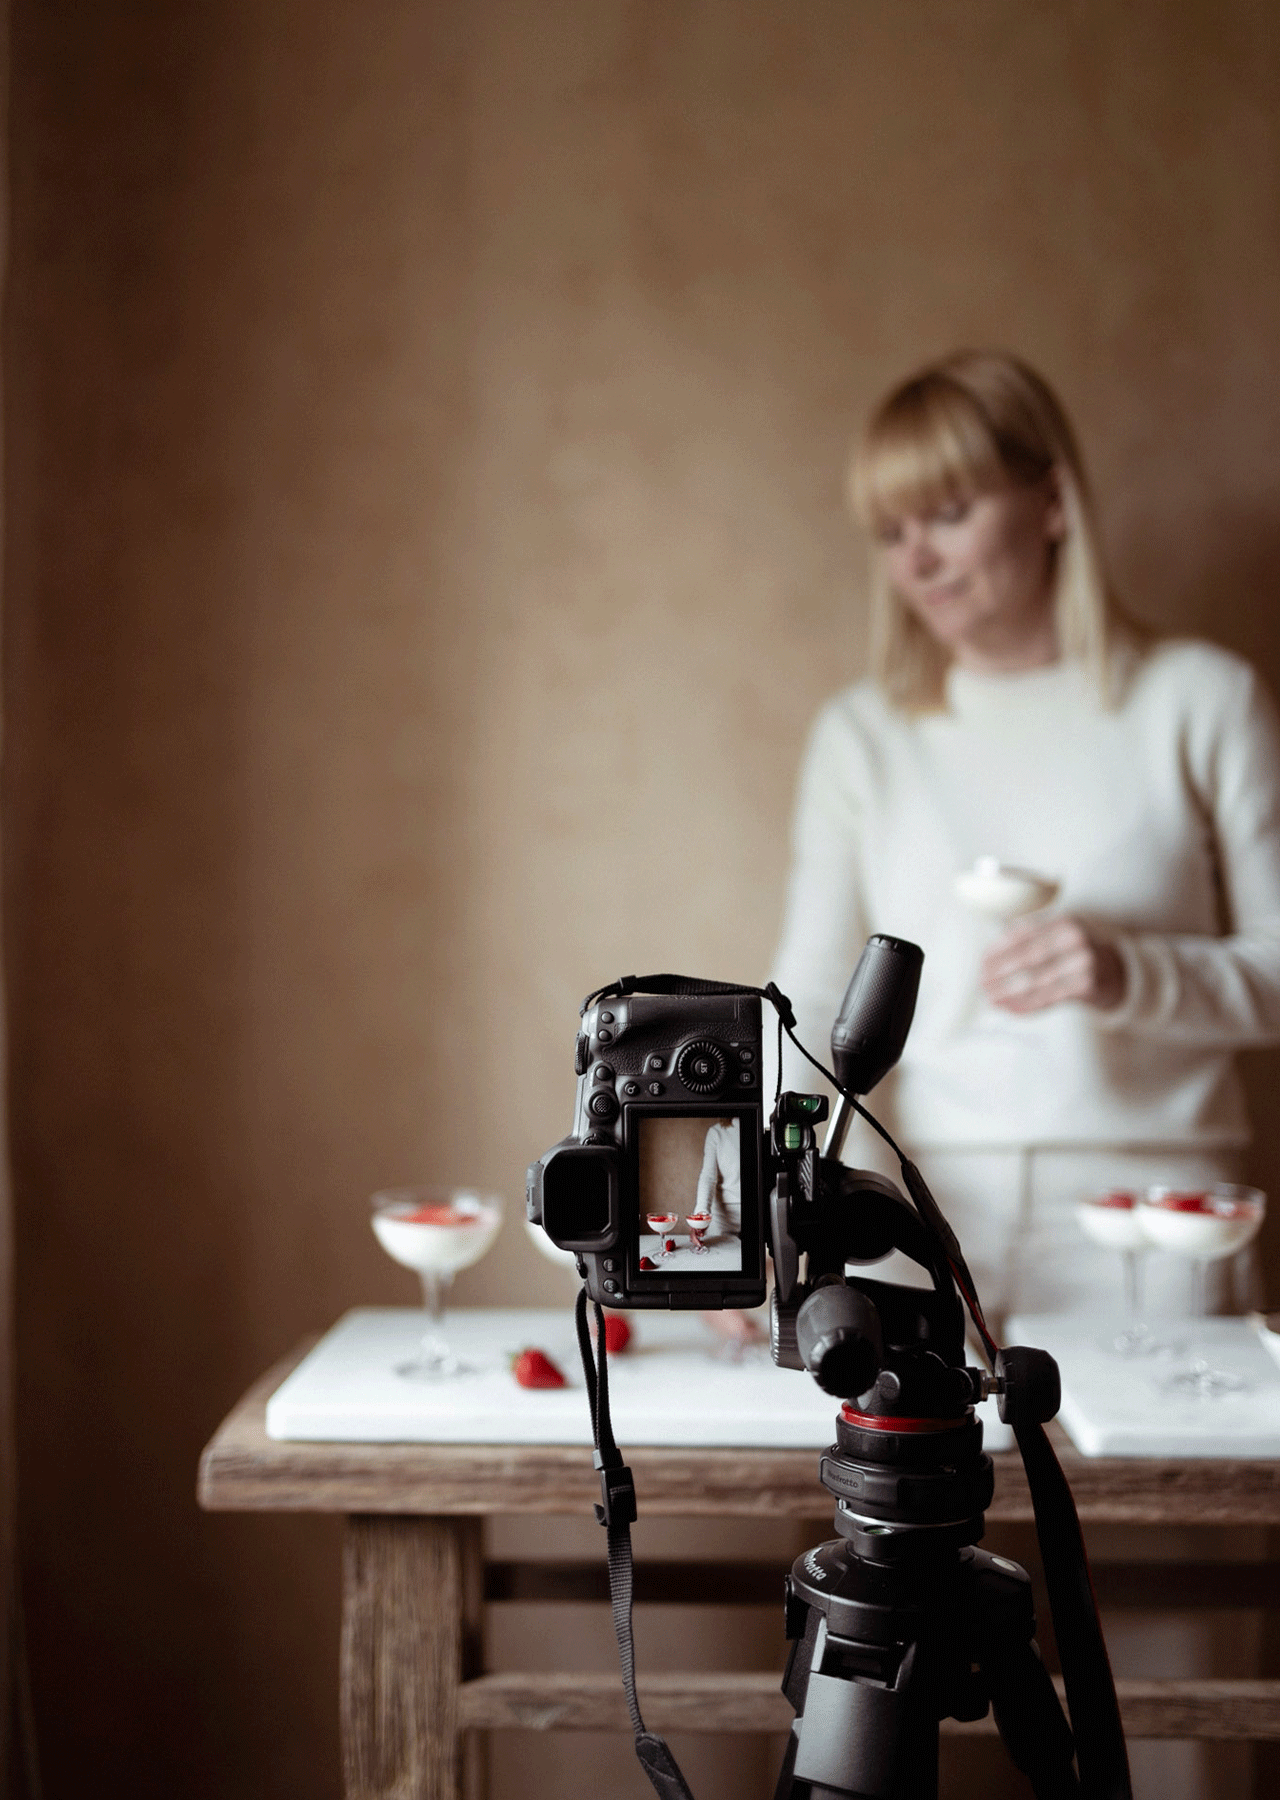
This process is all about small, intentional adjustments, and this is where a versatile tripod becomes incredibly useful. Building a composition often means moving things around, testing different placements and refining small details until everything feels balanced.
Why the Manfrotto ONE Photo tripod is a game-changer for food photographers
What I really like about the is how naturally it fits into this way of working:
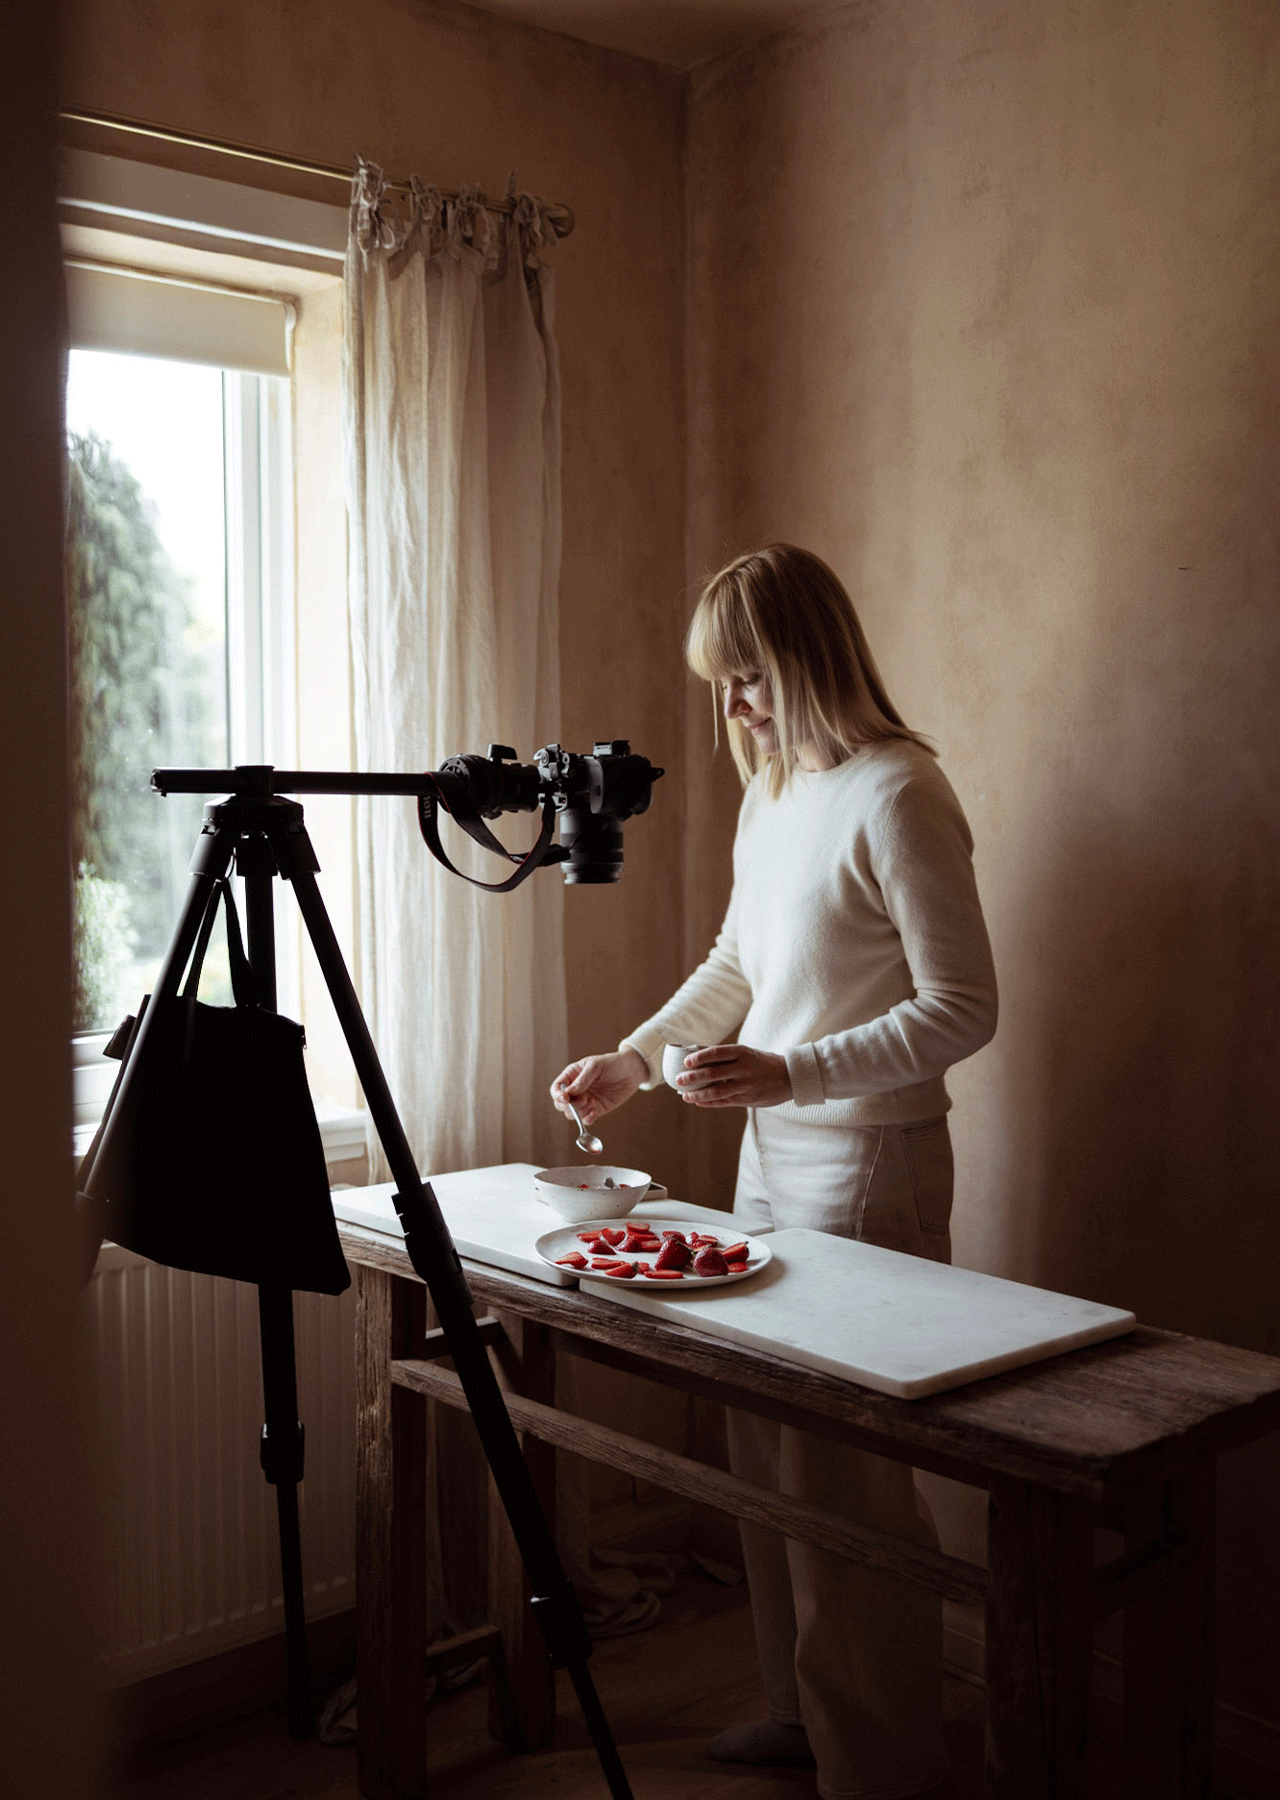
· The XTEND legs make it quick to get set up and adjust as I go.
· The 90° centre column makes moving between three-quarter and overhead perspectives remarkably straightforward.
· I also added the optional quick-release system to the tripod, which lets me swap heads in seconds without dismantling my setup. It kept the shoot flowing from one shot to the next, and if you regularly switch between different shooting setups, it's a great addition.
More importantly, keeping the tripod and camera in place allows full attention to stay on the composition itself. Elements can be moved, adjusted and refined while the framing remains exactly the same, making it easier to build the image gradually and stay in the flow of the creative process. After all, strong compositions rarely happen all at once, they are usually the result of many small decisions coming together over time.
4. Use Storytelling to Bring Your Food Images to Life
The most memorable food photographs do more than showcase a dish, they tell a story.
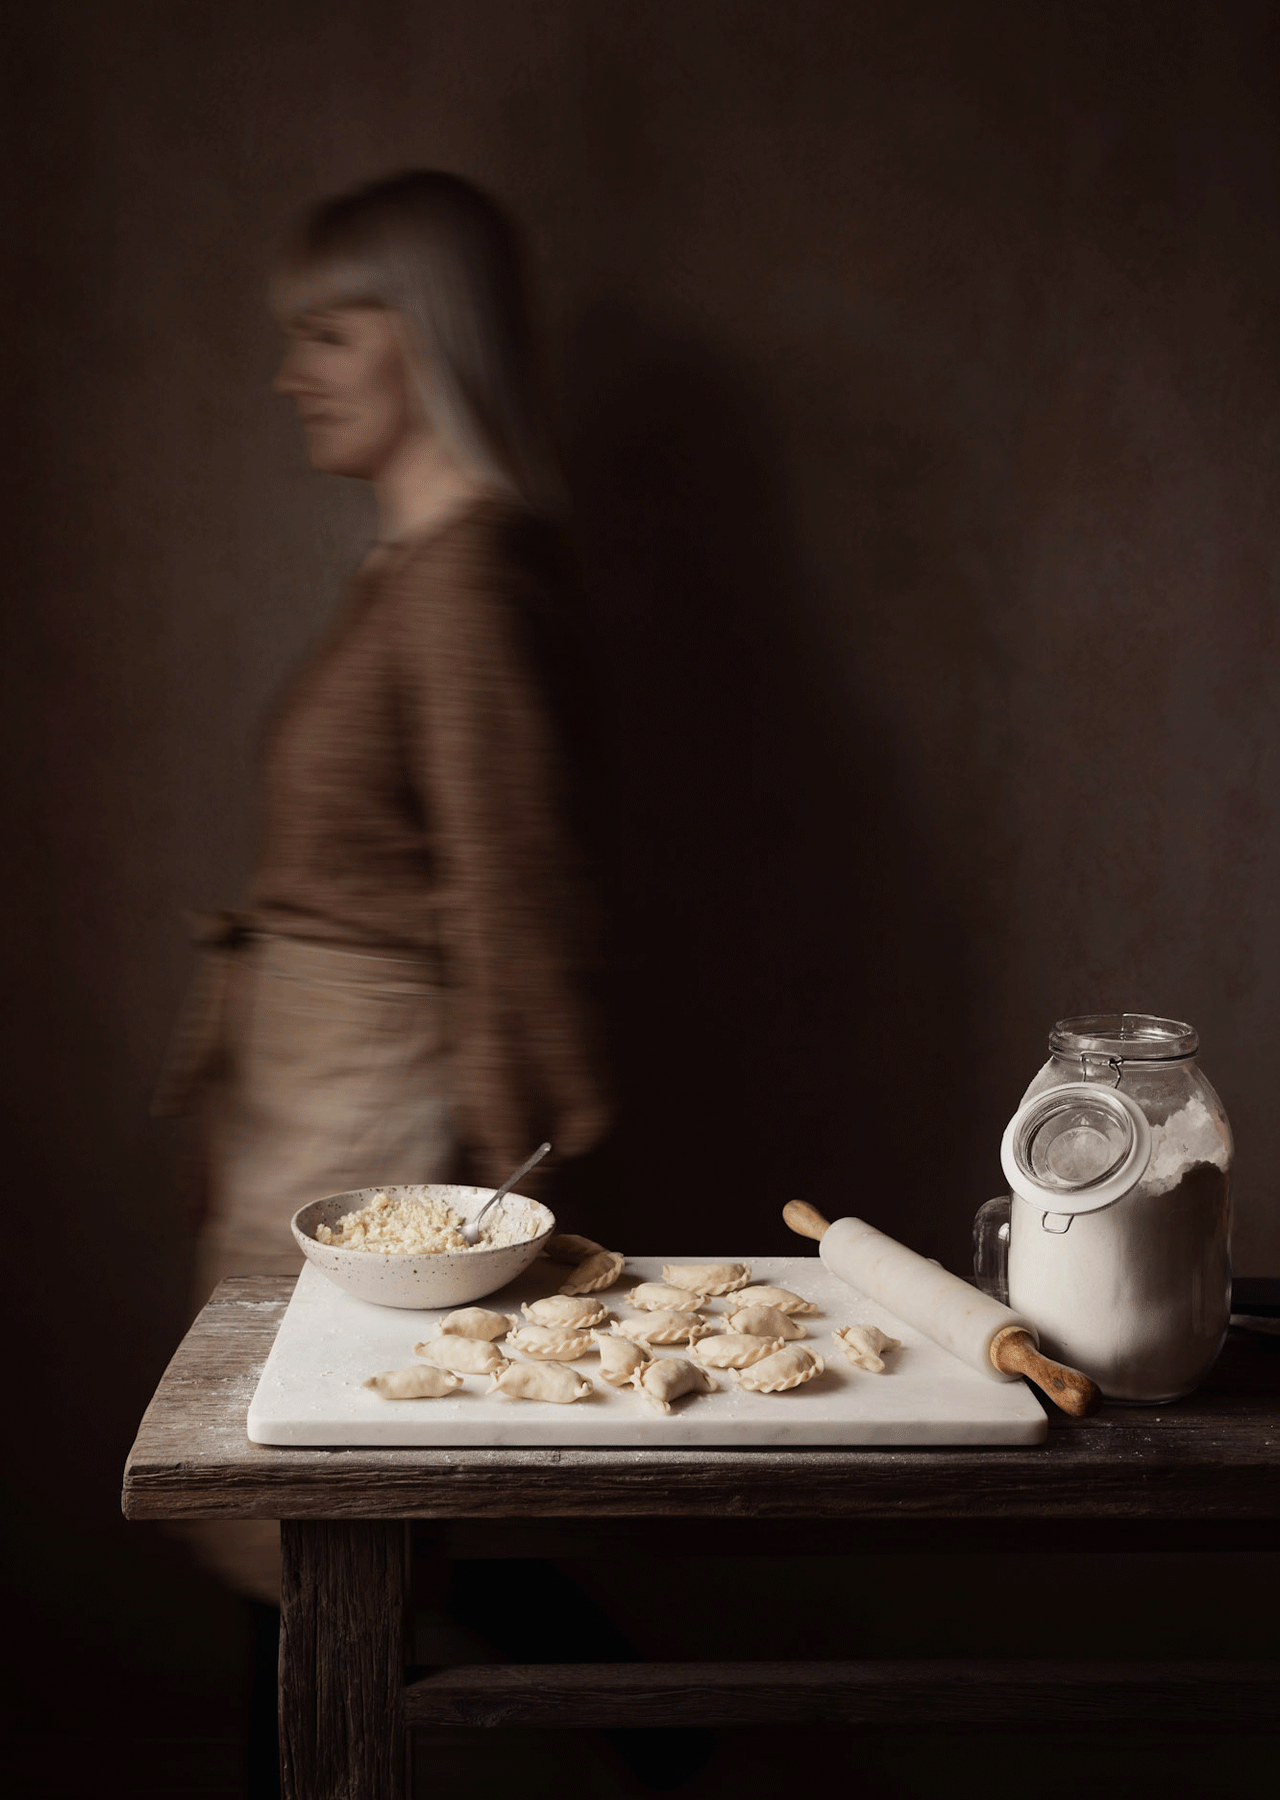
That story can be created by adding just a bit more context. A piece of furniture in the background, the edge of a window, or ingredients scattered on the kitchen table can all help suggest a sense of place and atmosphere. These small details quietly invite the viewer into the scene.
Another way to add life into a food photograph is to include a human presence. A hand reaching for a cookie, pouring a drink or sprinkling garnish introduces movement and visual interest. Suddenly, the image feels less like a still life and more like a moment in progress.
When working alone, this is where a tripod becomes an invaluable assistant. The camera and composition can be locked in place while leaving you the freedom to step into the scene and experiment with different actions and lived-in moments. Using a camera control app or remote trigger makes the process even smoother, allowing images to be captured naturally without rushing back and forth between the camera and the set.
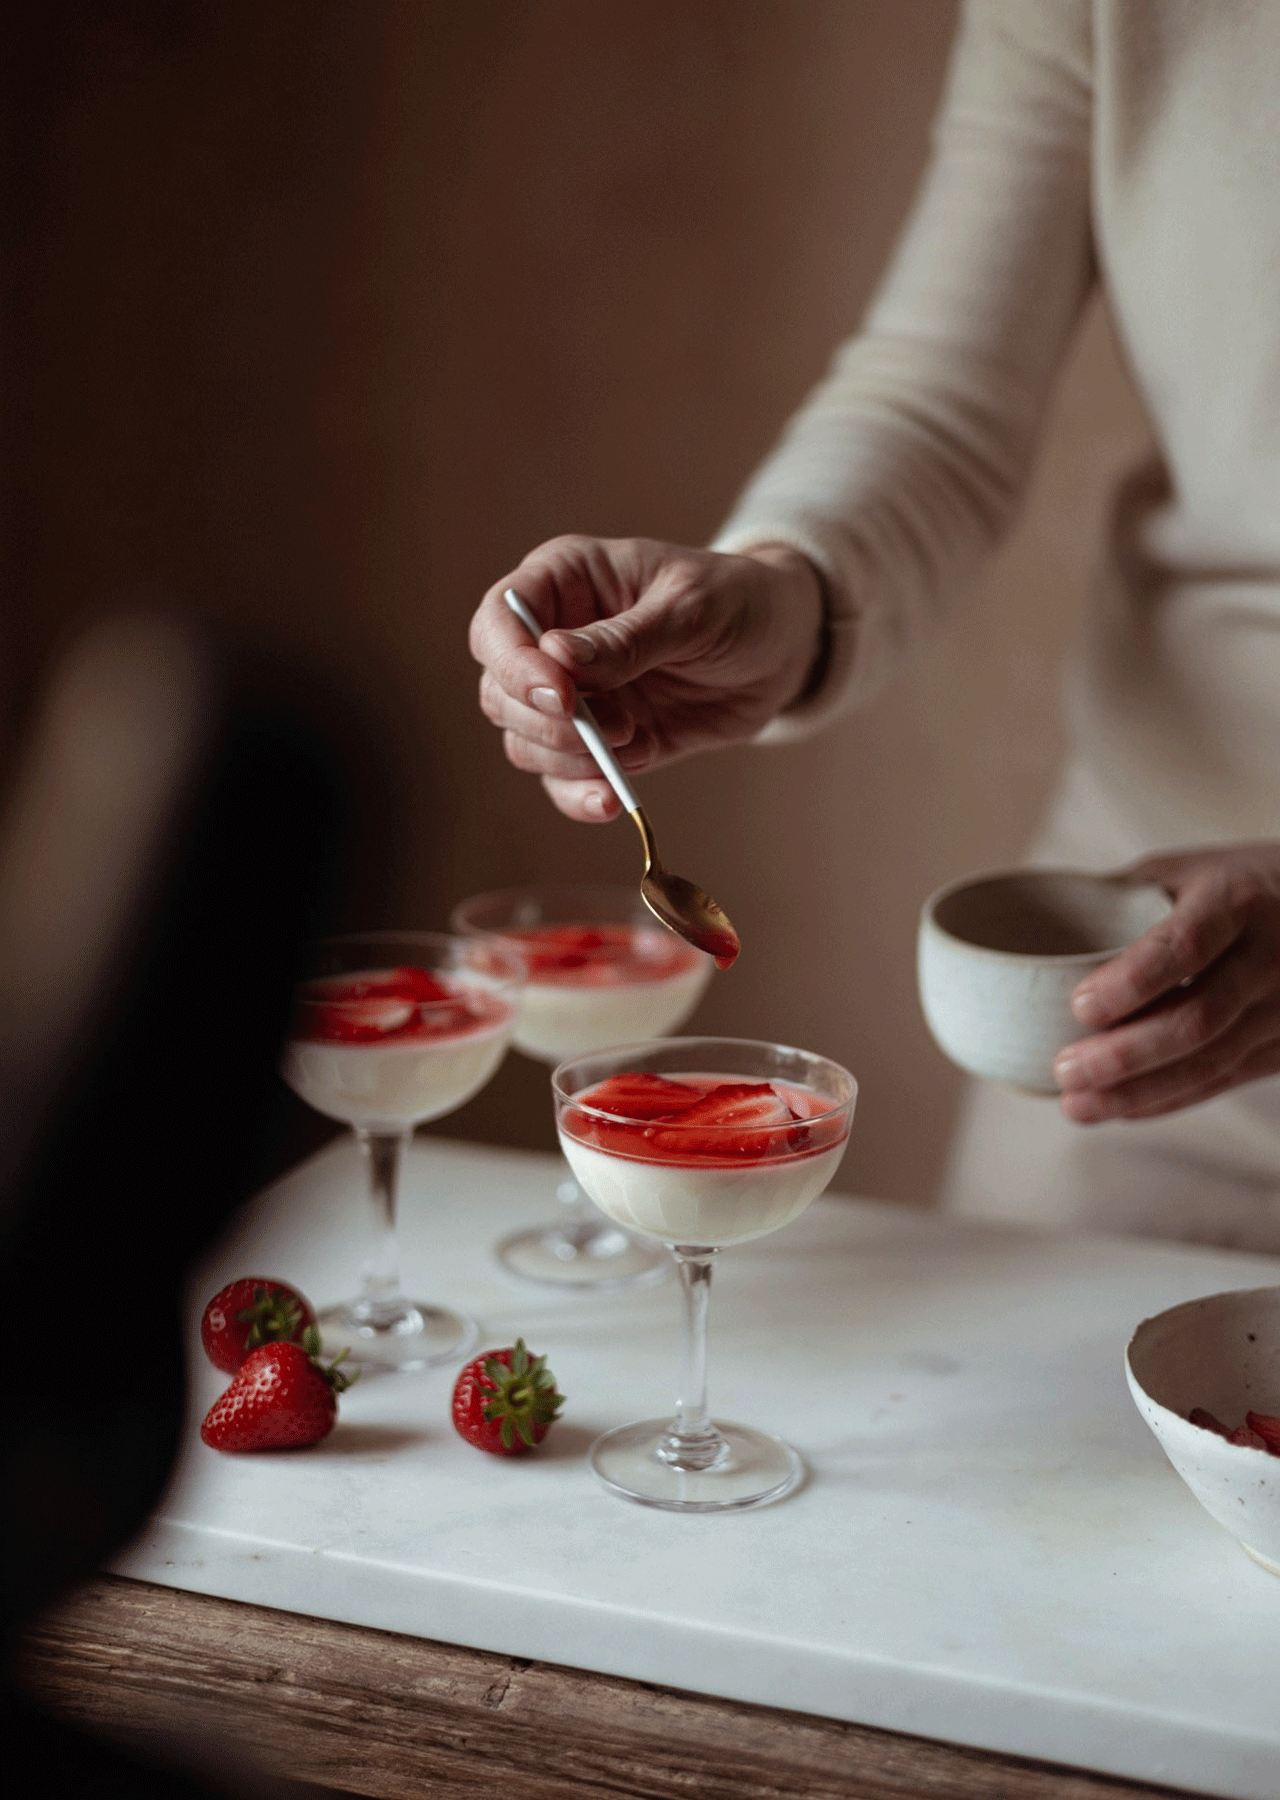
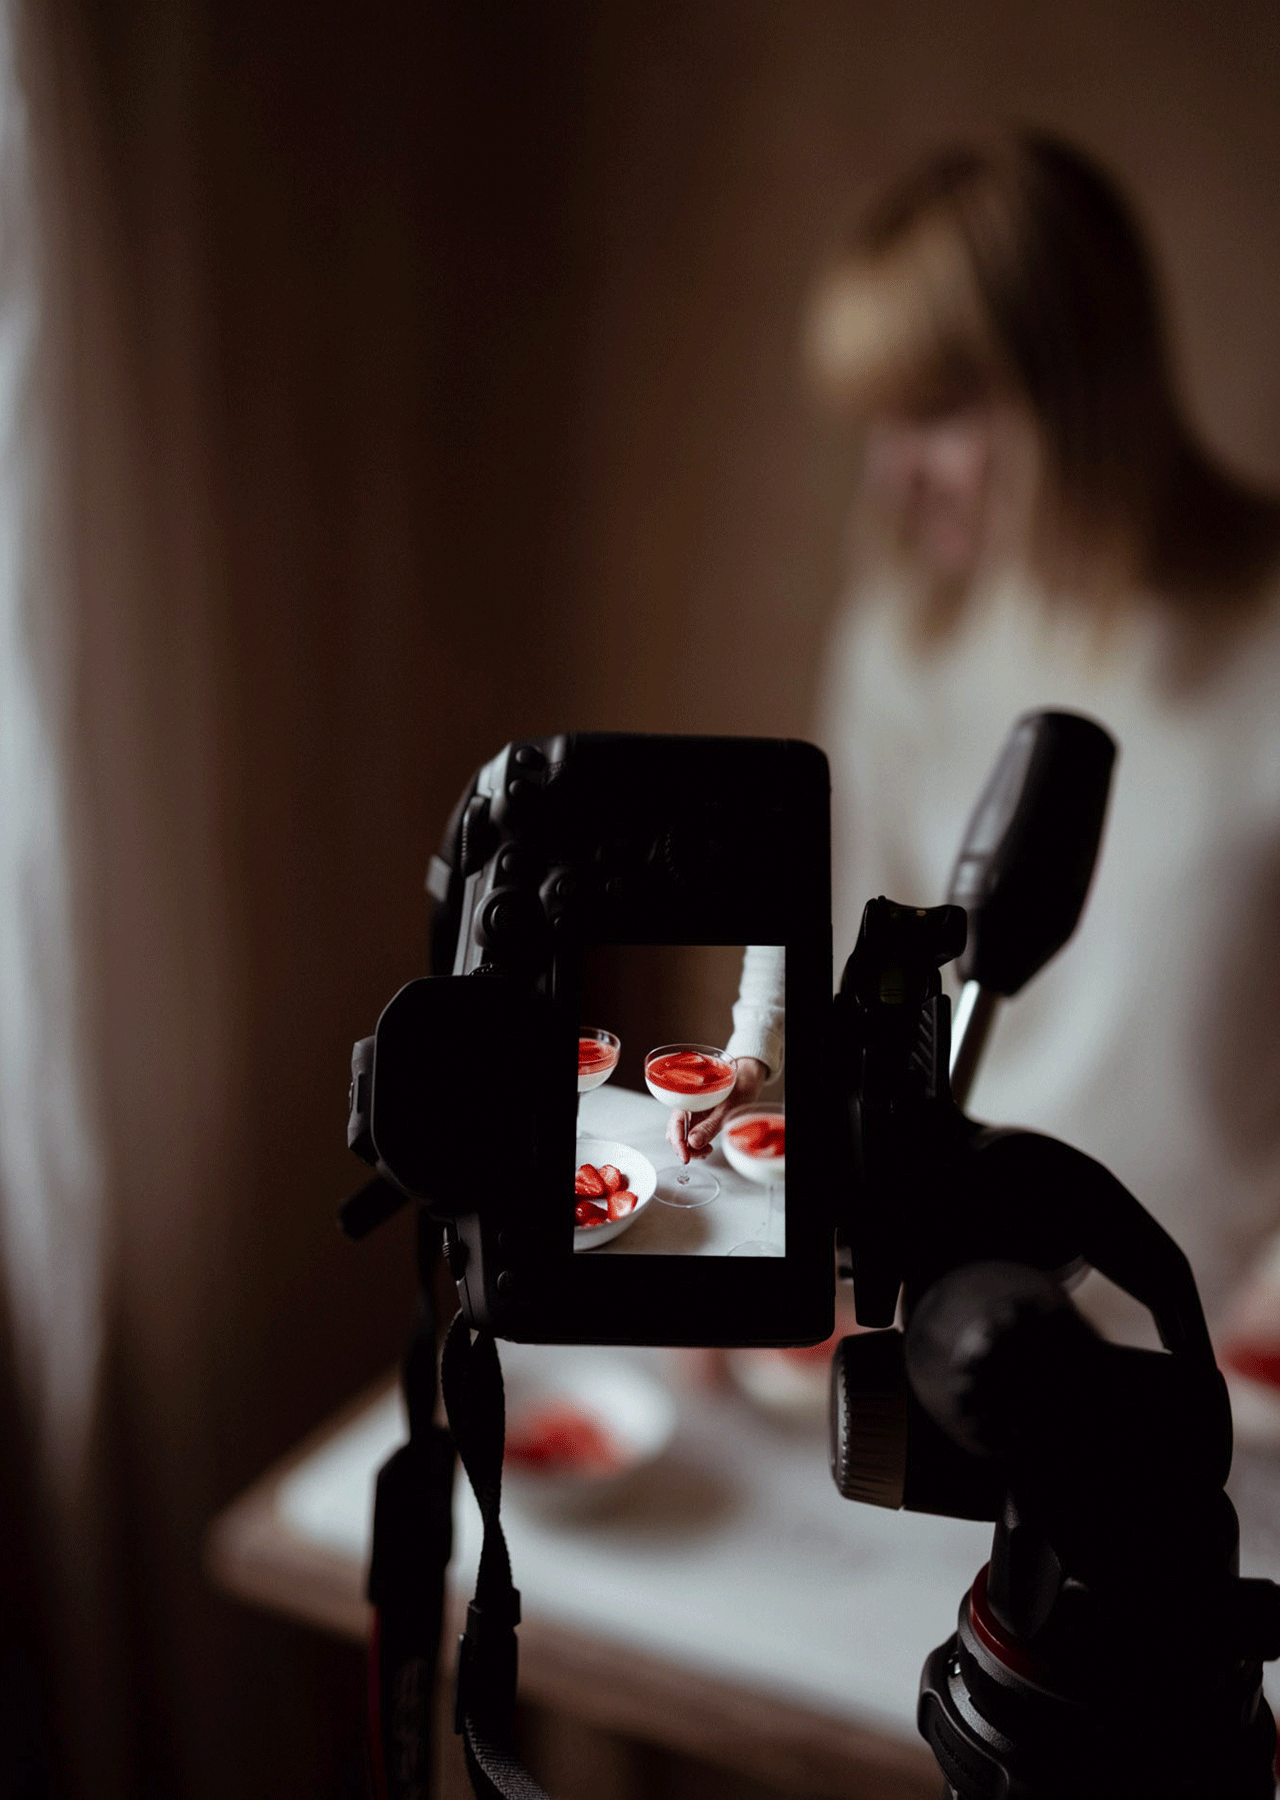
Often, it's these small actions and moments that make an image feel most engaging. They help transform a carefully styled scene into something that feels more natural, relatable and full of life.
5. Edit to Make Your Food Images Pop
Editing is where the creative vision behind an image can truly come together.
When it comes to food photography, colour adjustments can make ingredients feel fresher, more vibrant, and appetising. Individual colours can be fine-tuned so greens feel crisper, reds become richer, and the overall dish looks as delicious as it tastes.
Texture and clarity adjustments are also useful tools. They help bring out natural details already present in the food - the crispness of a crust, the softness of cream, or the gloss on a fruit's skin. These small details are what give food its tactile quality in an image.
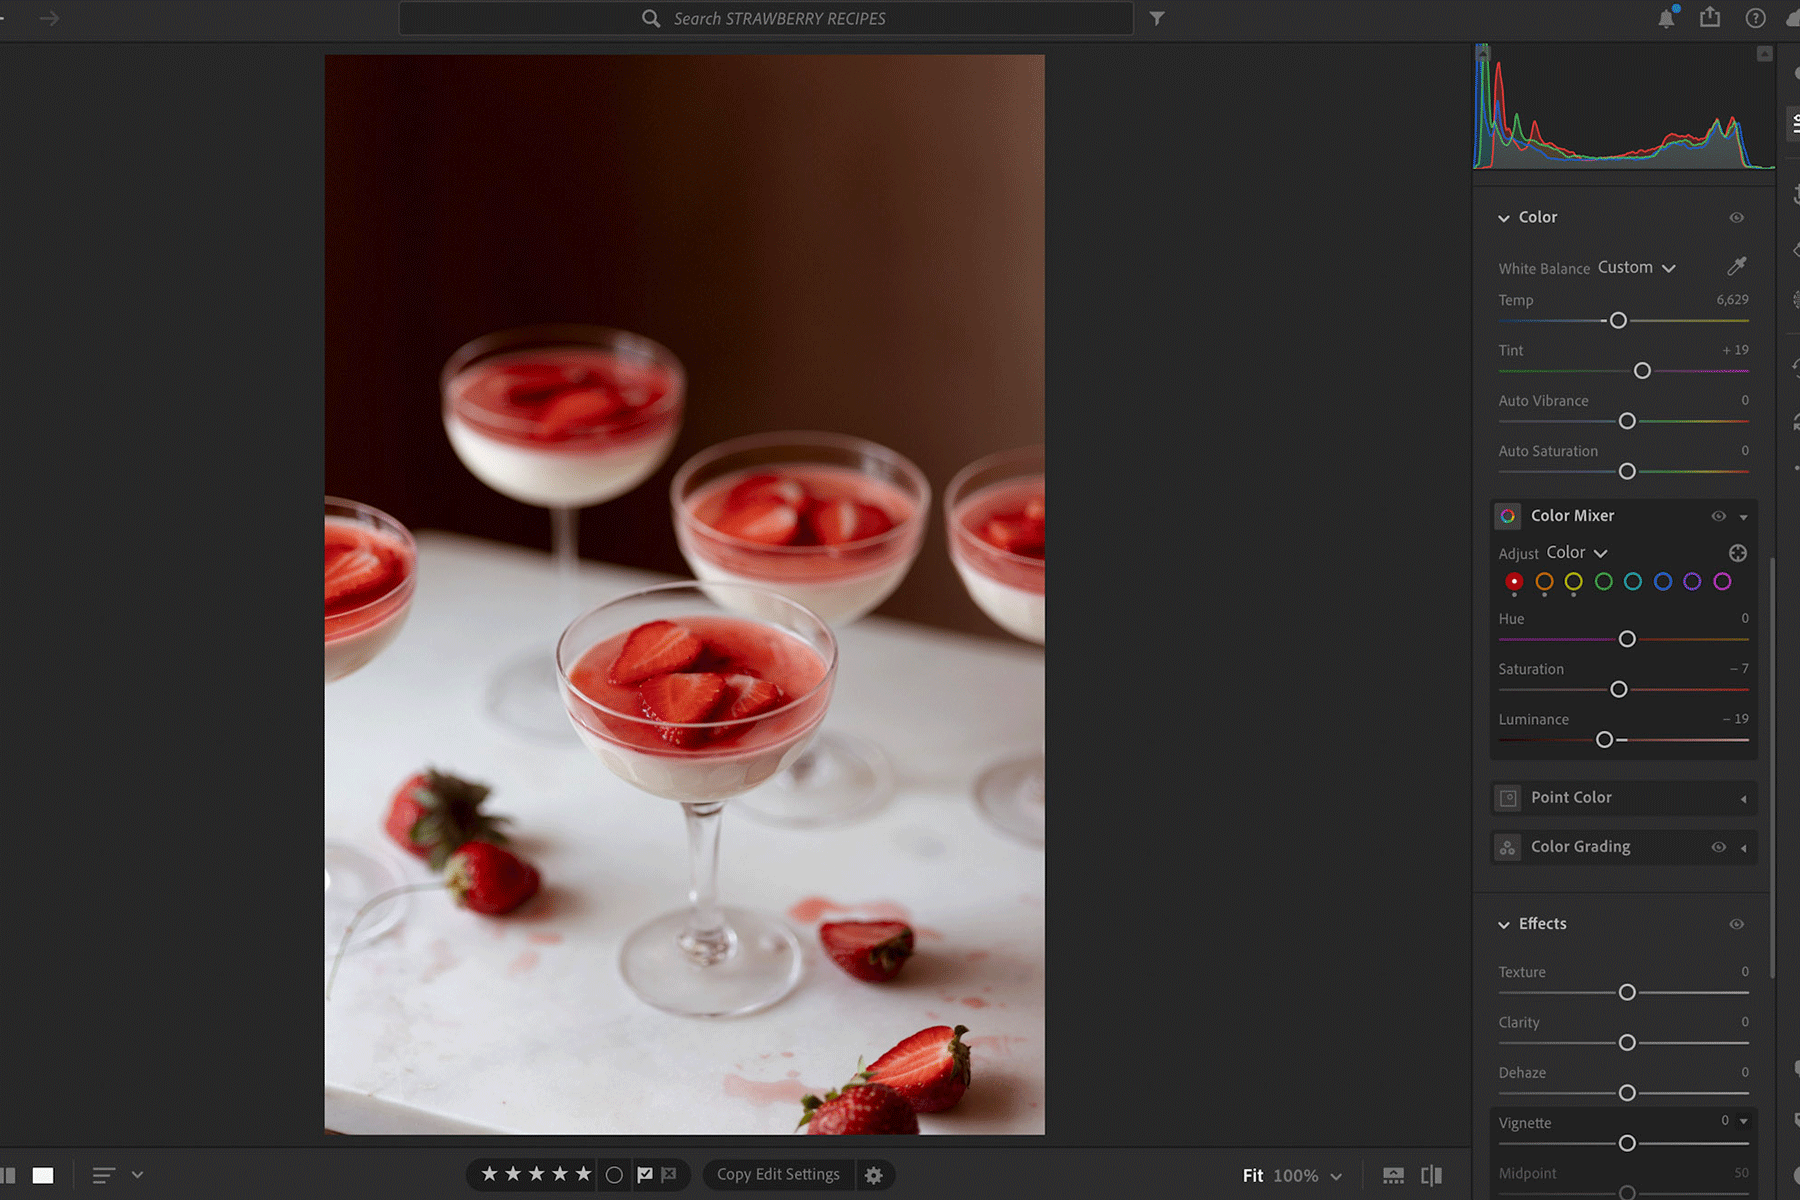
Selective adjustments can be very powerful too. Using masks to work on specific areas of an image makes it possible to guide the viewer's attention more intentionally. That might mean subtly brightening the hero element, adding a bit more contrast to a key detail, or reducing distractions elsewhere in the frame.
The goal is rarely to transform an image completely, but to enhance what is already there and strengthen the visual story. Thoughtful editing highlights the textures, colours and details that make food so appealing, while guiding the eye to exactly where it needs to go.
After all, we eat with our eyes first.
Final Thoughts on Food Photography
Food photography, like any skill, improves with practice. The more you shoot, the more you start to notice small things - how light changes a scene, what helps when building a natural composition, and when food looks its best in front of the camera.
Over time, these decisions become quicker and more intuitive. There's less guesswork and more trust in what you've already learnt.
Having a tripod that supports this process makes a real difference. It becomes much simpler to move between ideas, refine details and try different compositions.
In the end, good food photography is about paying attention, making small adjustments, and gradually building images that feel natural, delicious and full of story.