


Behind the scenes with Ania Elias
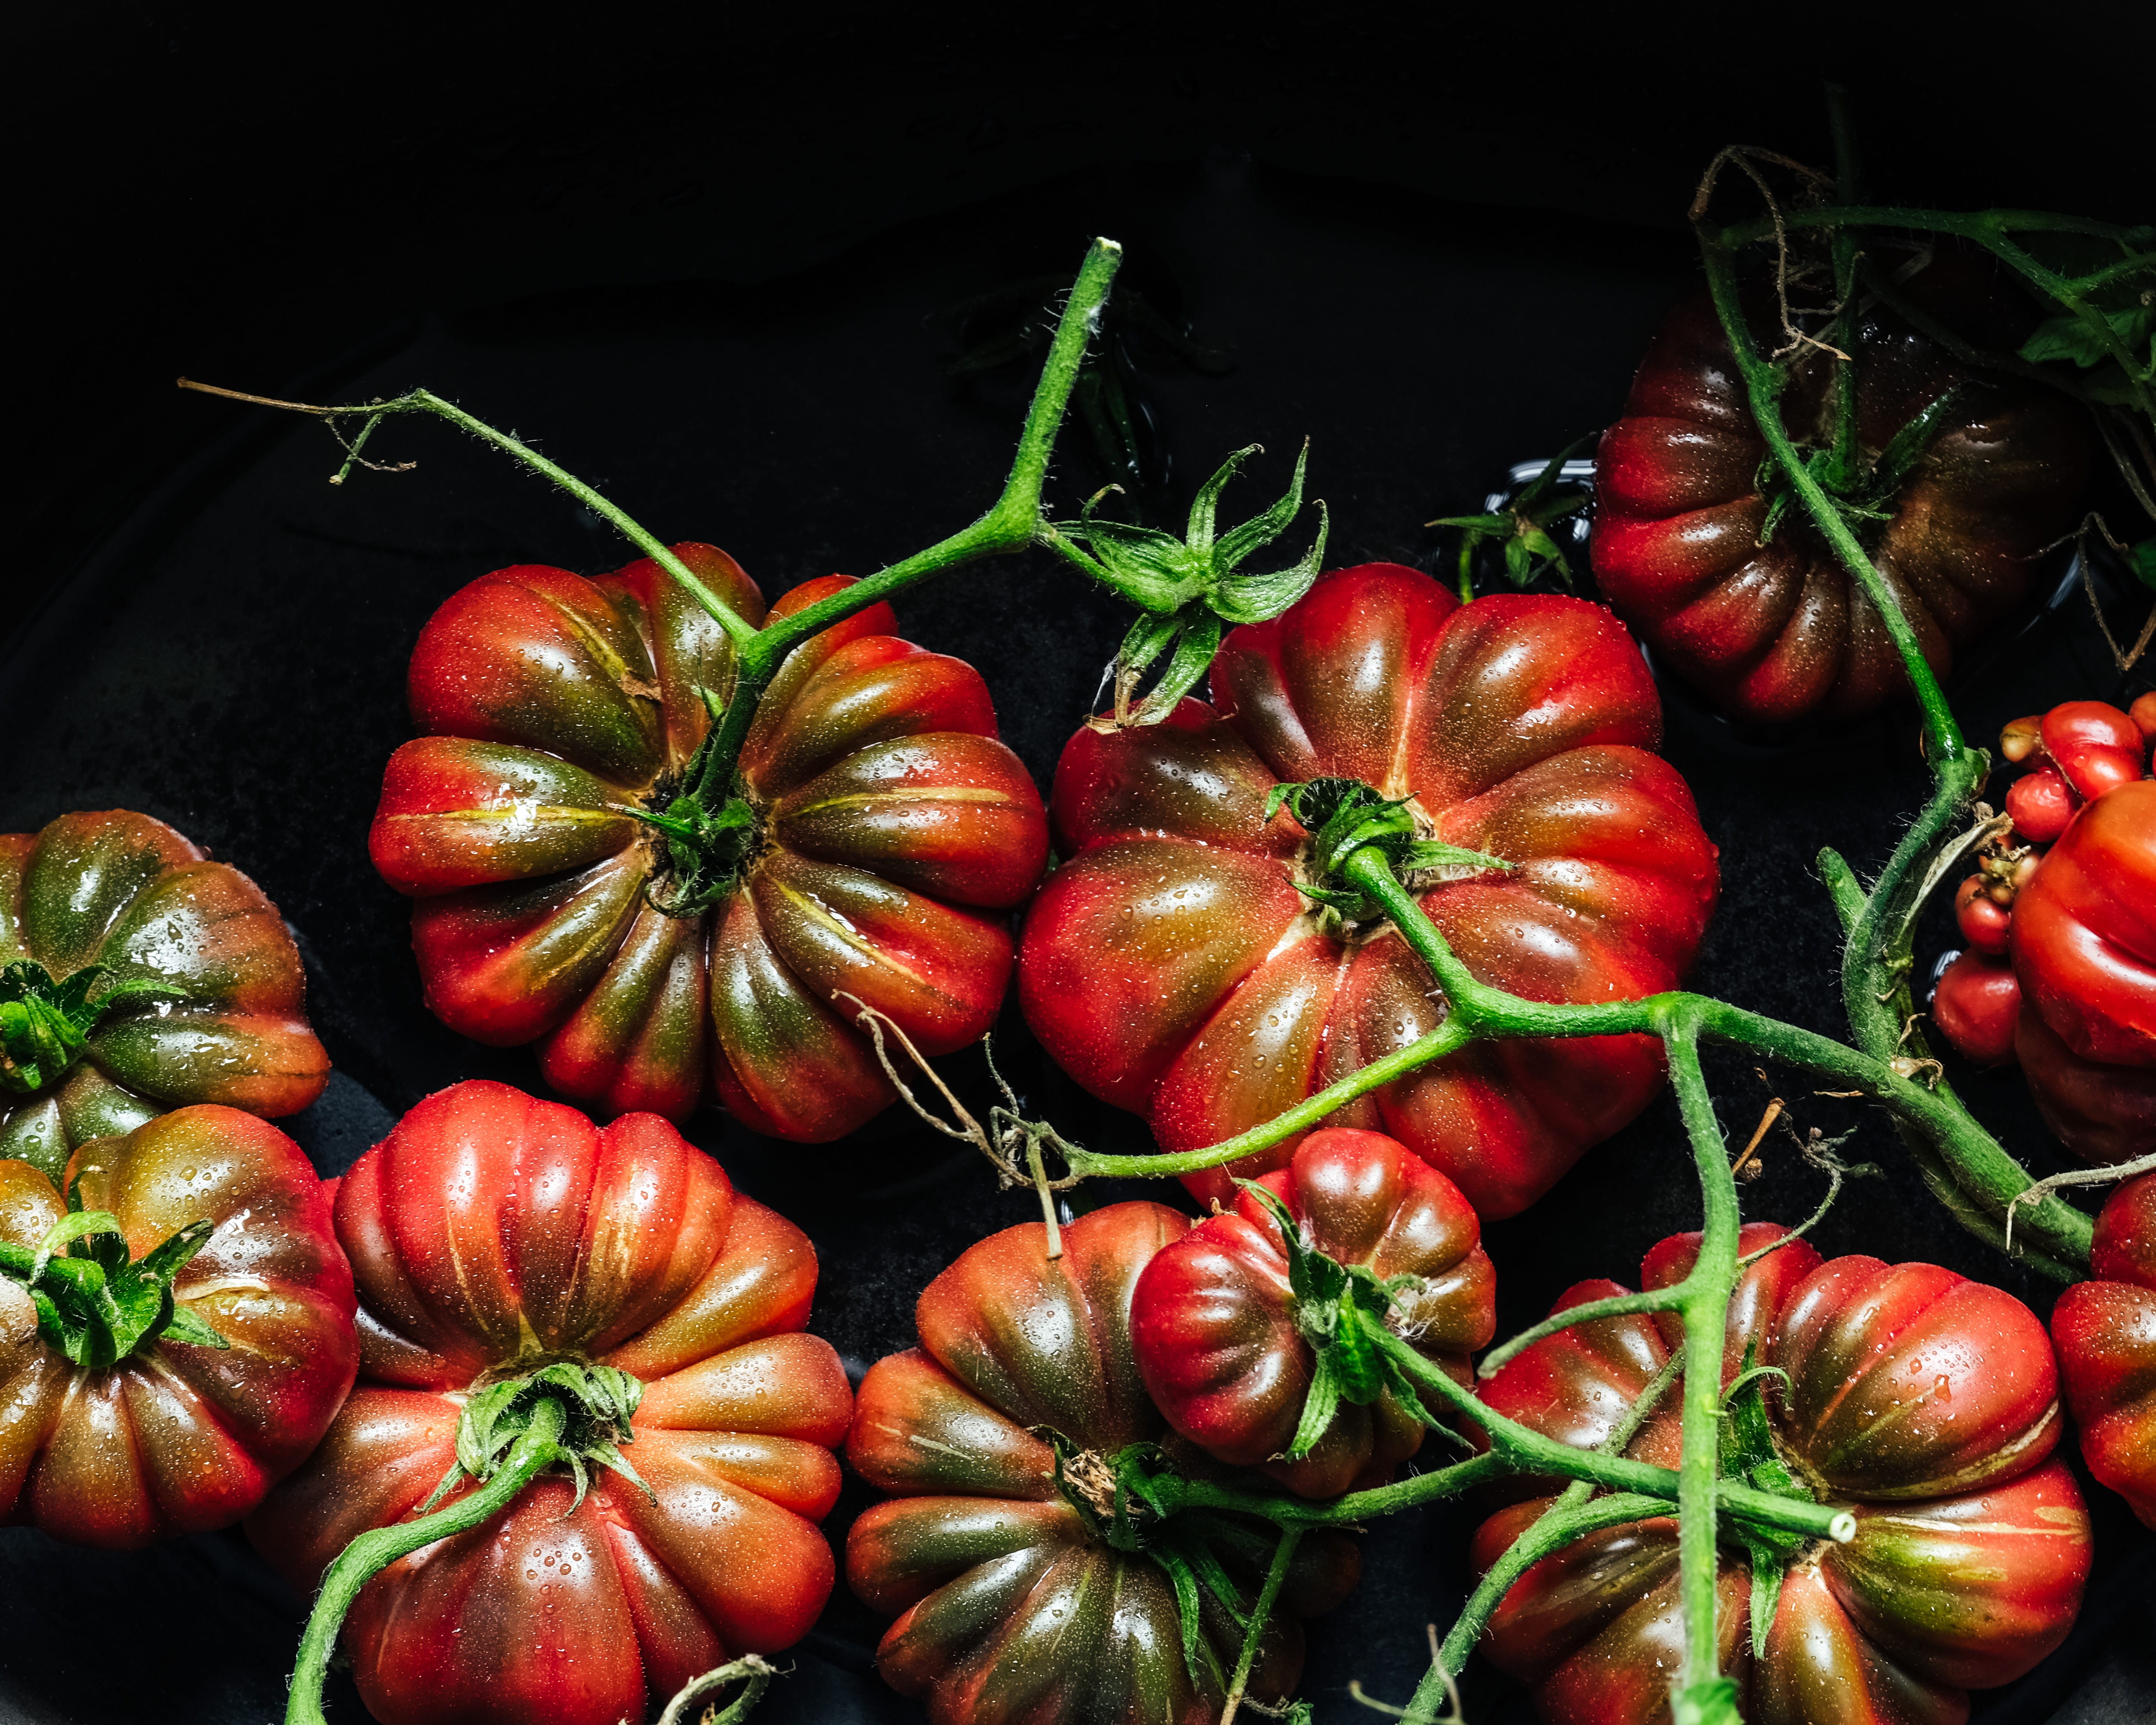

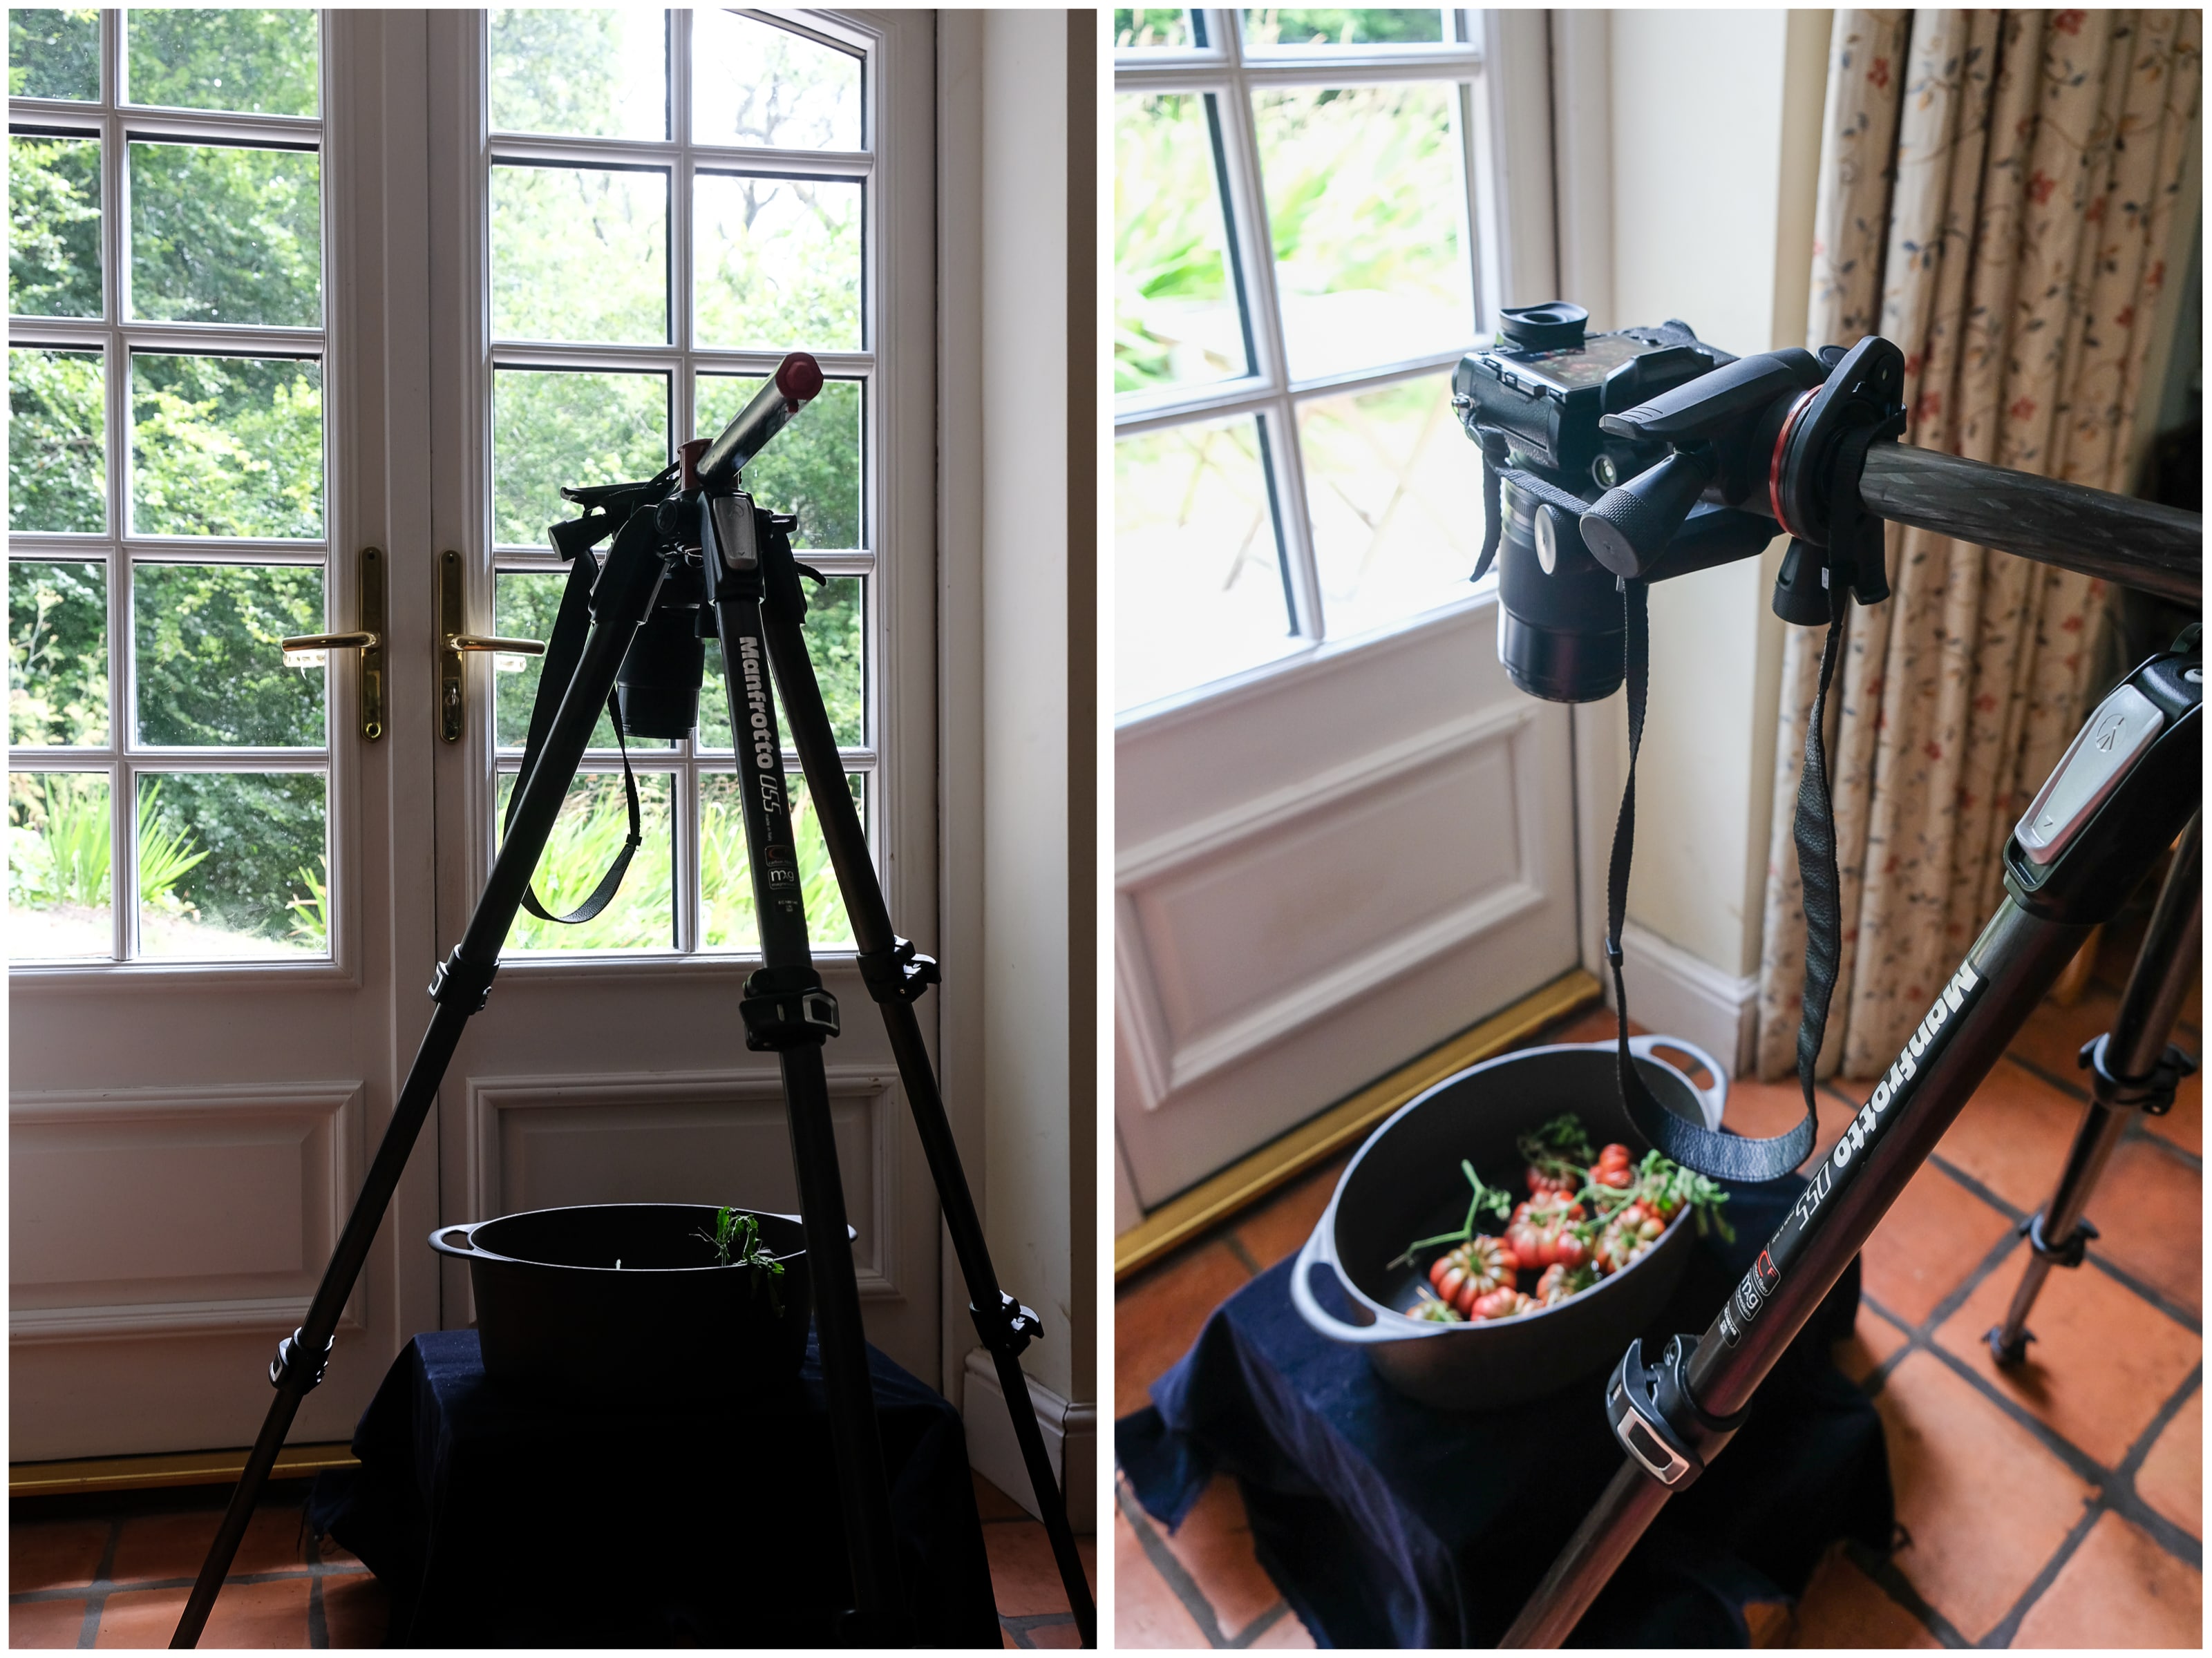
I’d like to start by saying that although I always try to think ‘outside the box’, actually looking at what’s inside the box can often take you by surprise! One of my favourite props to use in food photography is either an old French deep cast iron casserole dish or a wooden box. You can achieve some truly beautiful light when you create your set up inside a deeper container or a wooden box.
By moving the container in which you’ve created a set up, you can direct the light where you want it to go, creating gorgeous, deep shadows. Whether I’m using natural or artificial light, I always experiment with the light striking the subject from behind. I find this works particularly well for more dramatic, mysterious, and moody shots. You get strong contrasts between light and dark which heighten the viewer’s emotions – it creates tangible tension. It also adds more interest to your photos, giving the subject more depth.
This kind of light works particularly well for creating a more dramatic, mysterious and moody shots.
You might be surprised how a very simple set up can create a truly captivating image. Not only is the dish/container an effective way to arrange your subject(s) in a strong composition, but it also draws the viewer’s eye straight to where you want them to look.
The container or dish shouldn’t be so deep as to block the light entirely. On the other hand, if it’s not deep enough, you can use negative fill cards or black boards and place them around the container to reduce light bounce inside it.
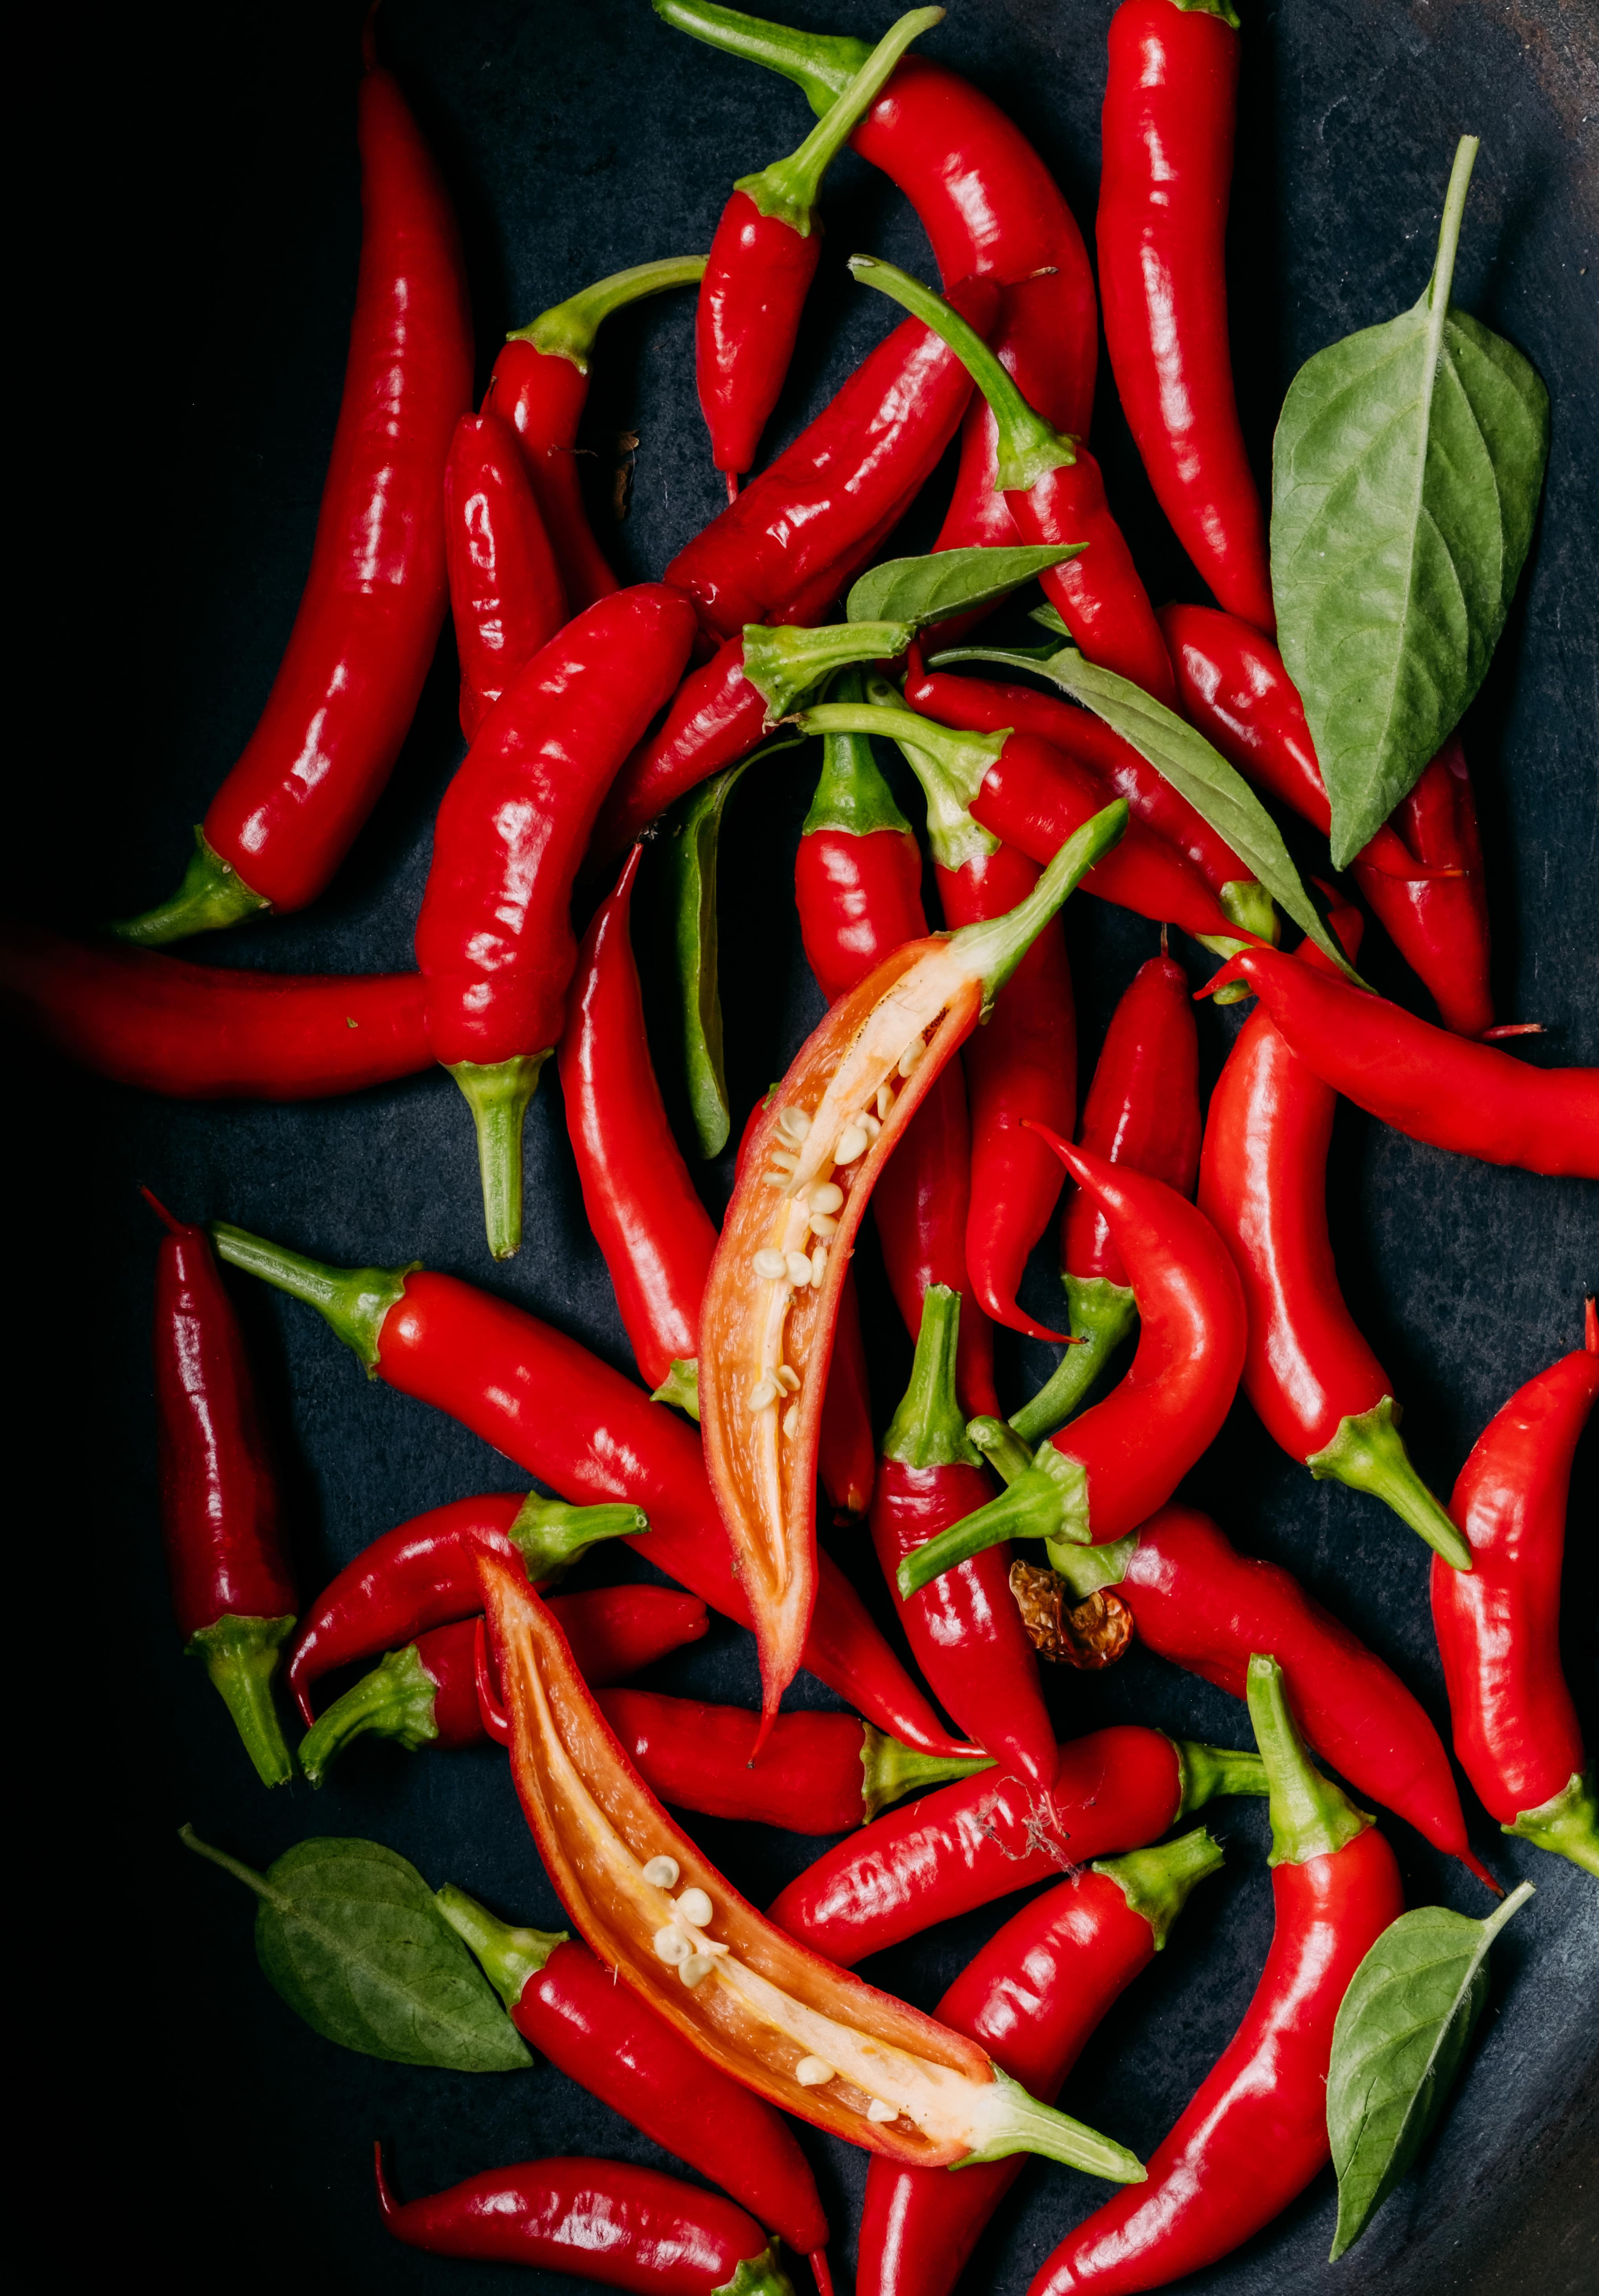
Parts of the image are in shadow, gently leading the viewer’s eye to the brightest part of the frame.
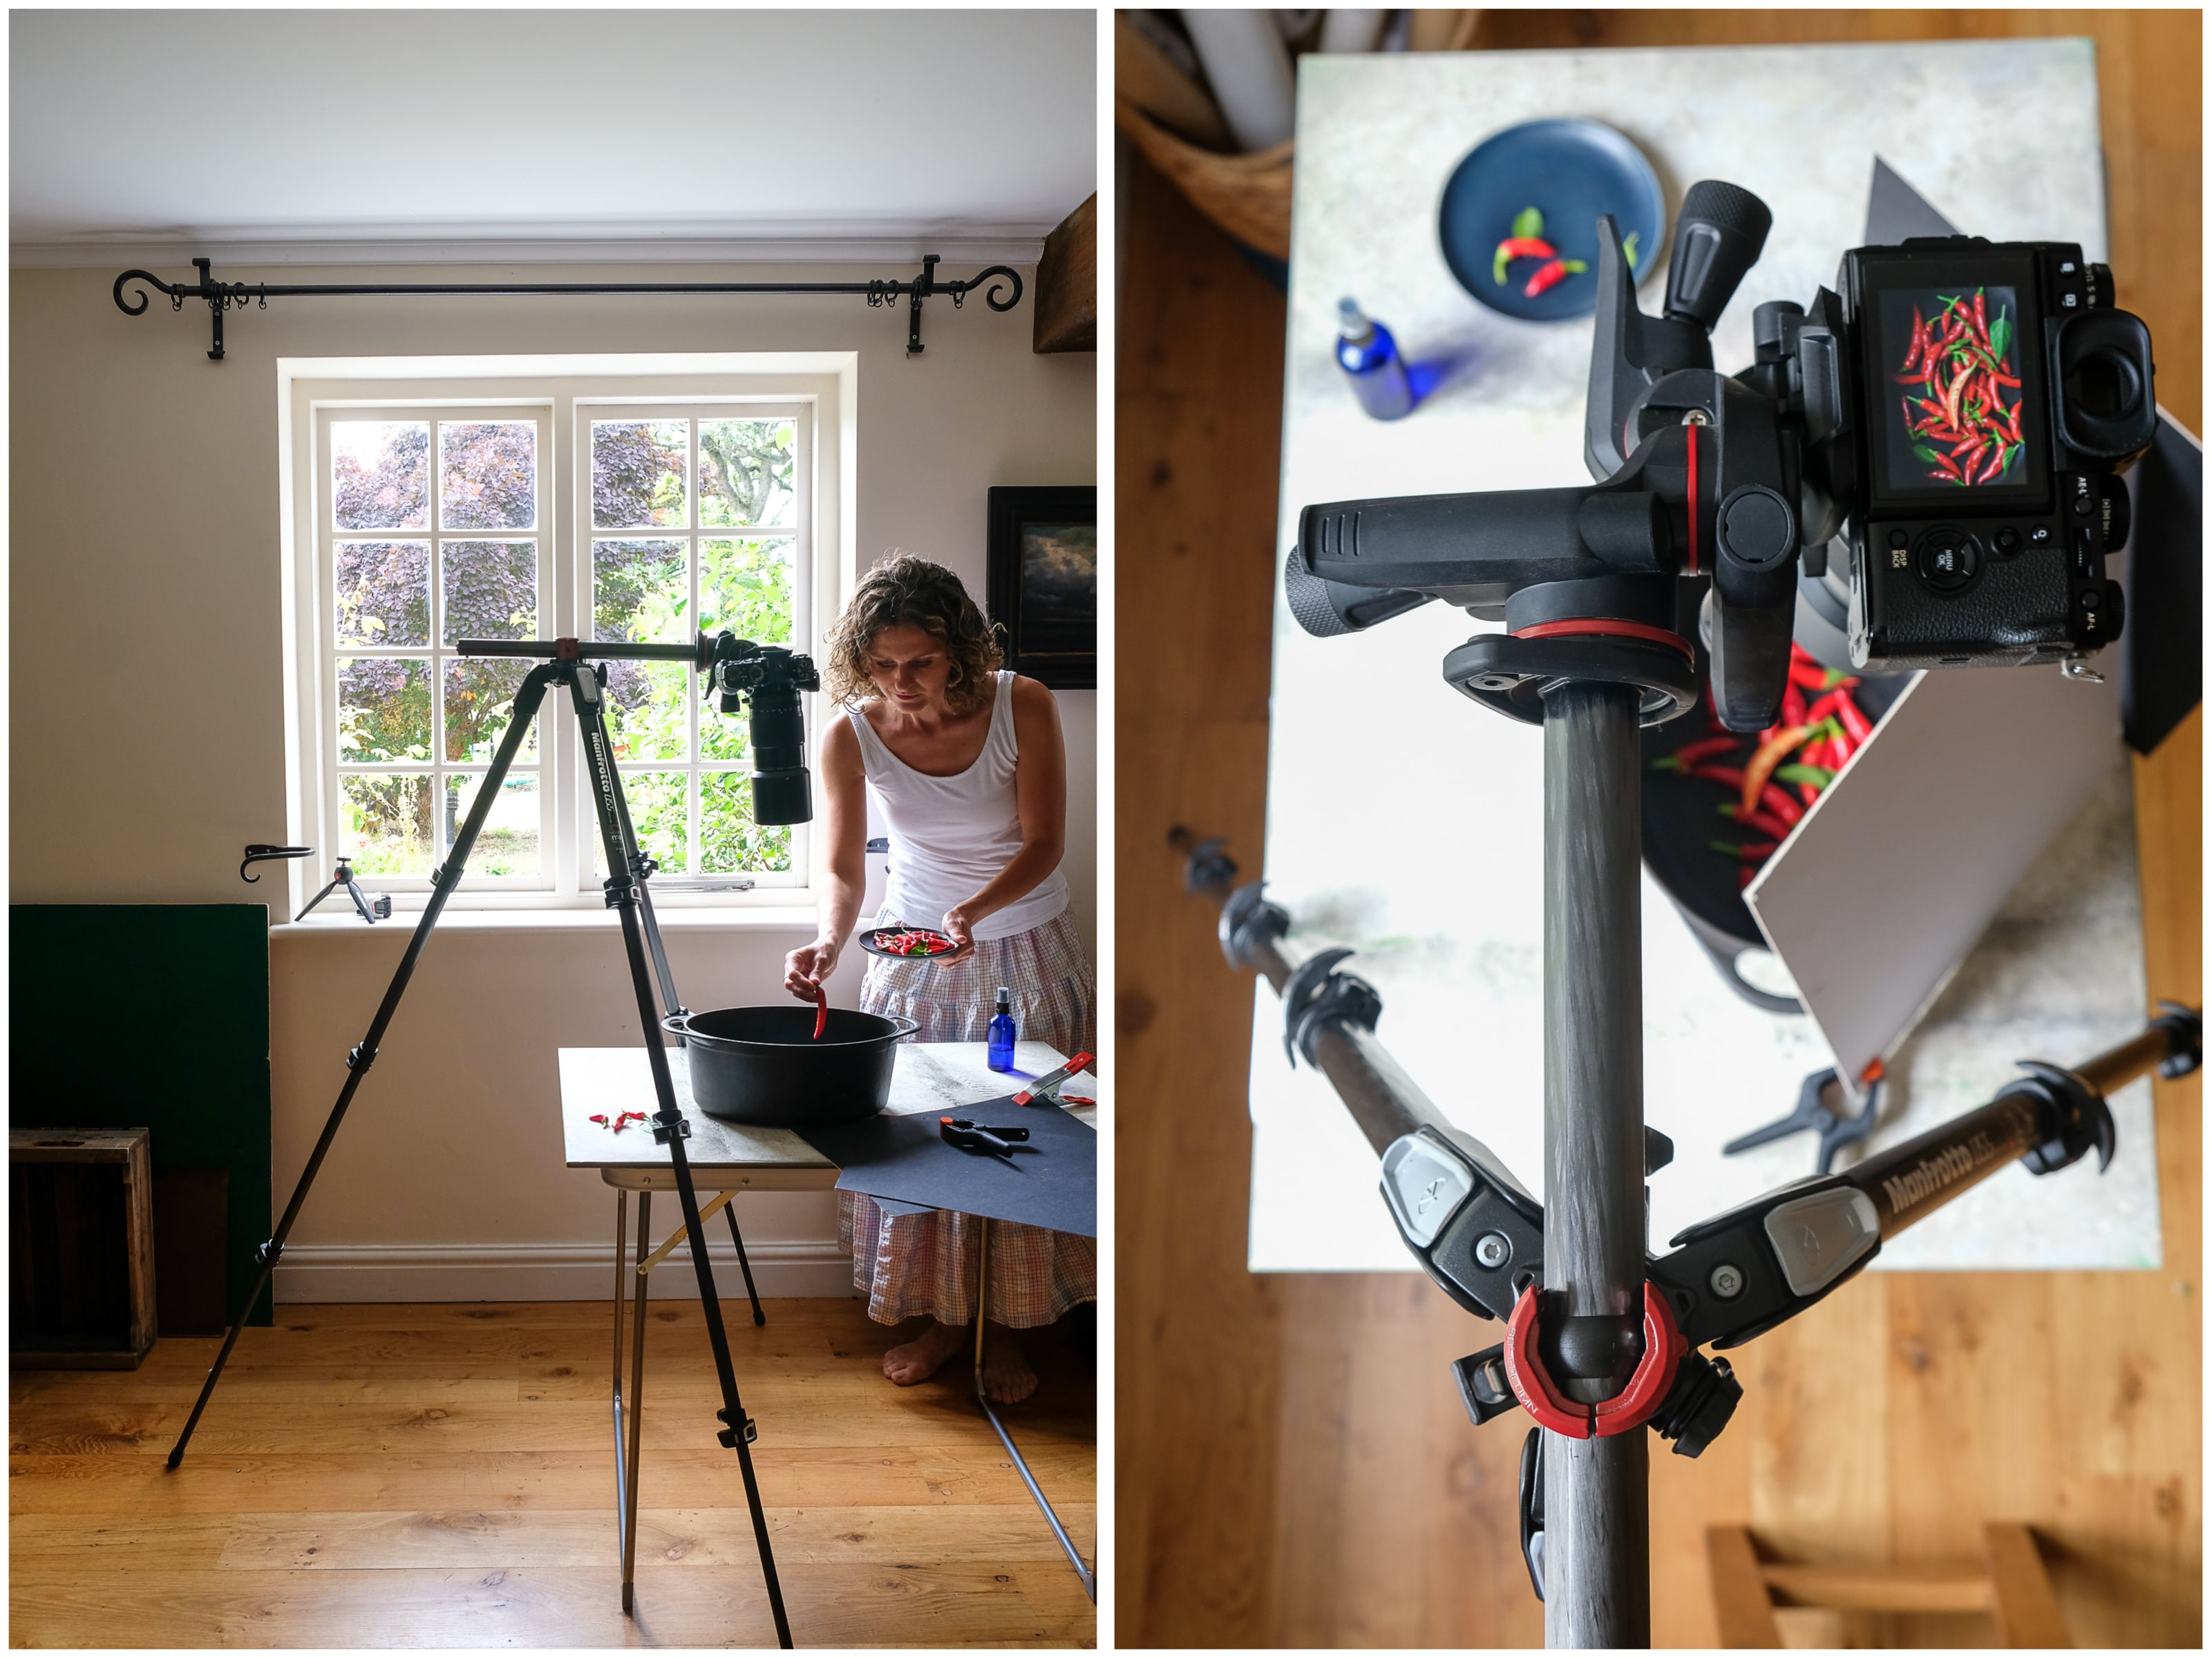
"For red chillies I actually used side light as I found they had too much shine when using back light."
A timeless look
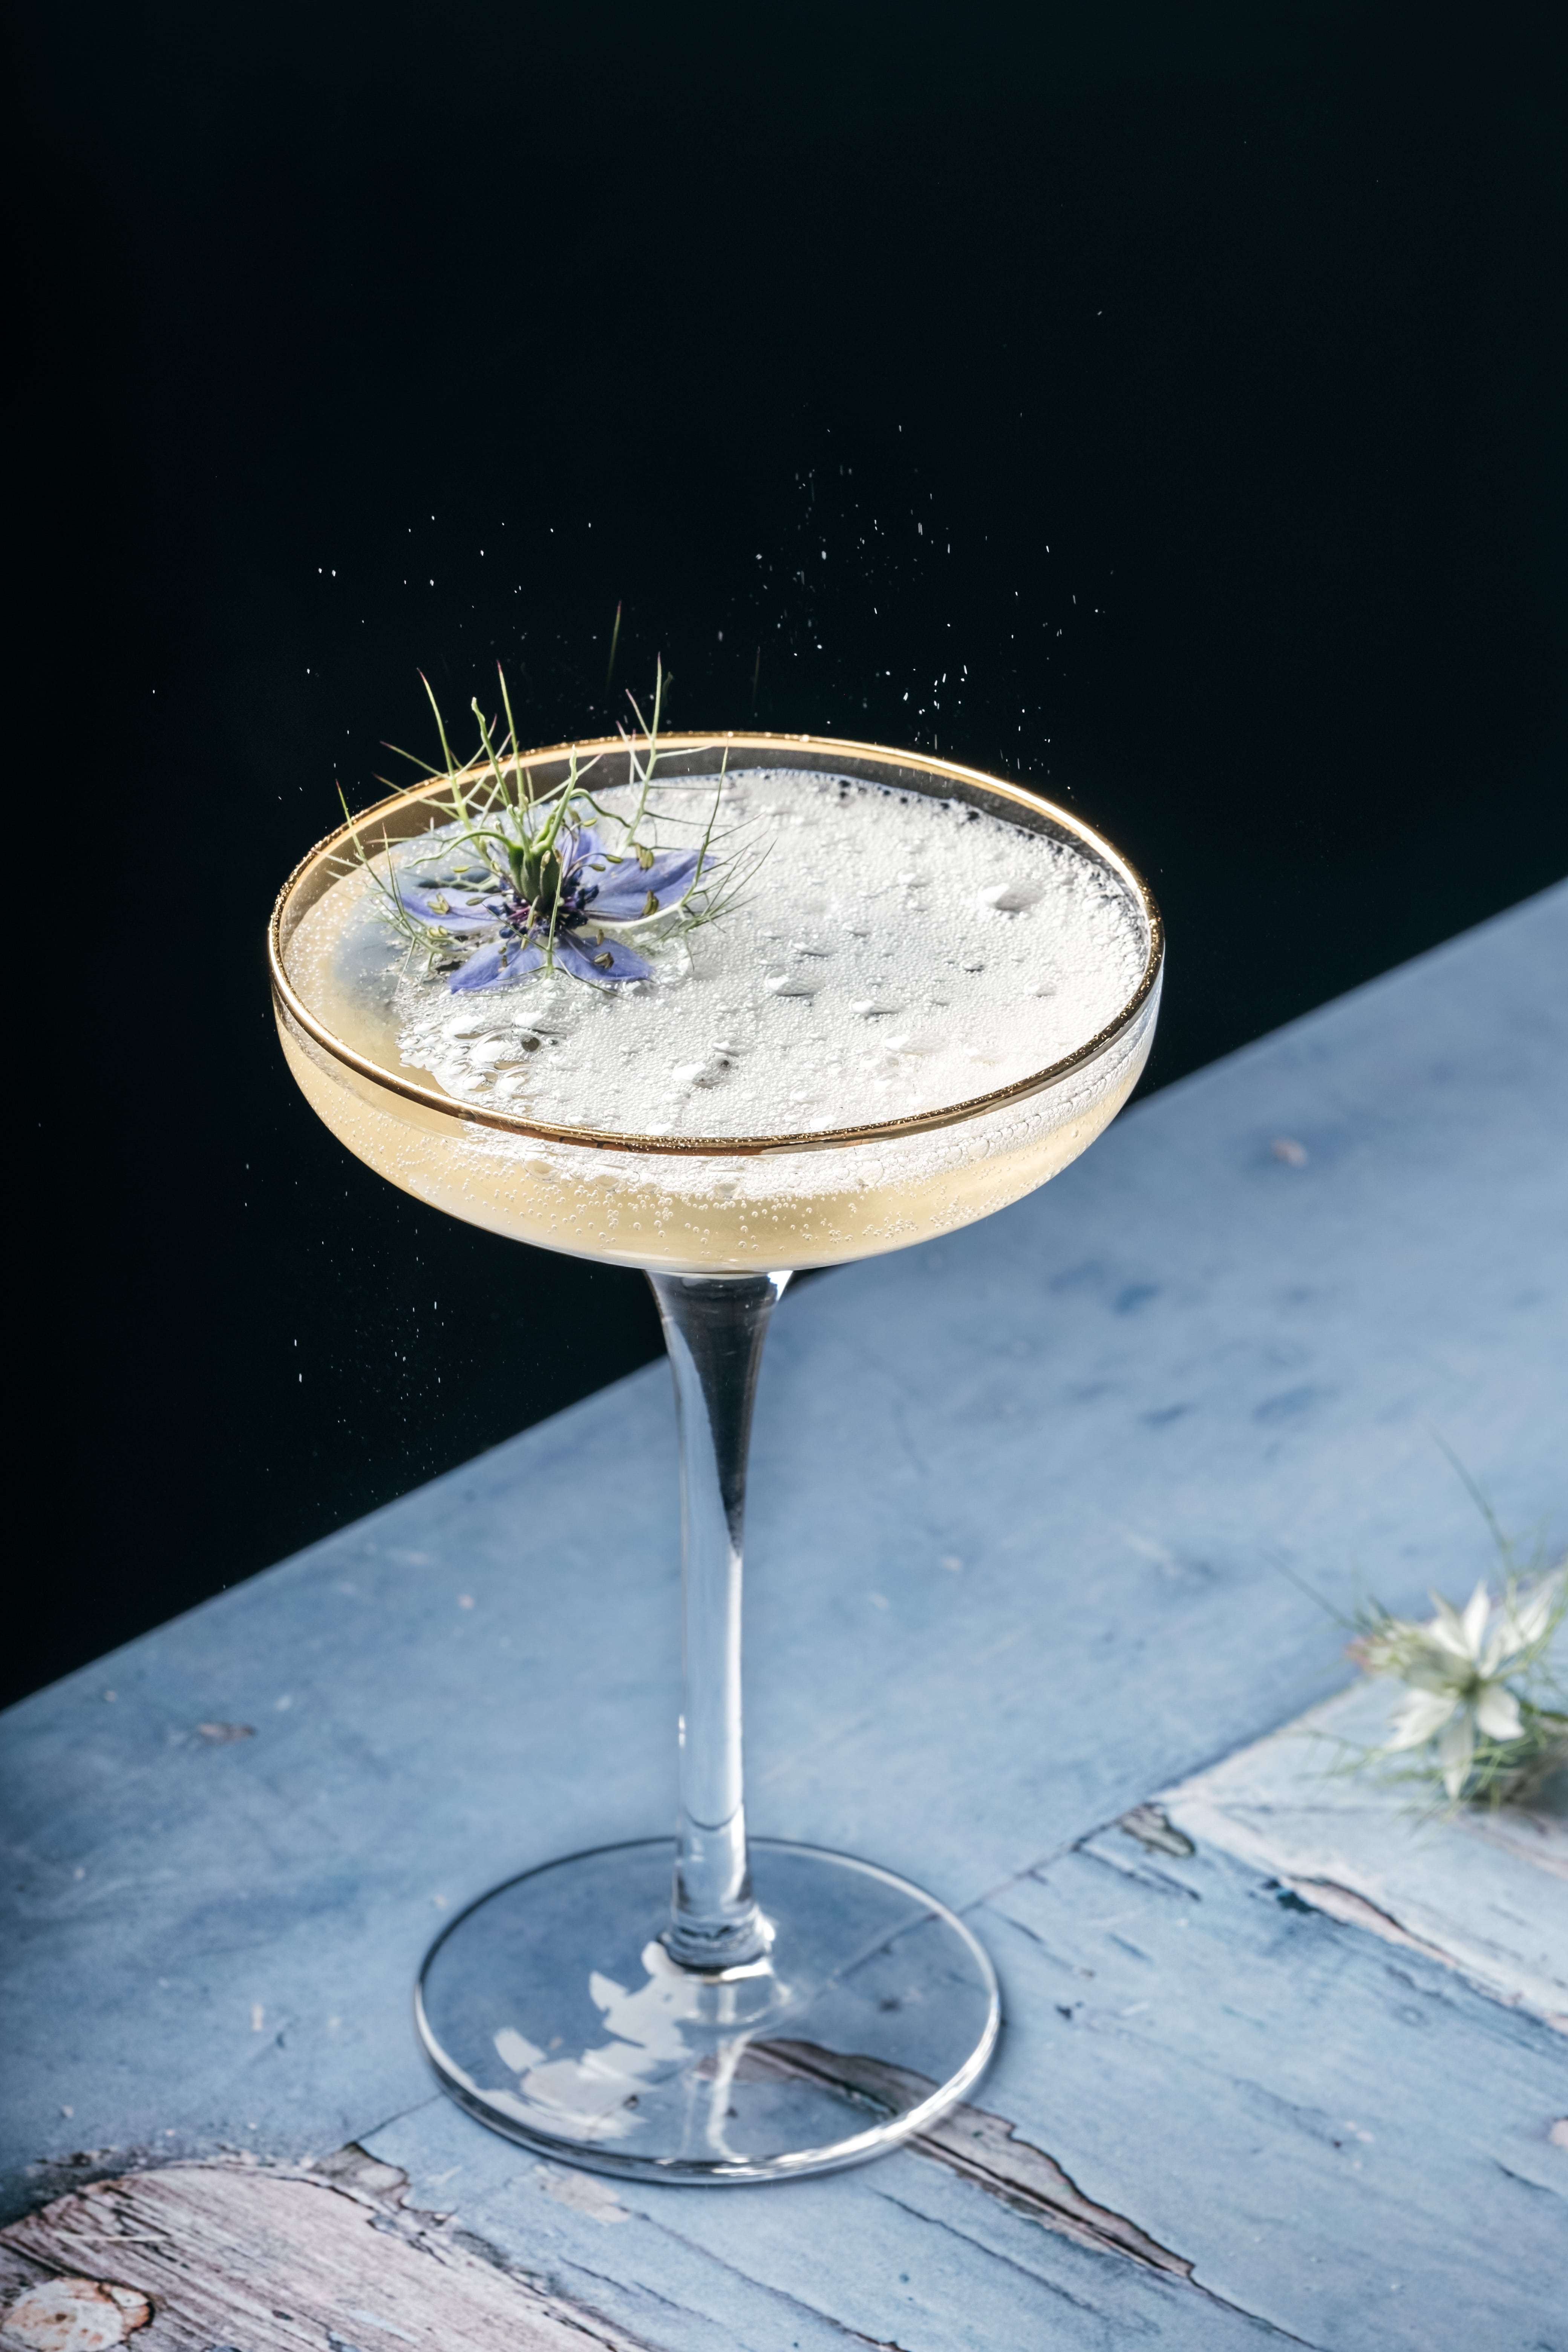
I wanted to create a simple, minimalistic but elegant look for this image. Flowers can be very pretty garnishes that pair well with a delicate layer of bubbles. Never underestimate the beauty of something so simple.
This image is all about showcasing how a simple, yet interesting garnish can add real interest. It was early evening, and the available natural light was insufficient for the shot I was planning, so I used flash with a softbox to create a gentle feel. Using diffused light created a more dreamy look, with softer shadows. It gave the image a timeless look which is what I had in mind.
I positioned the light somewhere between backlight and side light, which highlighted the bubbly texture of the drink, caught the effervescence perfectly and really accentuated the texture of the nigella flower. Combining this kind of light with the movement and the colour of the backdrop made this image more impactful.
To create a pure black background, I used non-reflective black velvet. Velvet absorbs very little light compared to other materials and has hardly any sheen so it’s my favourite material for a perfectly black background. The only thing to remember is that it tends to pick up lint quite easily. This can be removed in editing, although a lint roller is probably a quicker and easier solution!
I also placed a black card opposite the light source to bring more depth and to reduce the light that was reflected back onto the drink and the glass. Any type of dark surface would work here. This helped to add a little more contrast and subtle energy into the image.
The camera angle was approximately 45°. It shows off the liquid’s colour and the bubbles but also the slight details on the bottom of the glass. It’s always worth experimenting with different angles to see which one works best.
Positioning the light in this case somewhere between the backlight and the side light highlighted the bubbly texture of the drink, caught the effervescence perfectly and really accentuated the texture of the flower.
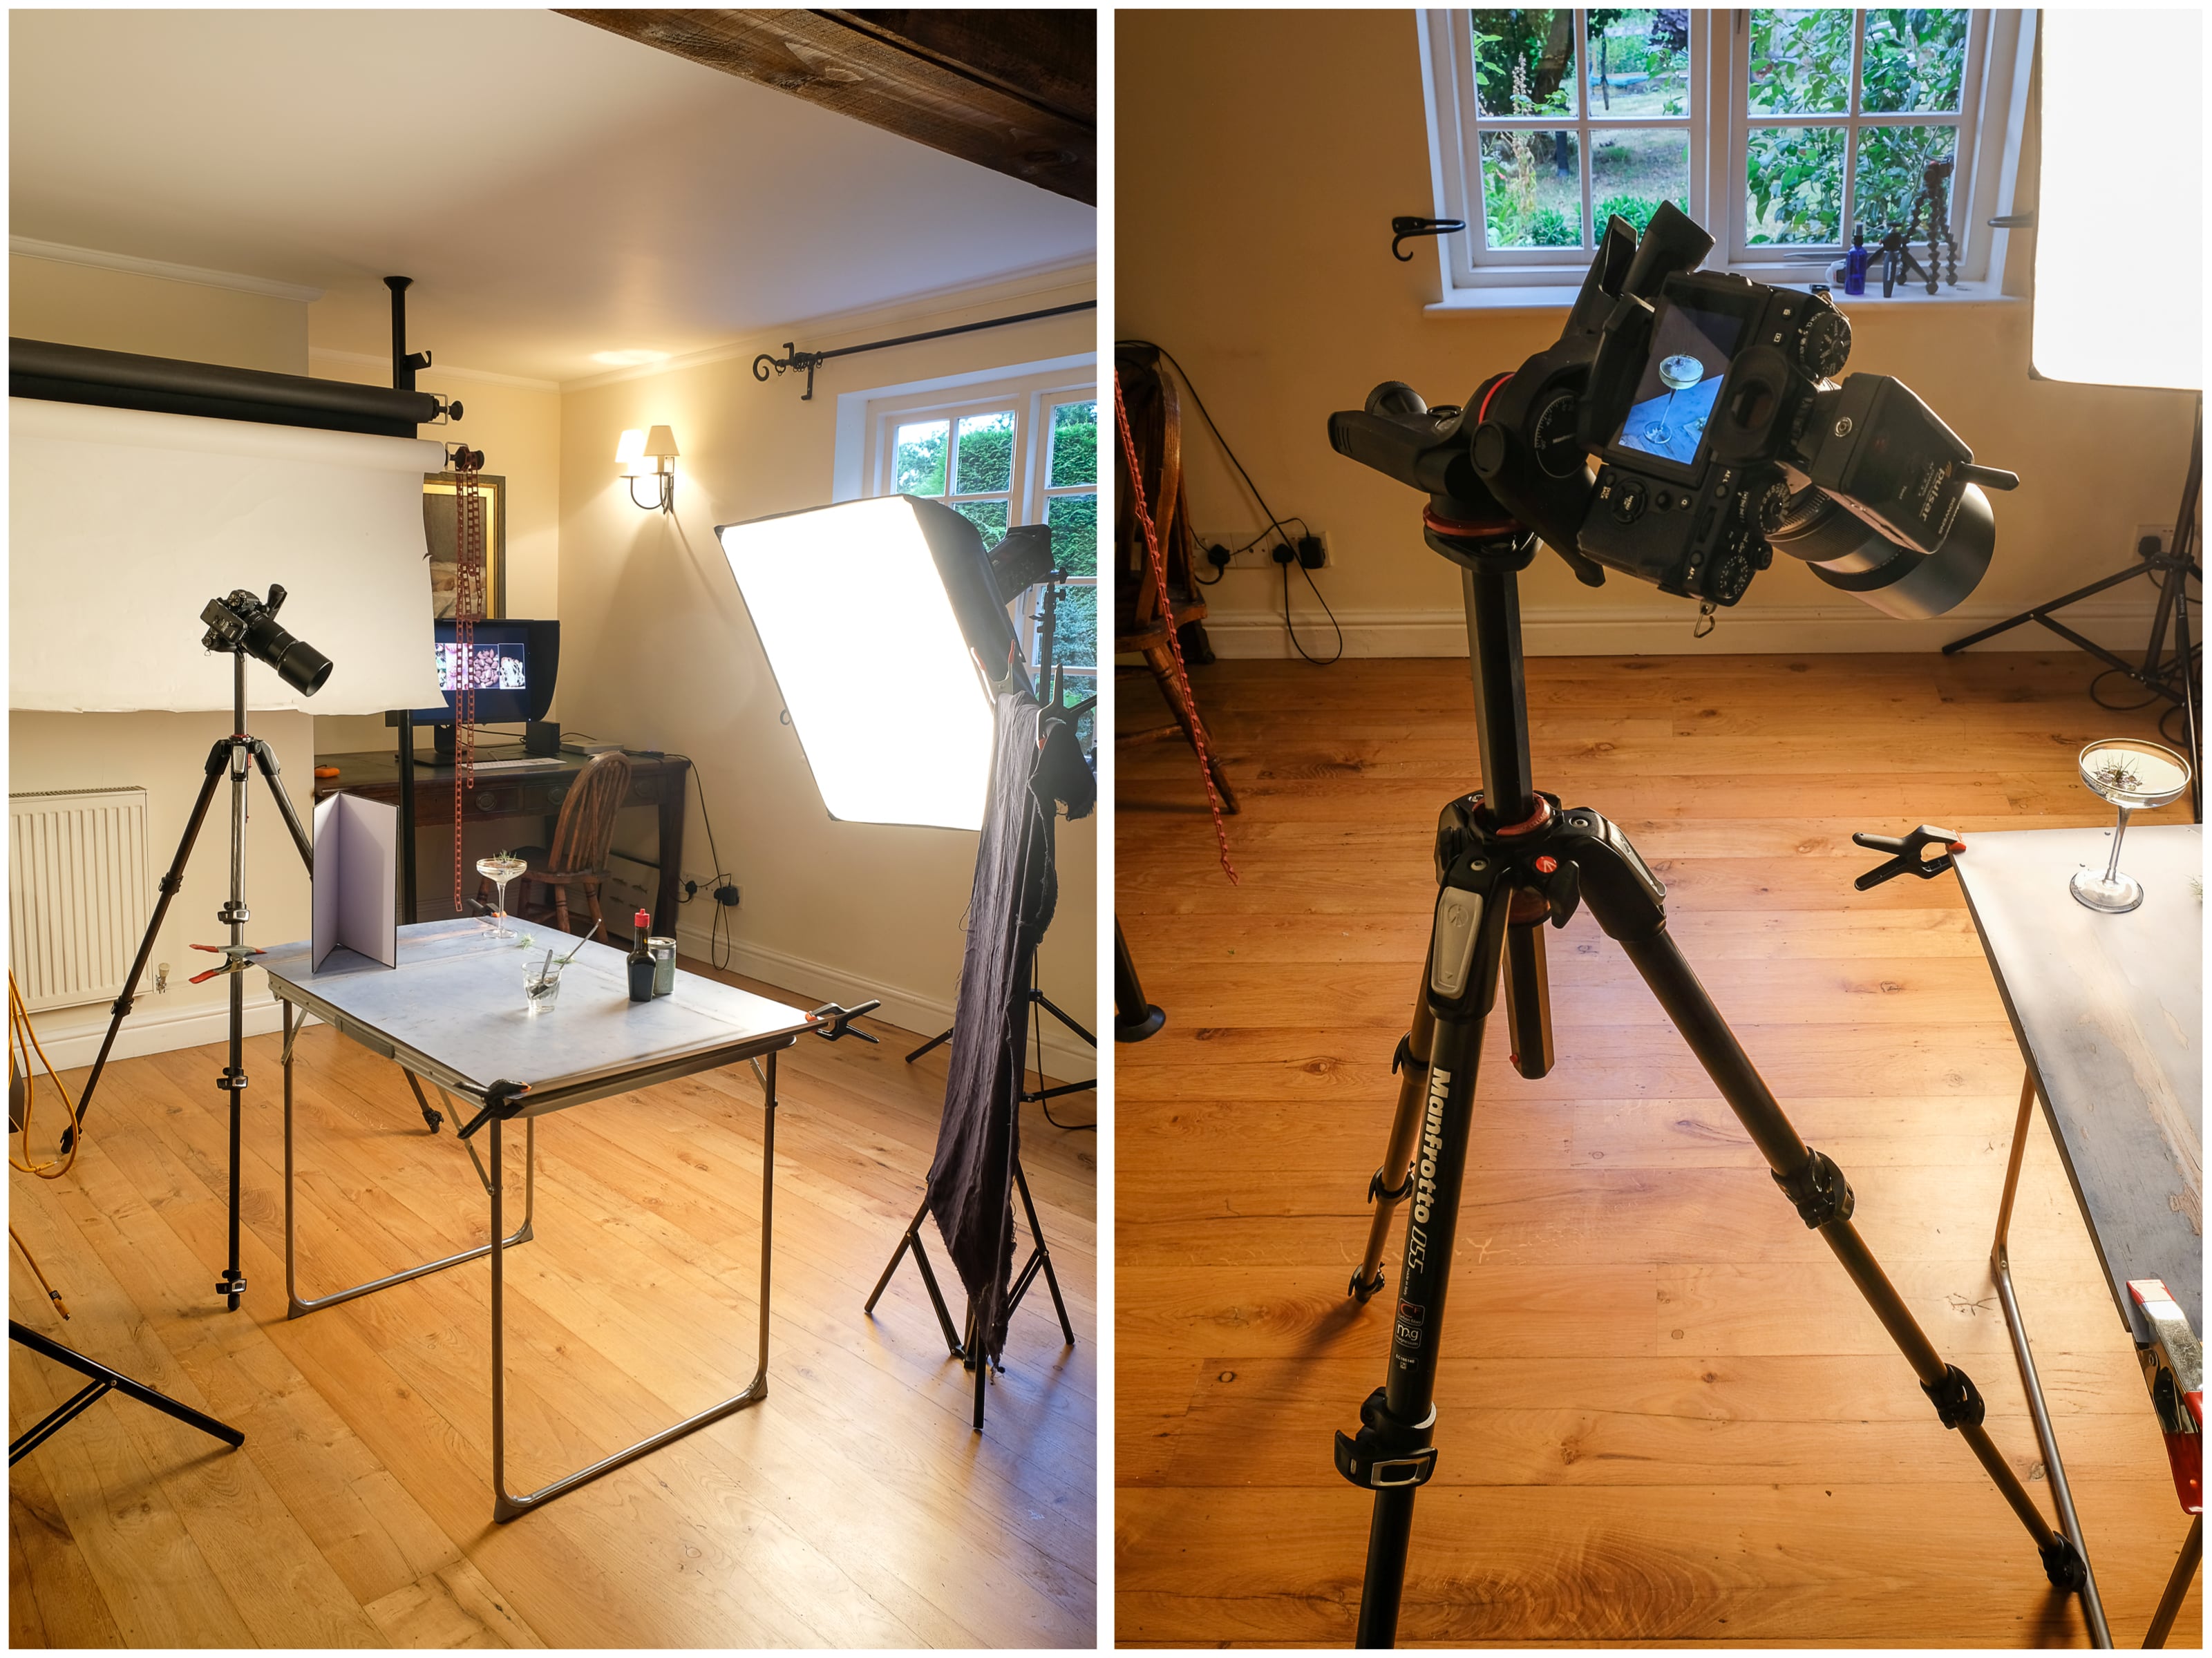
"When the light is positioned behind the subject, it’s a good idea to experiment with different camera angles. You never know which angles you’ll end up liking best."
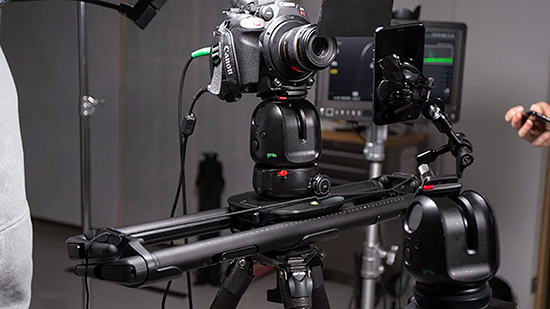
Gear used
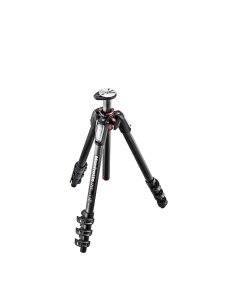 MT055CXPRO4
055 carbon fibre 4-section photo tripod
| Weight | 2.25 kg |
| Leg Sections | 4 |
| Maximum Height | 170 cm |
| Min Height | 9 cm |
| Closed Length | 54 cm |
| Maximum Height (with Center Column Down) | 140 cm |
| Bubble Spirit Level (No.) | 1 |
| Carrying Bag Included | none |
| Center Column | rapid |
| Upper Disc Diameter | 60 mm |
| Top Attachment | 3/8″ screw |
| Colour | Black |
| Easy Link | Yes |
| Leg Type | Single |
| Leg Angles | 25°,46°,66°,88° |
| Leg Lock Type | Flip Lock |
| Legs Tube Diameter | 29.2, 24.8, 20.4, 16 mm |
| Material | Carbon Fiber |
| Maximum Working Temperature | 60 °C |
| Minimum Working Temperature | -30 °C |
| Safety Payload UNI/PdR 105:2021 | 20 kg |
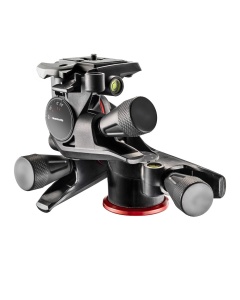 MHXPRO-3WG
XPRO Geared Three-way pan/tilt tripod head
| Weight | 0.75 kg |
| Base Diameter | 60 mm |
| Material | Technopolymer |
| Front Tilt | -20° / +90° |
| Safety Payload Weight | 4 kg |
| Bubble Spirit Level (No.) | 3 |
| Plate Type | 200PL-14 |
| Colour | Black |
| Ball Locking | No |
| Top Attachment | 1/4″ screw |
| Degrees of Rotation for Each Full Turn of Handle | 9.5 ° |
| Easy Link | No |
| Friction Control | No |
| Head Type | Geared Head |
| Independent Pan Lock | yes |
| Independent Tilt Lock | yes |
| Lateral Tilt | -90° / +20° |
| Maximum Working Temperature | 60 °C |
| Minimum Working Temperature | -30 °C |
| Pan Bar Included | No |
| Pan Drag | NONE |
| Panoramic Rotation | 360 ° |
| Quick Release | Yes |
| Tilt Drag | NONE |
| Working Height | 13 cm |
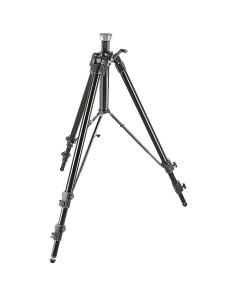 161MK2B
Super Professional Tripod Mk2
| Weight | 9 kg |
| Leg Sections | 3 |
| Maximum Height | 267 cm |
| Min Height | 44 cm |
| Safety Payload Weight | 20 kg |
| Closed Length | 105 cm |
| Maximum Height (with Center Column Down) | 242 cm |
| Bubble Spirit Level (No.) | 1 |
| Carrying Bag Included | none |
| Center Column | geared |
| Upper Disc Diameter | 60 mm |
| Top Attachment | 3/8″ screw |
| Colour | Black |
| Easy Link | No |
| Leg Type | Single |
| Leg Lock Type | Turn Lock |
| Legs Tube Diameter | 40, 35, 30 mm |
| Material | Aluminium |
| Maximum Working Temperature | 60 °C |
| Minimum Working Temperature | -30 °C |