How to shoot cinematic tech videos like Apple
When it comes to slick product videos, no one does them quite like Apple. They truly are the masters of the game, with the high tech, sci-fi-style slow reveal having become their trademark.
This style isn’t reserved for Apple alone though, and it’s entirely possible to use this technique to make a great tech video of your own. Genius steals, after all. With some vision, a bit of resourceful thinking and the clever use of tools, you can shoot a cinematic masterpiece of your own using any everyday object.
When it comes to both design and film-making, it's all in the detail. So, we decided to shoot an Apple-inspired product video, working out the best shots, gear and techniques you'll need along the way.
There are three main sections that make up a slick, Apple-sequel product video: the hero product reveal, the details, and the product in context. We’ve given you a blow-by-blow guide to these three parts, as well as the techniques and steps you need to follow to master them. Whether your product video is for a commercial client or purely for the joy of it, here’s everything you need to know to elevate your next project into a masterpiece.
Section One: The Hero Product Reveal
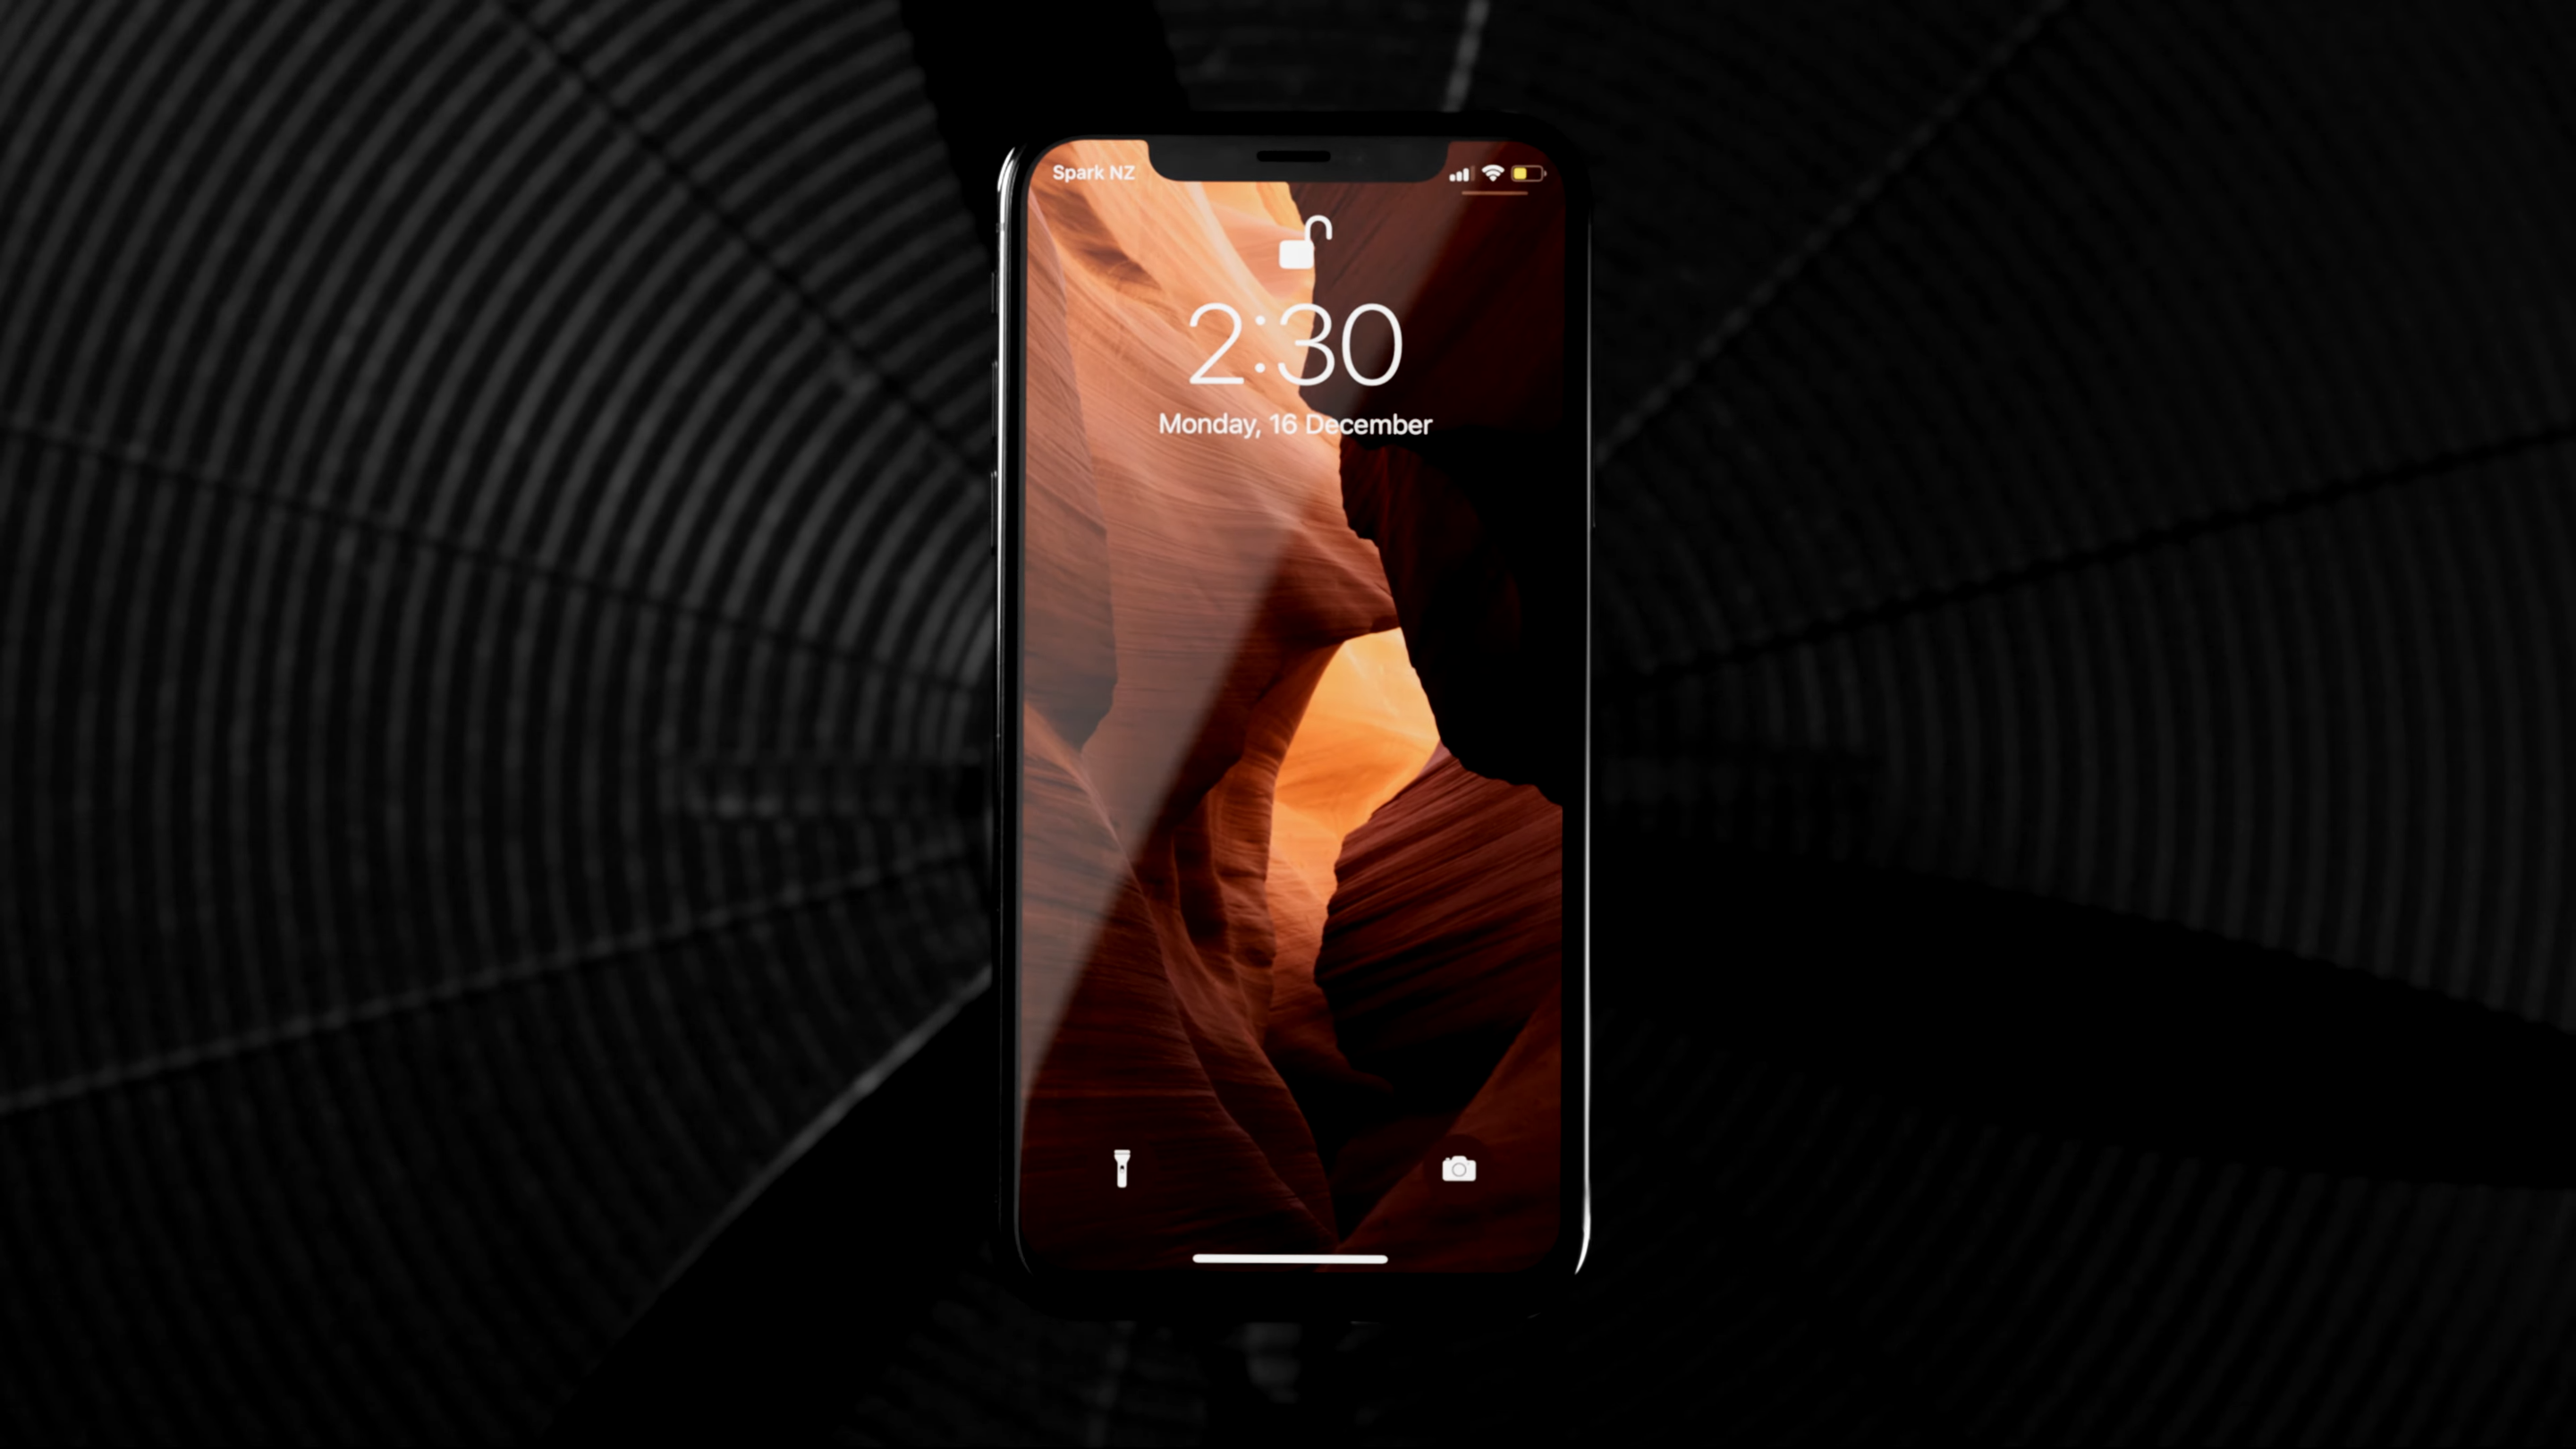

This the quintessential slow reveal, the intrigue-building shot layered with mystery and anticipation. Much like an architectural masterpiece which gradually unveils its vista, or an epic piece of music that builds up to its peak, shooting is about the art of the slow show.
The product (in this case, our phone) comes slowly into shot, the light changes, and it all works together to make the subject look like a million bucks. To us, innovation in design means using the right purpose-built equipment, as well as being able to work with what you’ve got to get exceptional results. To add motion and interest to the background for our shoot, we used fan blades on a slow rotation.
There are two main components to nail your hero reveal: setting up your product and capturing the motion, and getting the lighting dialled in.
The motion
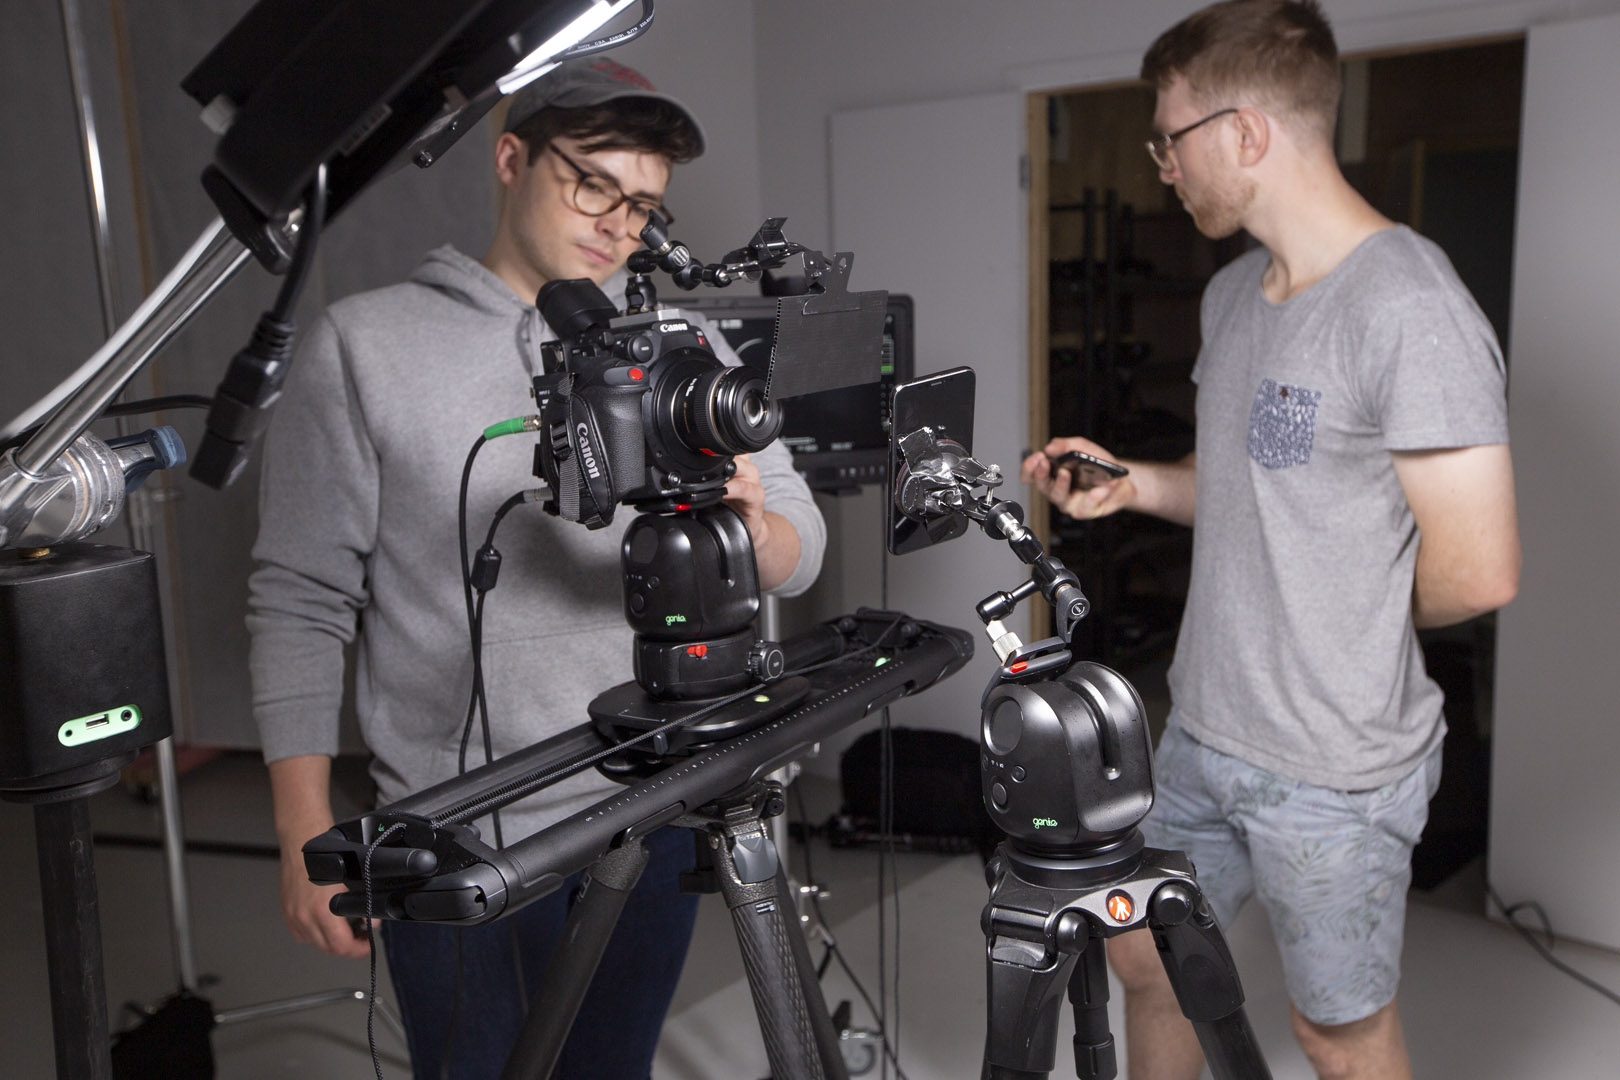

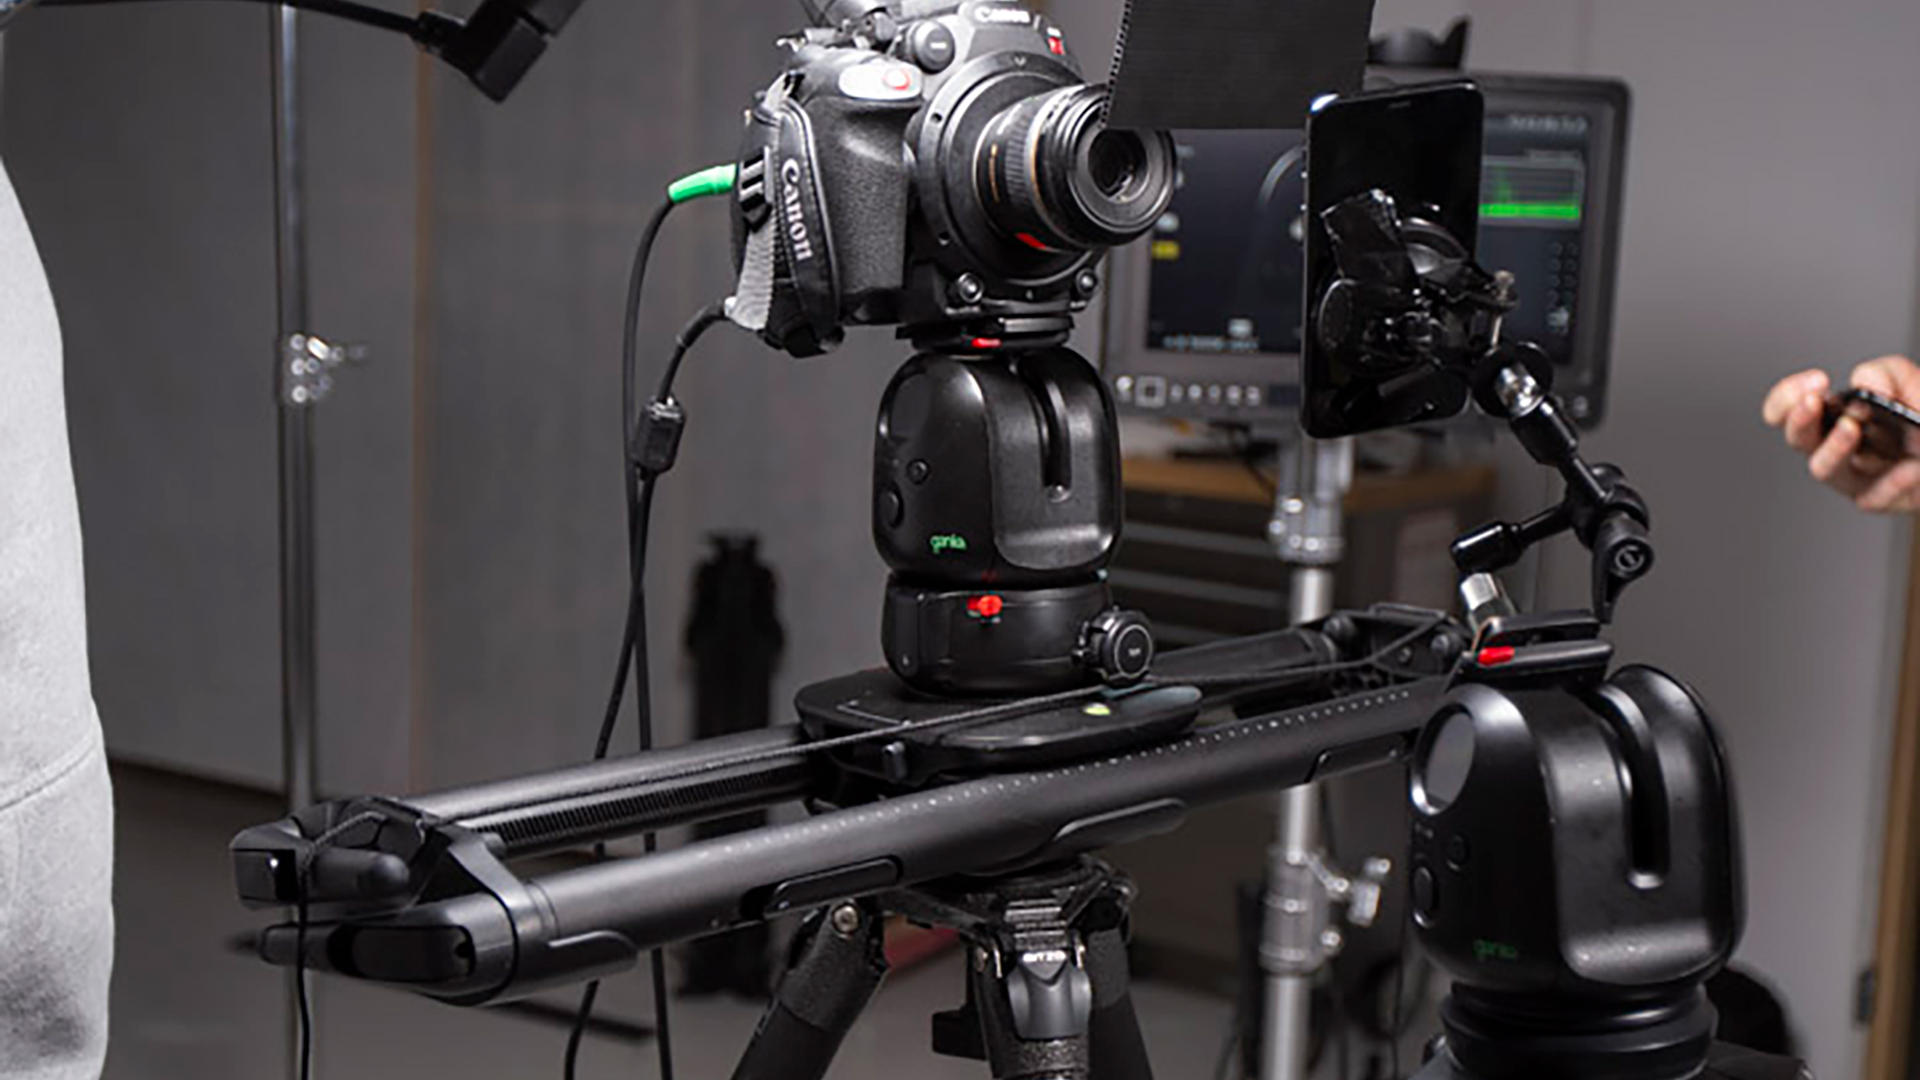
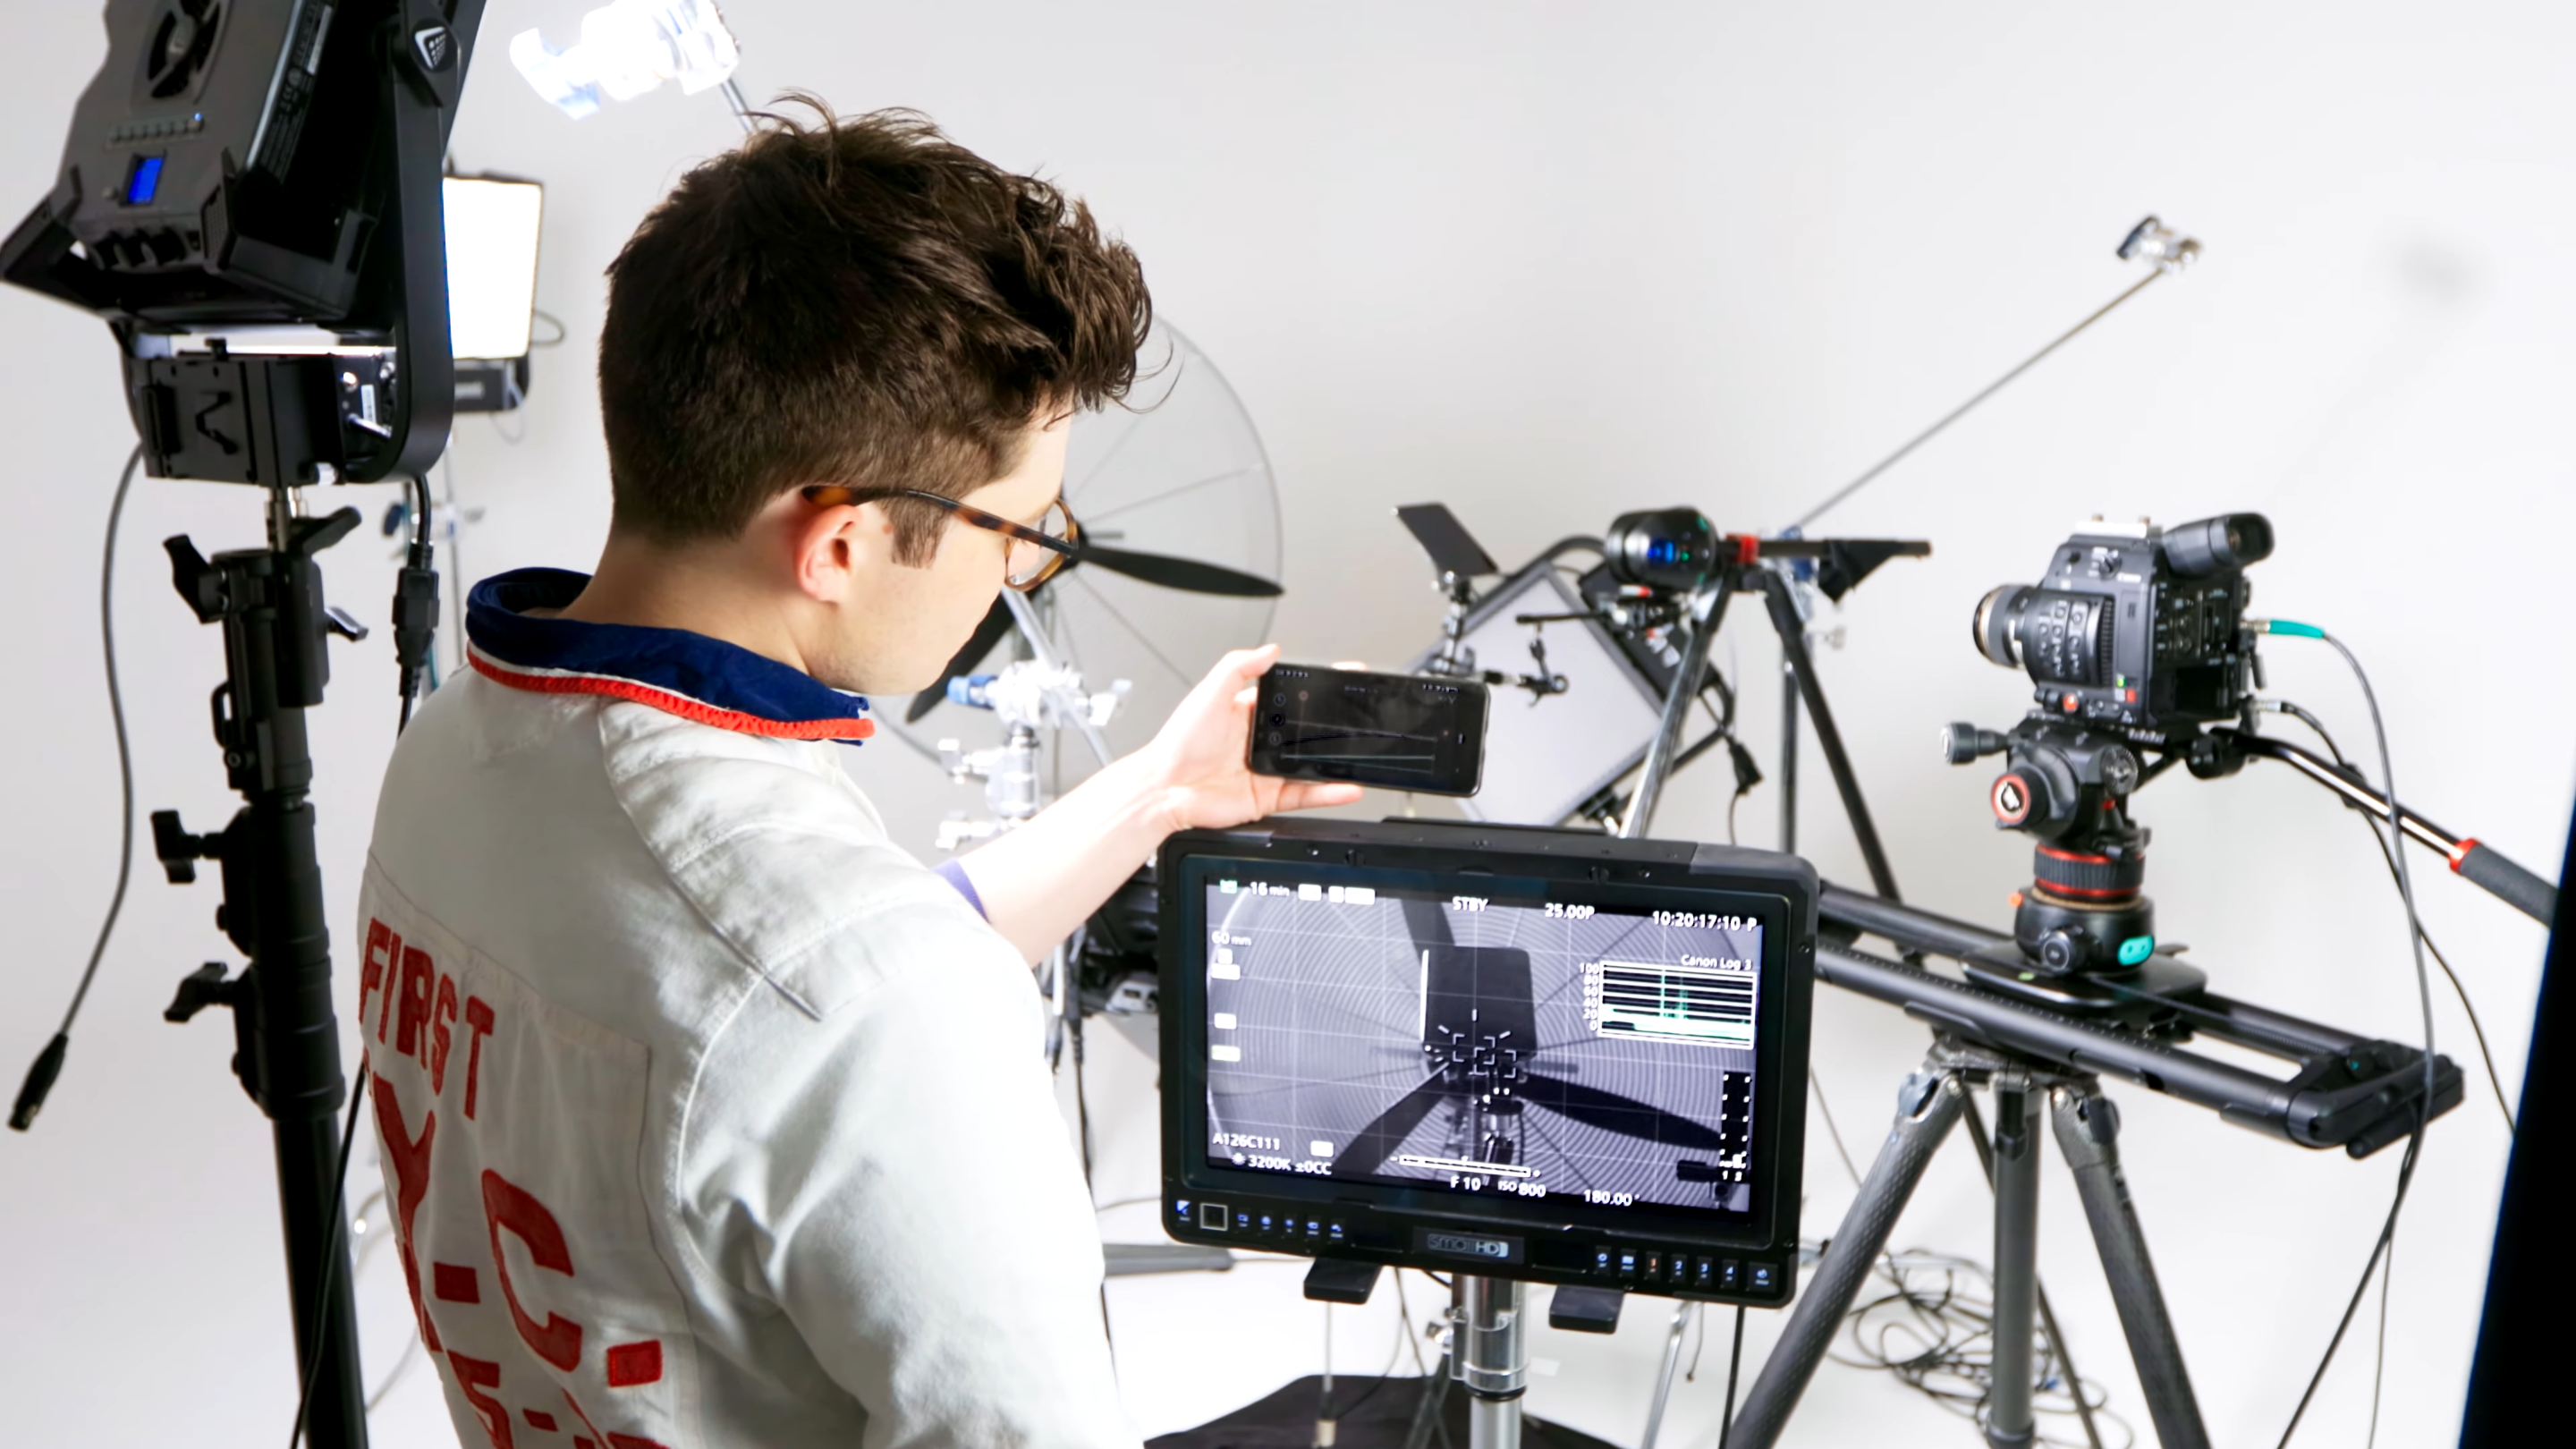
First things first, you'll need a great camera. We decided to shoot on the Canon C200 with our on a , allowing for forward and backward movement - perfect for our reveal. The phone itself we put onto a , which rolls forward and back. This allowed us to capture the grill of the phone to start with, and then pull back the camera for the full reveal.
Finally, we used a sandwiched between the fan blades and the back of the fan. We’d recommend using the Manfrotto motion app to control all of your devices, so they can be moved in sync, giving you awesome results that are 100% repeatable.
There’s a bit of gear involved in this process, but it’s well worth it for the sophisticated results. In fact, we reckon exceptional shooting is all the more rewarding for having mastered the tech behind it. When you get everything in sync, from the camera to the lighting, it’s like a harmony of moving parts. Hella satisfying. It’s a good idea to practise a few times and get it all on lock, so all the movements happen perfectly in time.
The lighting
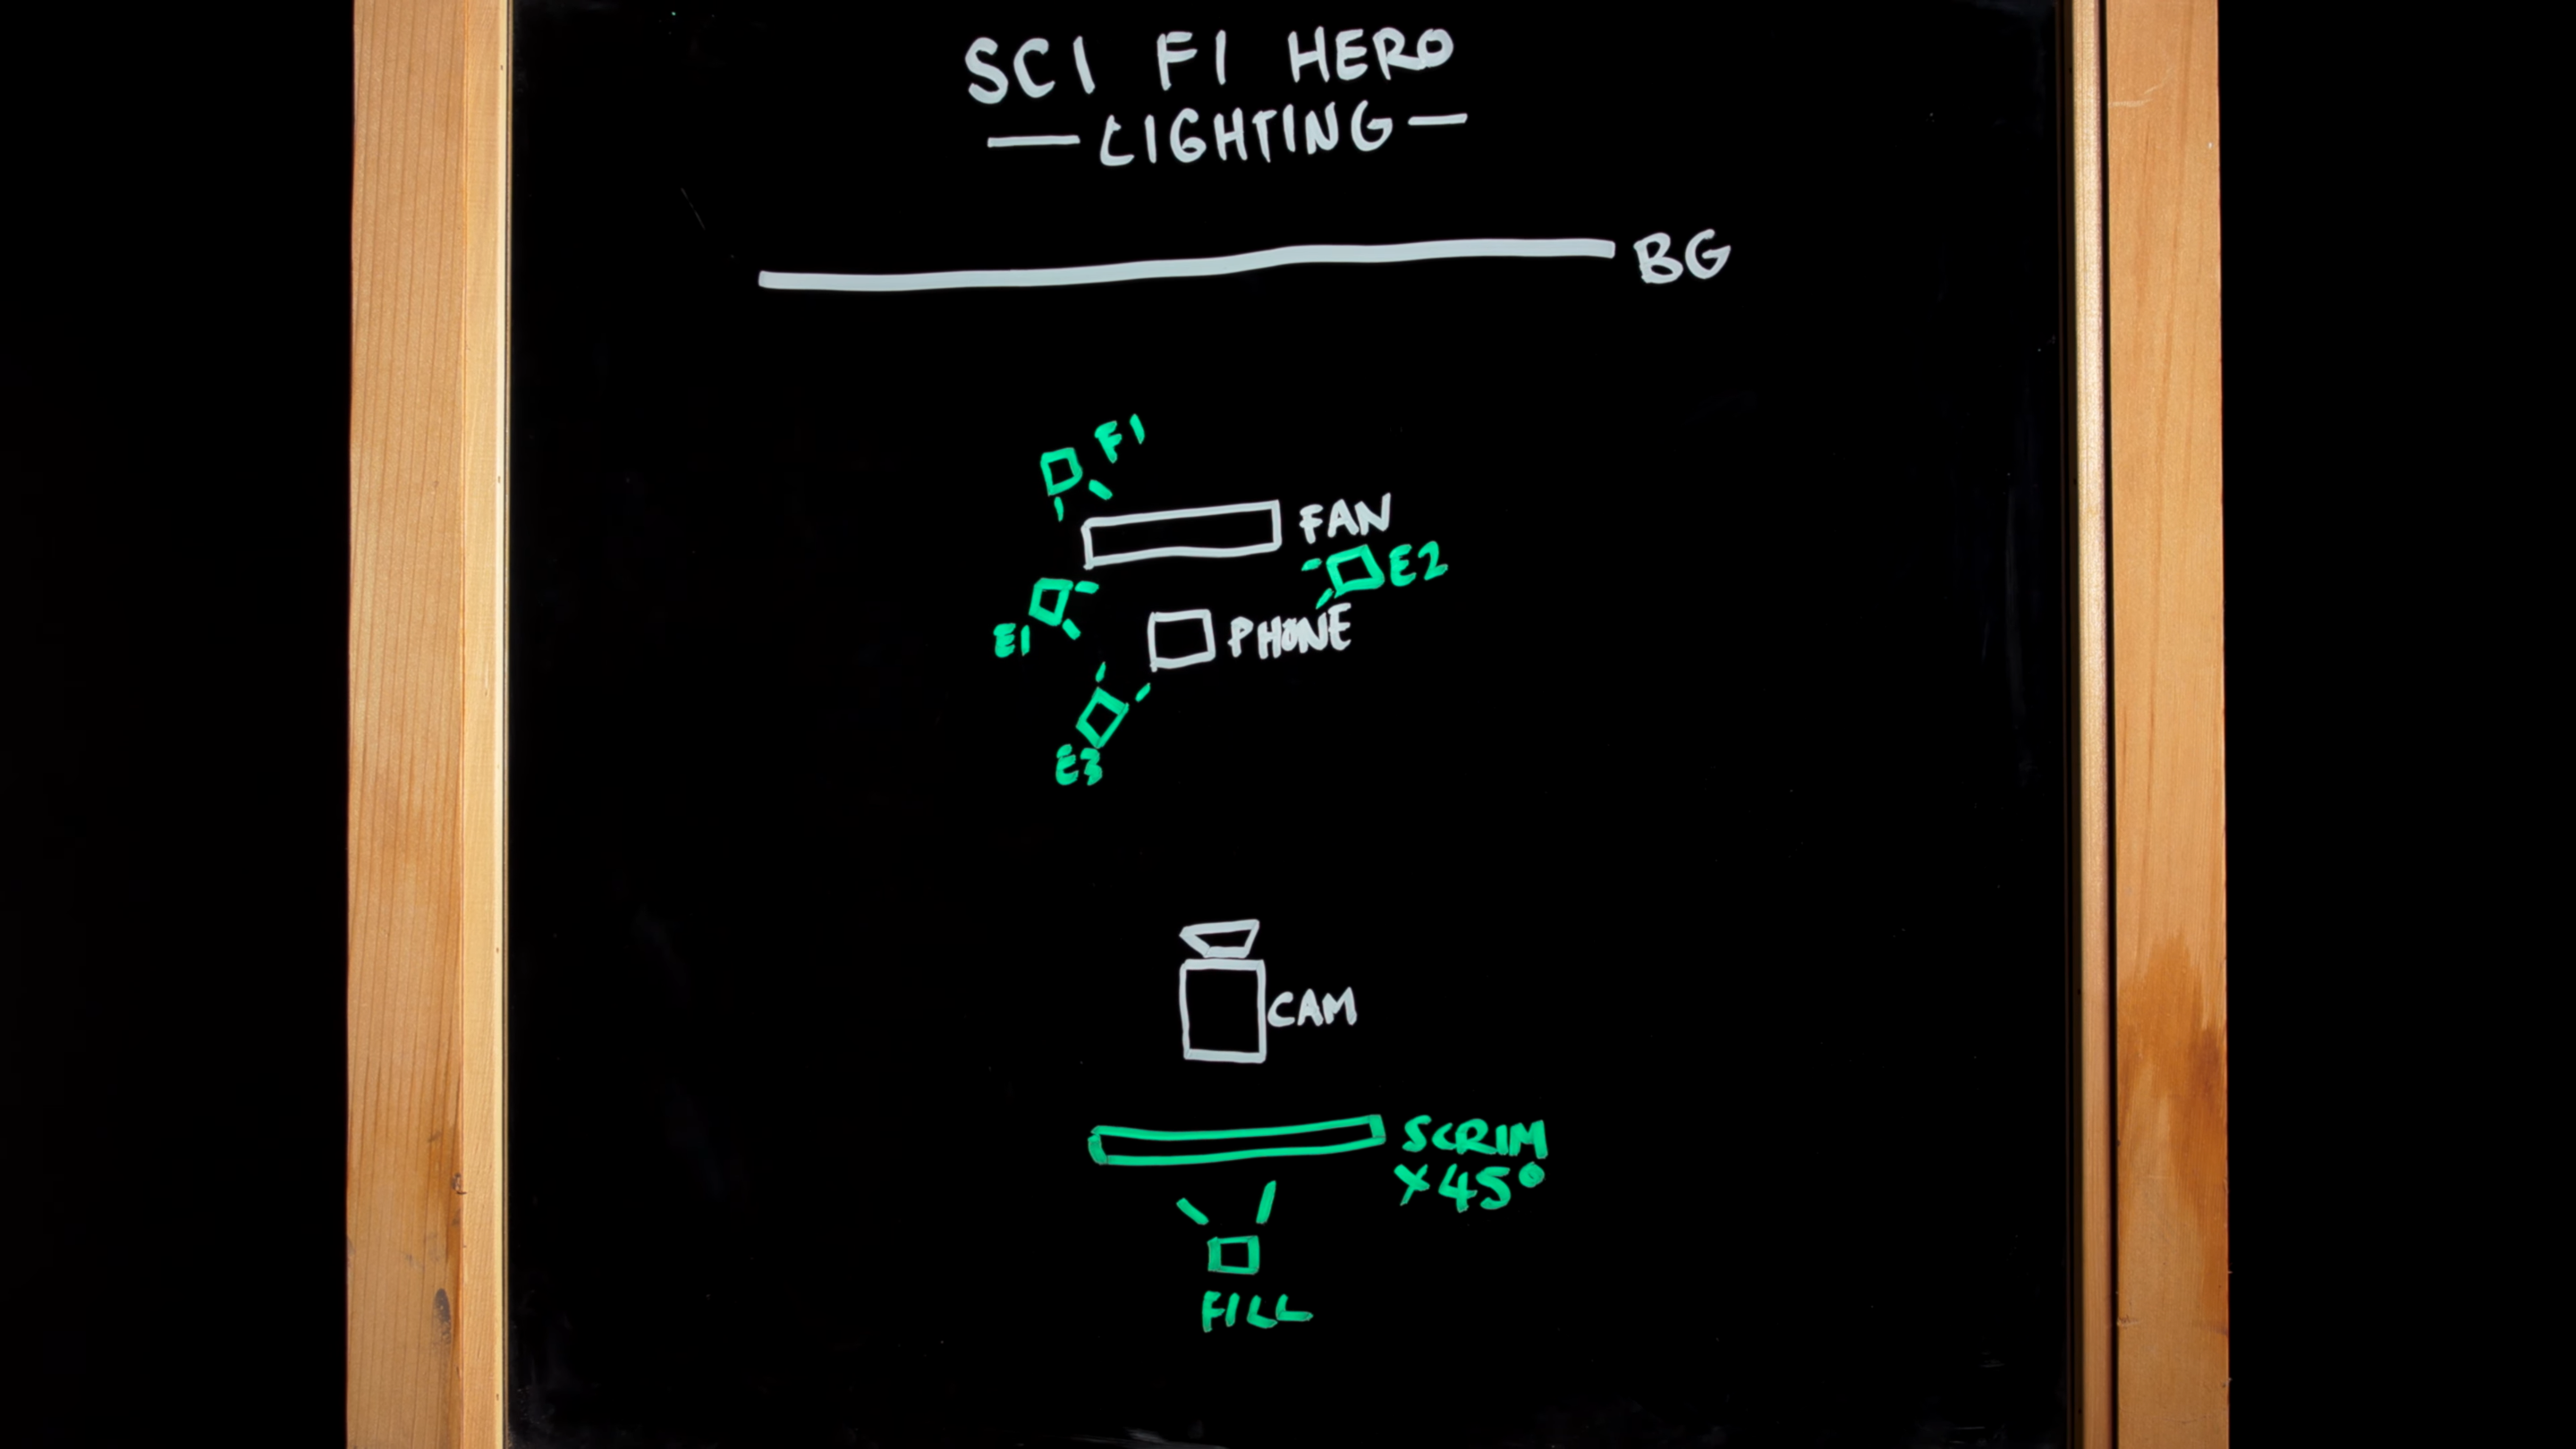

That elusive, sci-fi-meets-high-tech look which is so recognisably Apple is the result of (among others) a whole lot of backlights. It’s not overly complicated, but you’ve got to be prepared to spend a bit of time getting it all dialled in. It’s worth it.
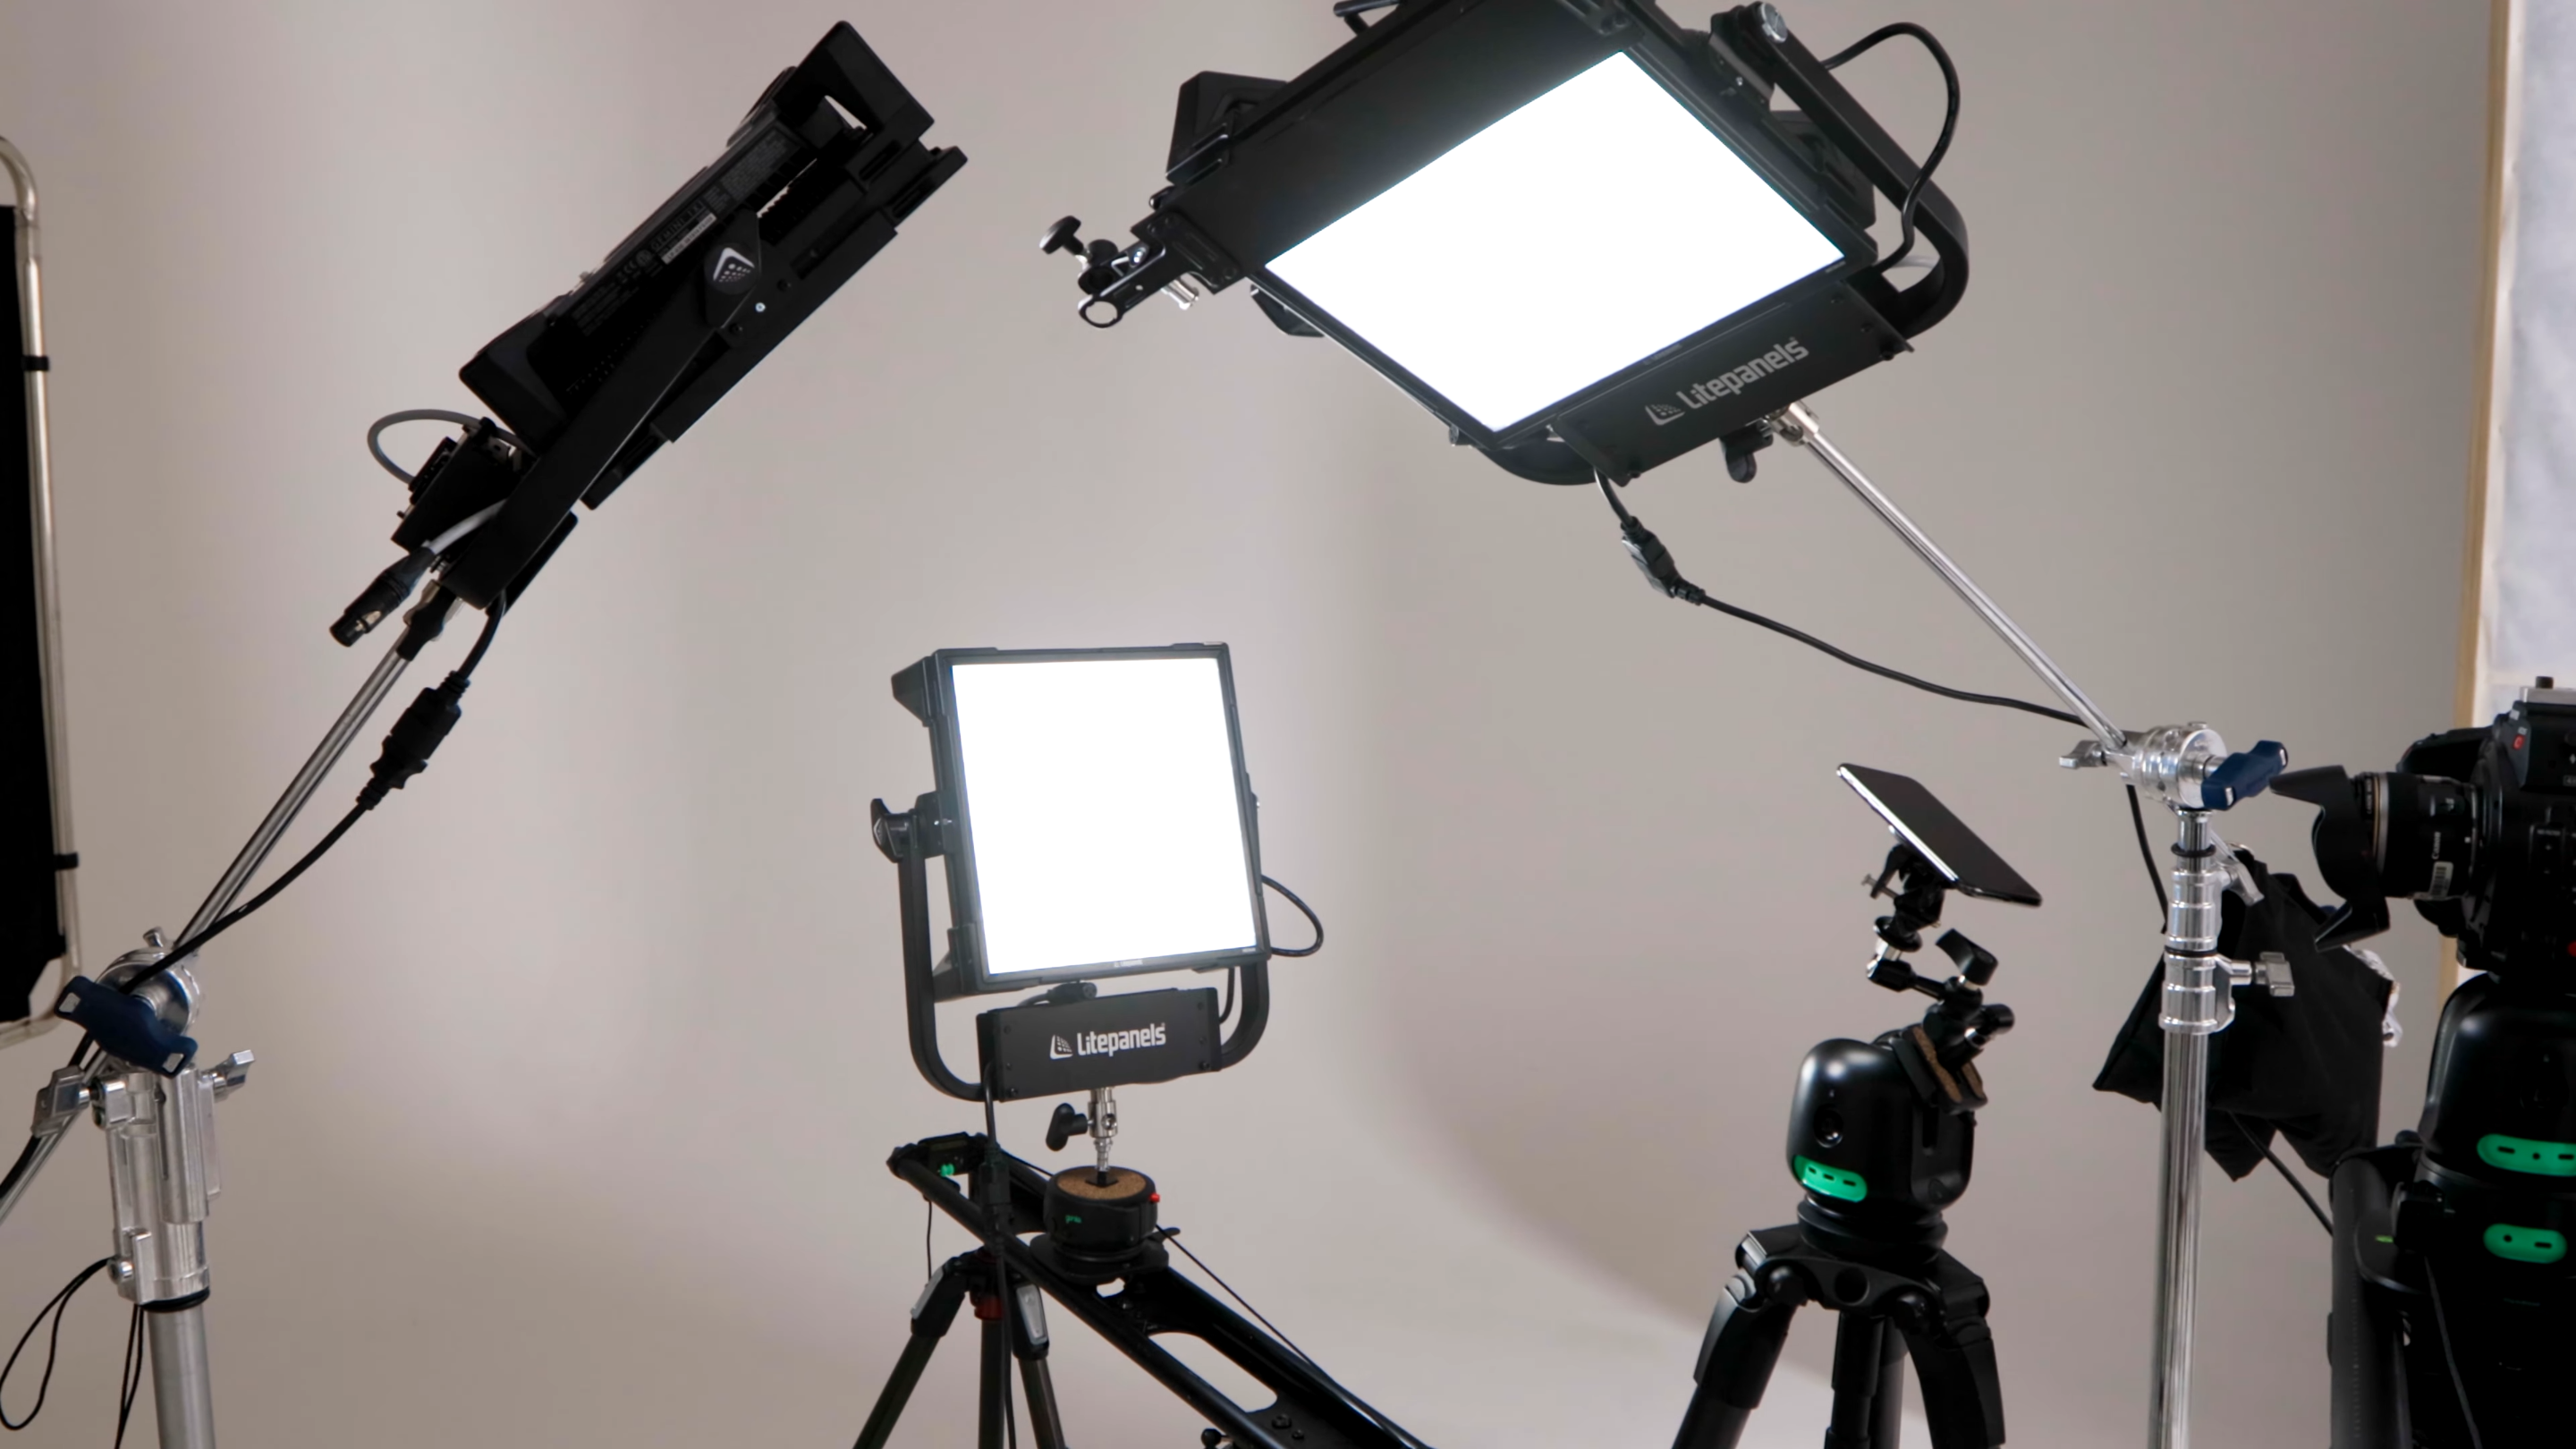
For our project, we used the Gemini 1x1s from Litepanels. These are colour accurate LEDS which combine with a grid to give soft but focussed light. We ran all of this through a DMX, which is essentially a multi-channel controller and is really handy in the studio when you’re working with multiple lights.
We could basically separate this video into two lighting setups, because of the difference in movement. At the beginning, it’s dramatic but still keeps the product hidden - giving those elusive and mysterious vibes we’ve been talking about. For the second, we used a fill light, but we’ll come back to that.
For the first setup, we created the dramatic-but-hidden effect by using three backlights on the product. By setting these up at angles to the phone, we highlighted the edges but not the details. Then, we used a light on the fan, highlighting its movement.
When using lighting like this, you want to keep the edges and reflections of the product in mind. By lining up the backlights with the edges, you can really make them pop.
Then, for the end shot, we used a fill light, fading it in to reveal the whole product and giving that classic Apple 45 reflection on the phone screen. We got this reflection by shooting one of our lights through a diffusion scrim from and then cutting it at a 45-degree angle with a piece of black card.
As for many shots, it’s worth experimenting to find the right angle for your screen reflection. You can use the torch from a phone (thanks again, Apple) for this and see how it looks on camera.
Section Two: The Details

Hero reveal, done. Now onto the details. These shots showcase the specifics of a new phone, be that the camera, curved glass, lenses or new shapes. Or, of course, the details of any product you are featuring in your video.
They’re shot in the same style as the hero reveal, but now the camera picks up the fine details, so you’re going to want some glass cleaner and a microfiber cloth handy to pick up smudges and any little pieces of dust, as well as ensuring your camera lens is super clean.
For our shoot, we used a Genie II Pant Tilt with an Avenger Pump Cup. Our lighting was similar to the hero shot, using backlighting and capturing edges. However, we split up our and our Pan Tilt, and put our Litepanels on the linear.
This crafty move allowed us to move the Litepanel back and forth and draw lines of light onto the phone which could be easily captured by the camera. This dynamic lighting brings the viewer's gaze to the edges of the phone, highlighting the lines there. Unlike portraits, for which you want a small depth of field on your camera to set your subject apart from its background, working in macro calls for a high depth of field. This puts the product in high focus.
We set our f-stop to 32, and then cranked up our lights as bright as possible. When you’re working with something with this much contrast, it’s important to keep an eye on how your camera is capturing your highlights and shadows. You don’t want to overdo either of these, and this is where your histogram becomes your trusty sidekick.
Final Section: Product In Context

For our phone in context shots, we chose three different scenarios: at a party playing music, at a cafe paying with Apple pay and using wireless charging. We combined these into three mini sets, using one long piece of ply mounted onto two Magic Carpet Pro Carriages on a single Pro Track.
This setup meant we could keep the phone steady and slide the scenes underneath it, moving the ply to change the background. We recorded the phone entering the shot and a hand grabbing it on a green screen, just so we could accurately control the timing. We did this with the same location and lighting, so it composited easily with the background when we came to post.
Because the lighting changed from the party scene to the cafe scene, we created a flag using a Genie Mini and a piece of card. This gave us more control over timing, and thanks to the keyframe editor, we could synchronise the phone coming in with the scenes moving.
Now, on to the editing suite.
Post Production
We used Adobe After Effects to make the final adjustments. Specifically, we used the cloning tool to clean up any dust specks and scratches from Chase’s phone. This works the same as the heal tool in Lightroom or the stamp tool in Photoshop.
We painted over the dust, frame by frame, making sure to use the same gradients and tones. It’s best to use a sweeping motion for this, because then you have a wider area to sample from.
To mask out magic arms or anything else you don’t want in the scene, you can use animated masks in Davinci Resolve, After Effects or Premier Pro to mask around where the arms are.
From there, it's all about editing, colour grading, adding audio, and then you’re good to go! Presto - a slick, sophisticated, and cinematic product video, without the eye-watering budget. If you haven’t watched the full video, we’d recommend giving it a view - it lays it all out for you.


