6 Slider Shots Every Filmmaker Should Know
If you're looking for a way to add production value to your films, one of the most useful bits of kit you can invest in is a slider.
A slider allows you to move the camera along a horizontal plane to create smooth, slow movement in the direction of your choice. You can use a slider on any flat surface, or they can be mounted on a tripod or light stand.
In this video we demonstrate six epic slider shots you can use in your next shoot. Follow along with the video, or read below for a full breakdown.
Low Pull Shot
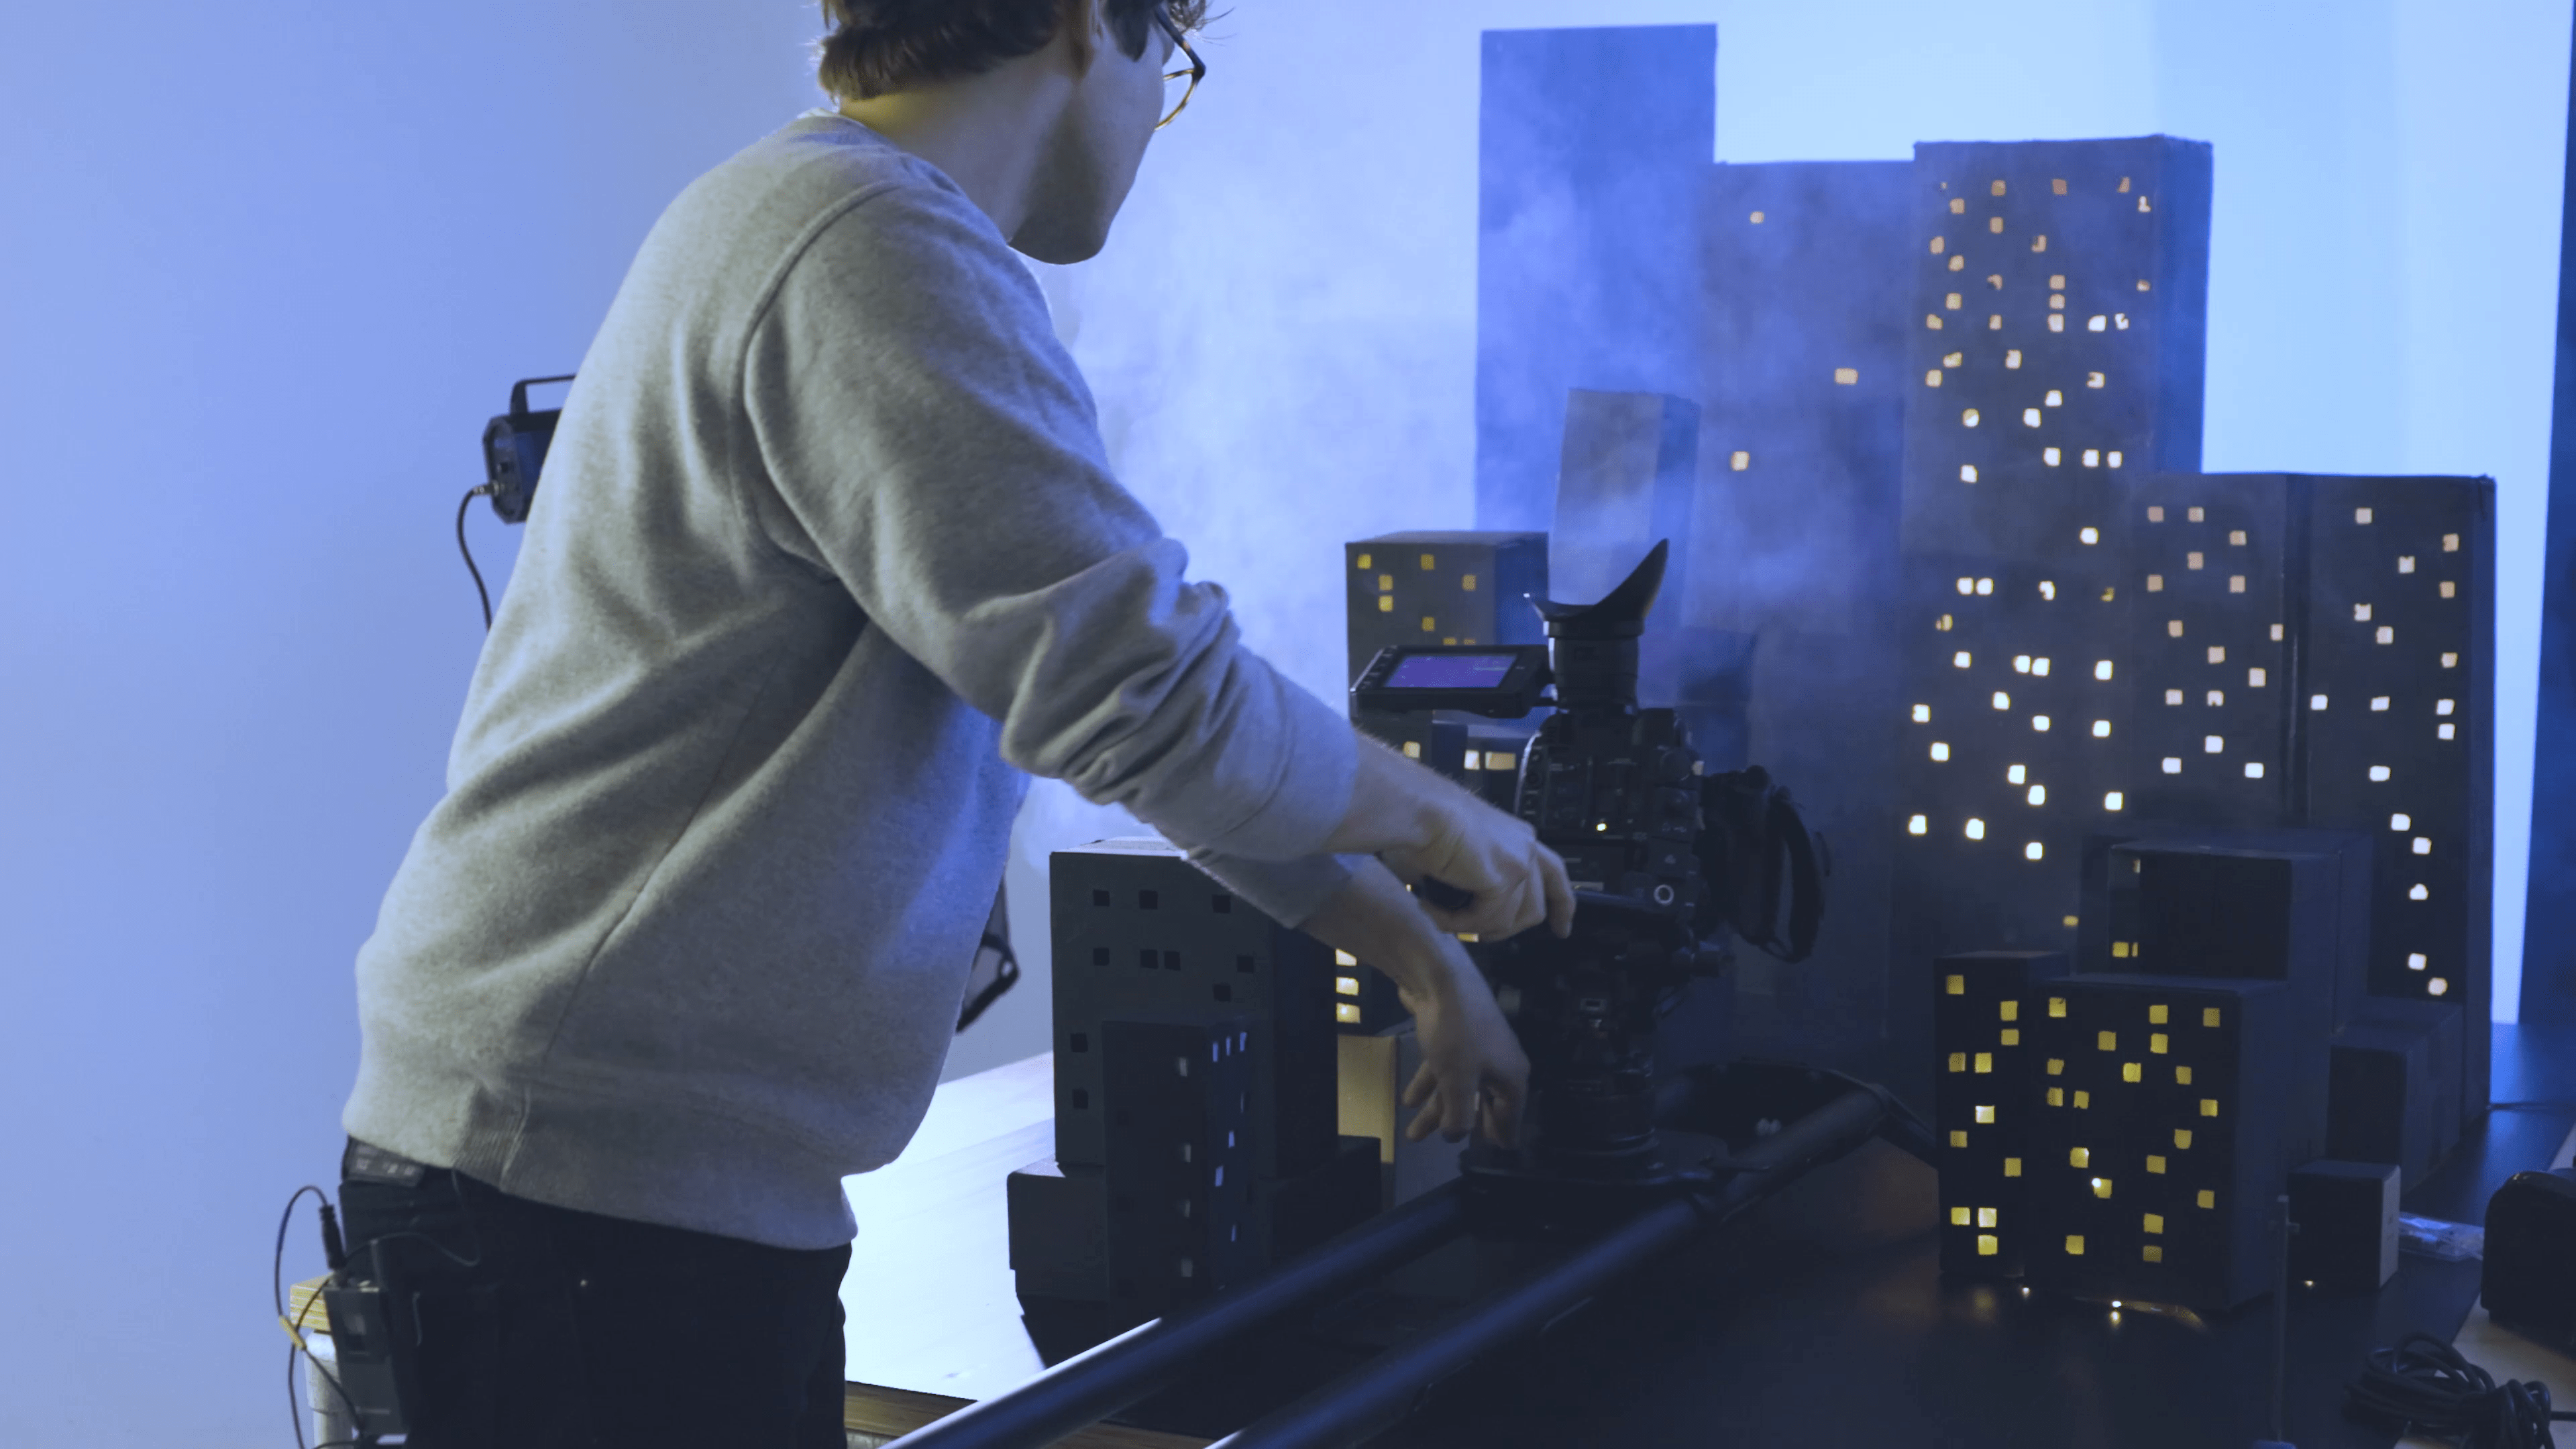

The low pull shot is used in many movies to create a feeling of insignificance and can also be used to pull out from a character to show more of their surroundings.
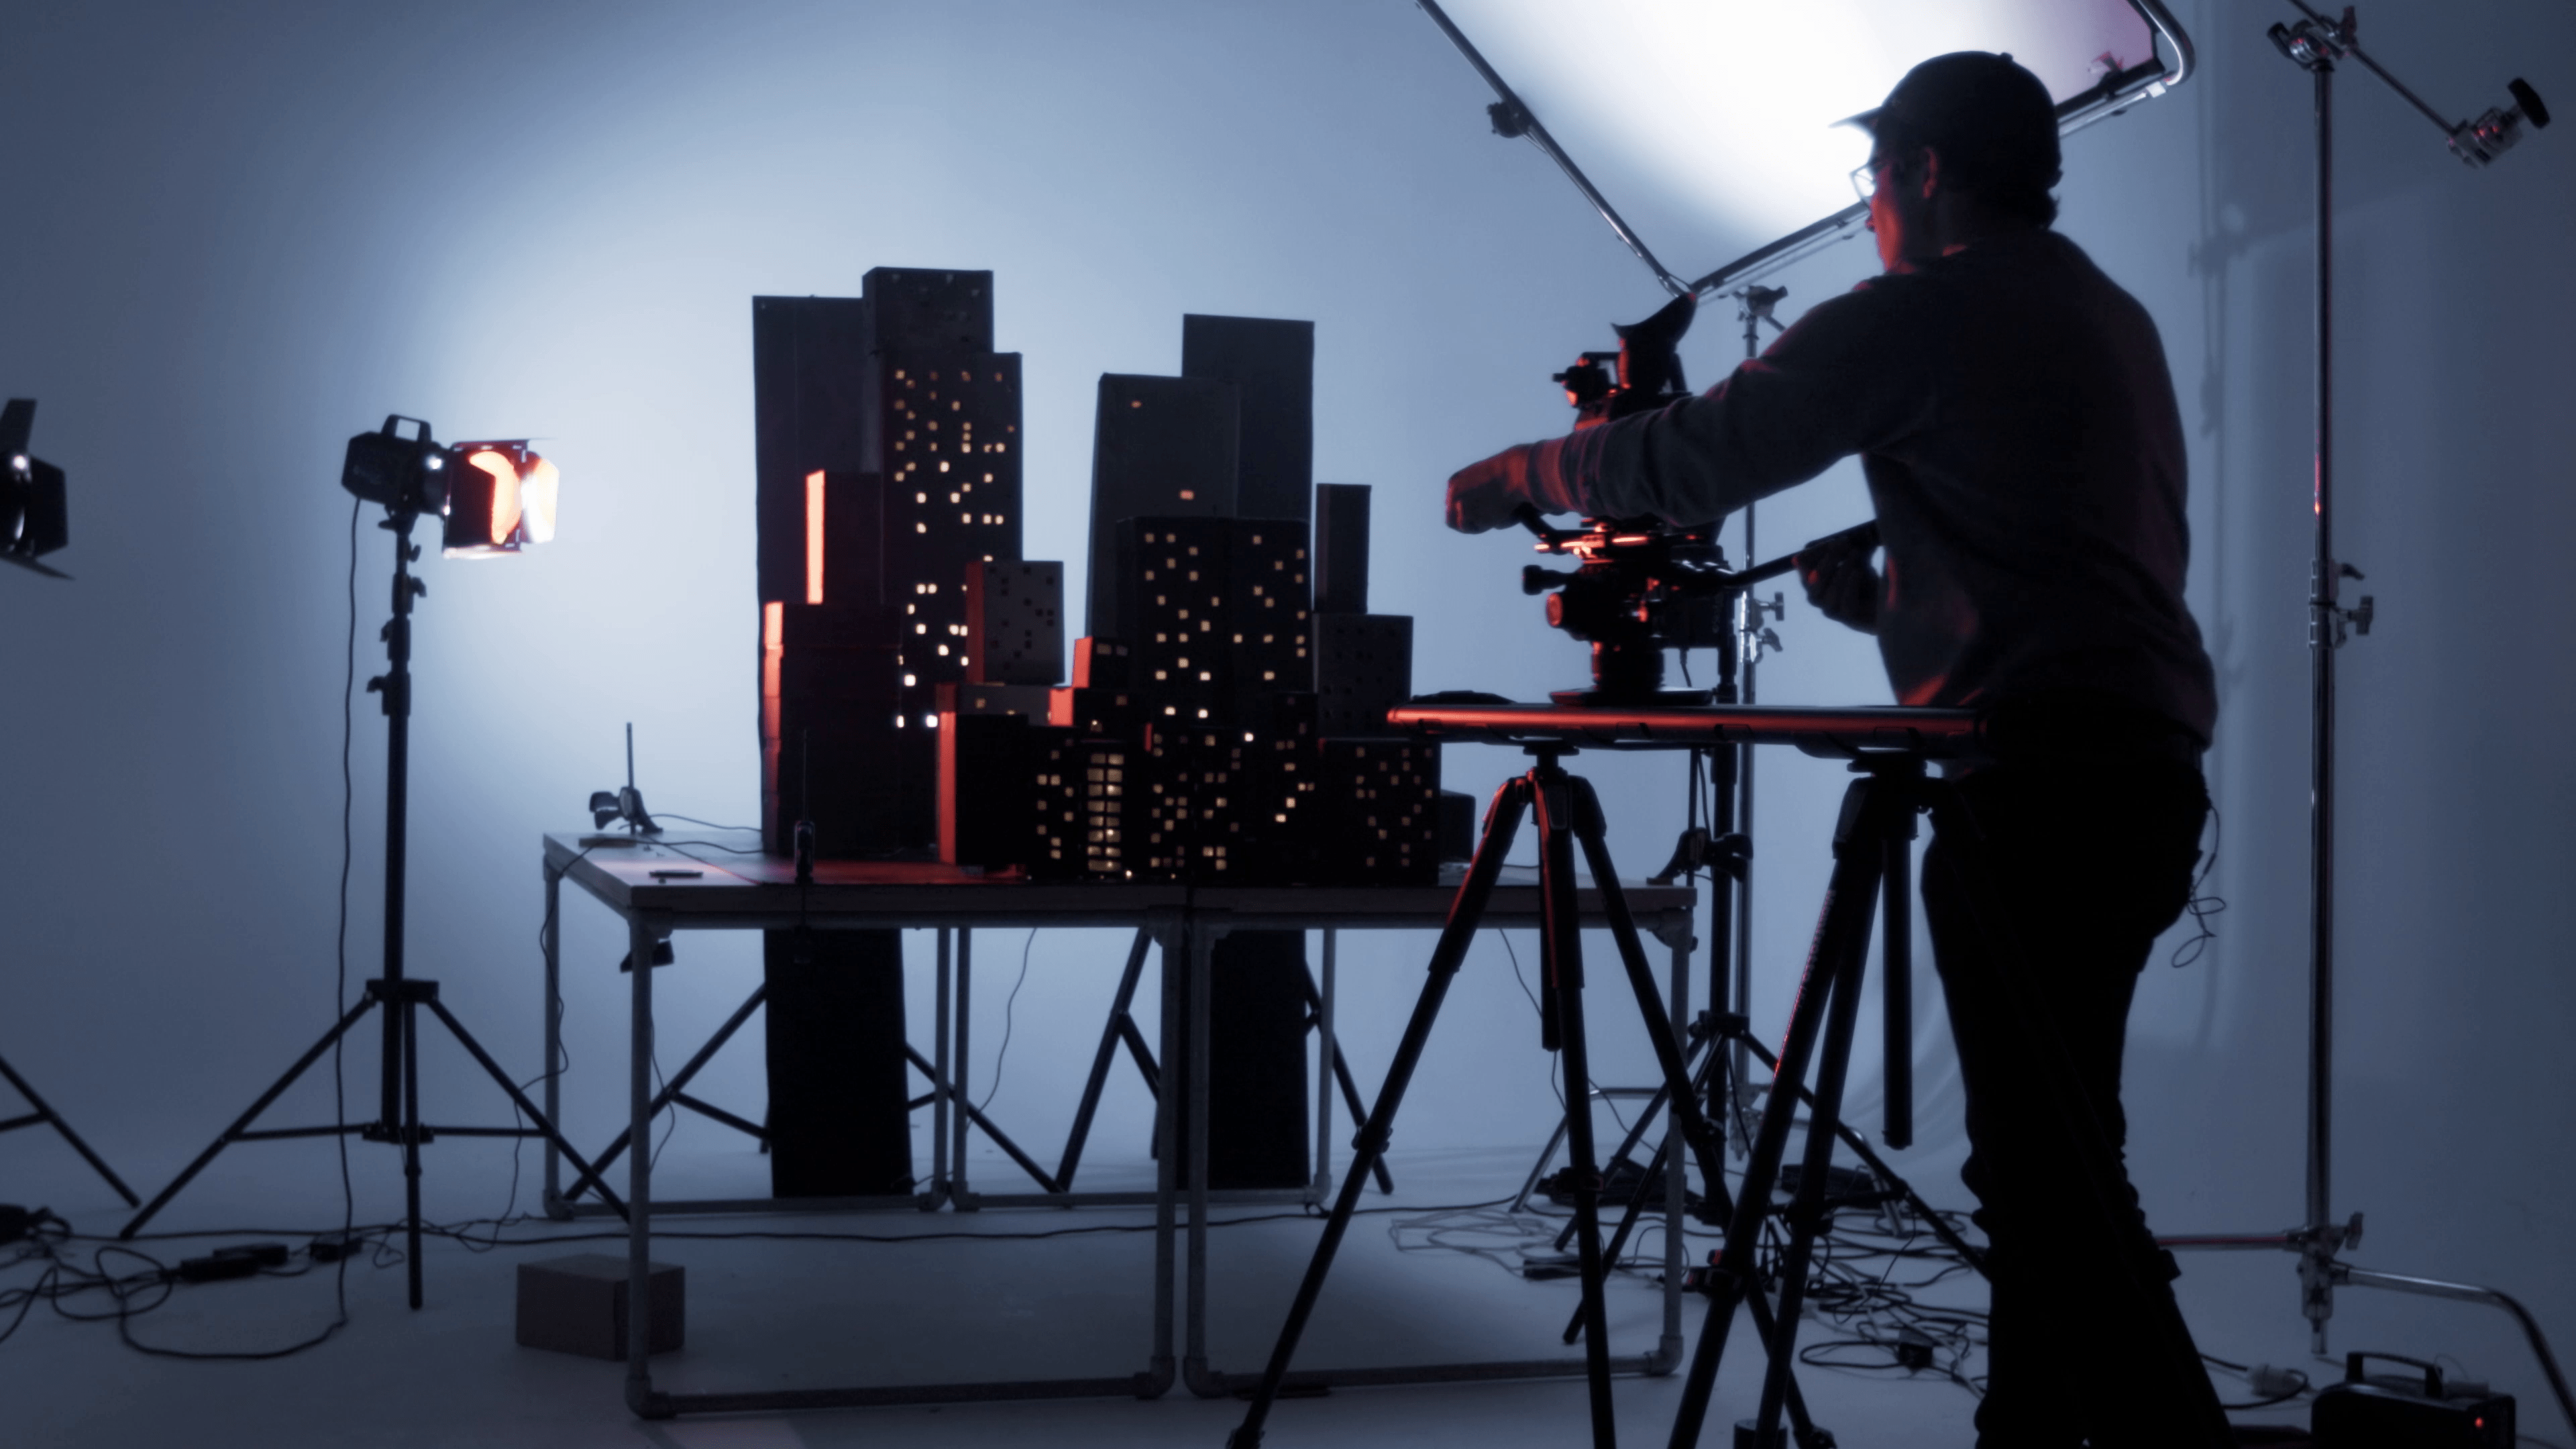
In this shot we lined up our subject (a cardboard city with heavy Blade Runner and Star Wars inspirations!) into one long street and ran the through the middle. Mounted on top is a . Together these two devices allow for a silky smooth pull and tilt.
The flywheel on the is very helpful for this shot as it allows the movement to proceed slowly without jolting and provides an even level of resistance.
This is a simple movement, you just need to make sure the panning axis on the video head is locked off. This way, you won't get any accidental left and right movement and you can just focus on the tilt.
Inverted Tracking Shot
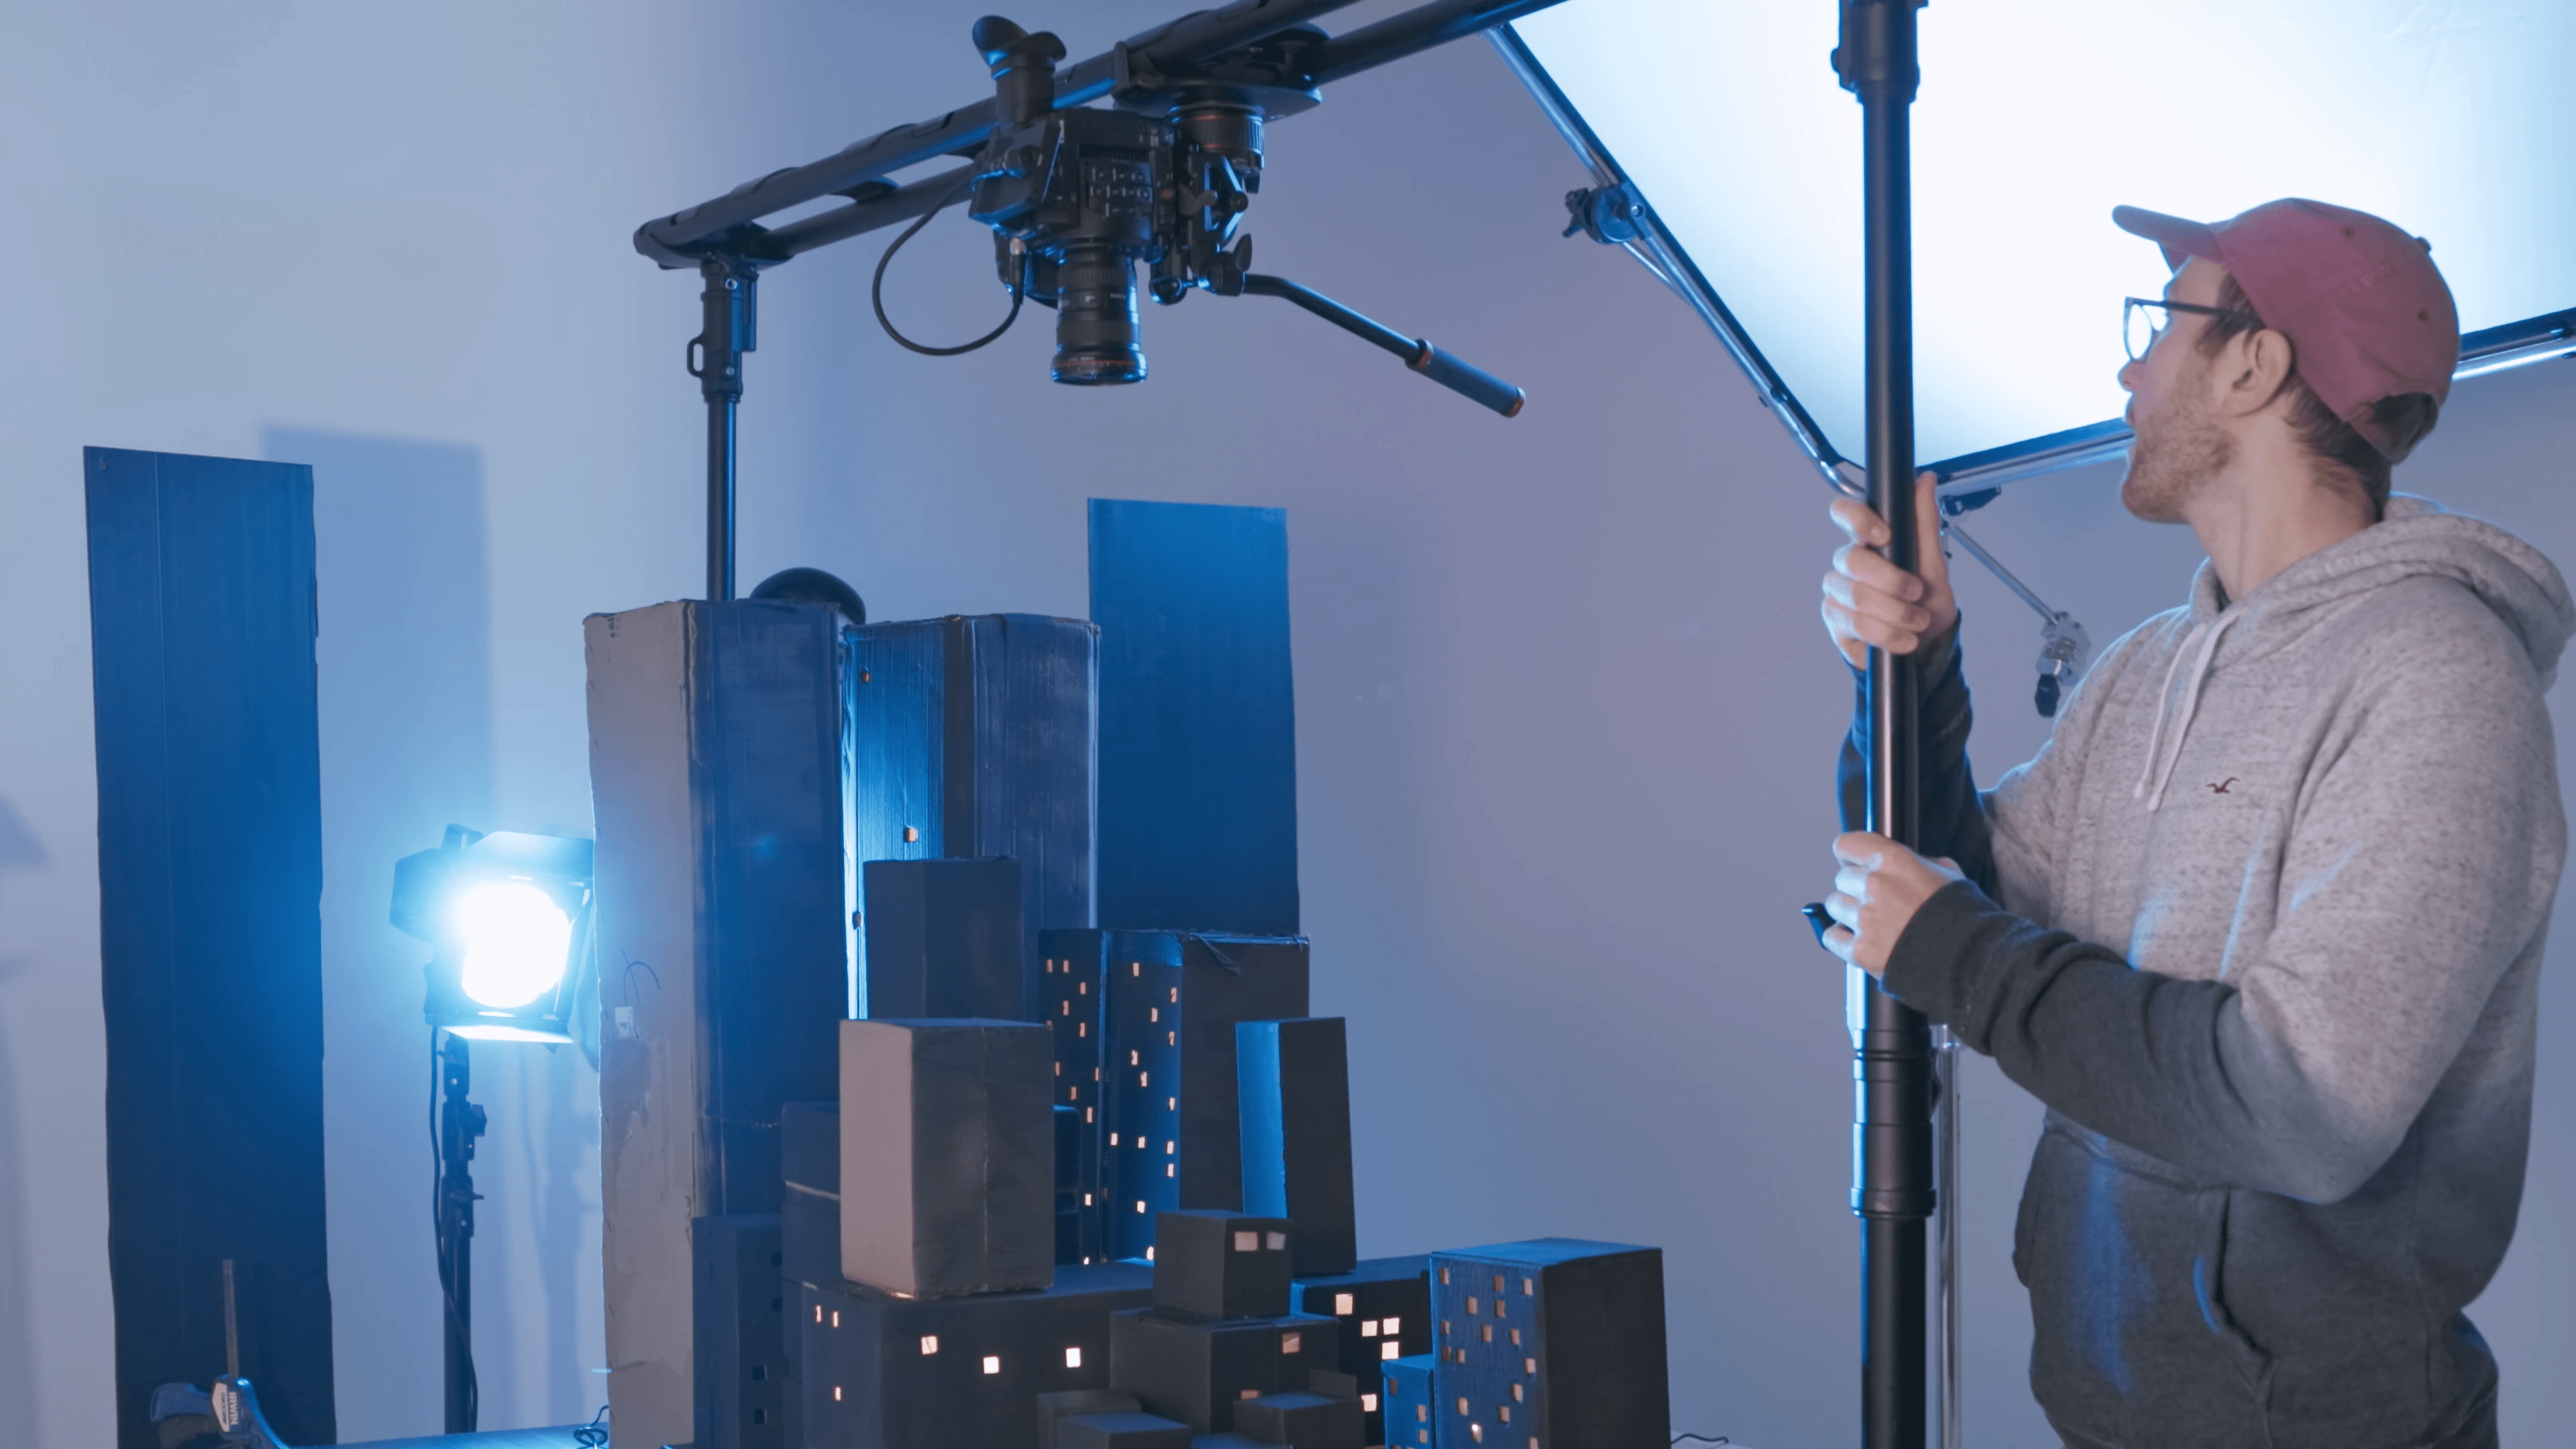

To do an inverted tracking shot we took the whole setup and mounted it upside down on two light stands.
An inverted tracking shot is very useful when showing a sense of scale and the topographical layout of an area. Most commonly they are drone shots and the demonstration uses a similar viewpoint on a smaller scale.
The makes this easy to do as it’s infinitely extendable and can be mounted upside down without any additional clamps or other accessories.
The is also perfect for this shot as you can achieve a full 90 degree tilt and get above your subject for a full birds-eye view.
Once everything is set up, it’s a simple move from one end to the other.
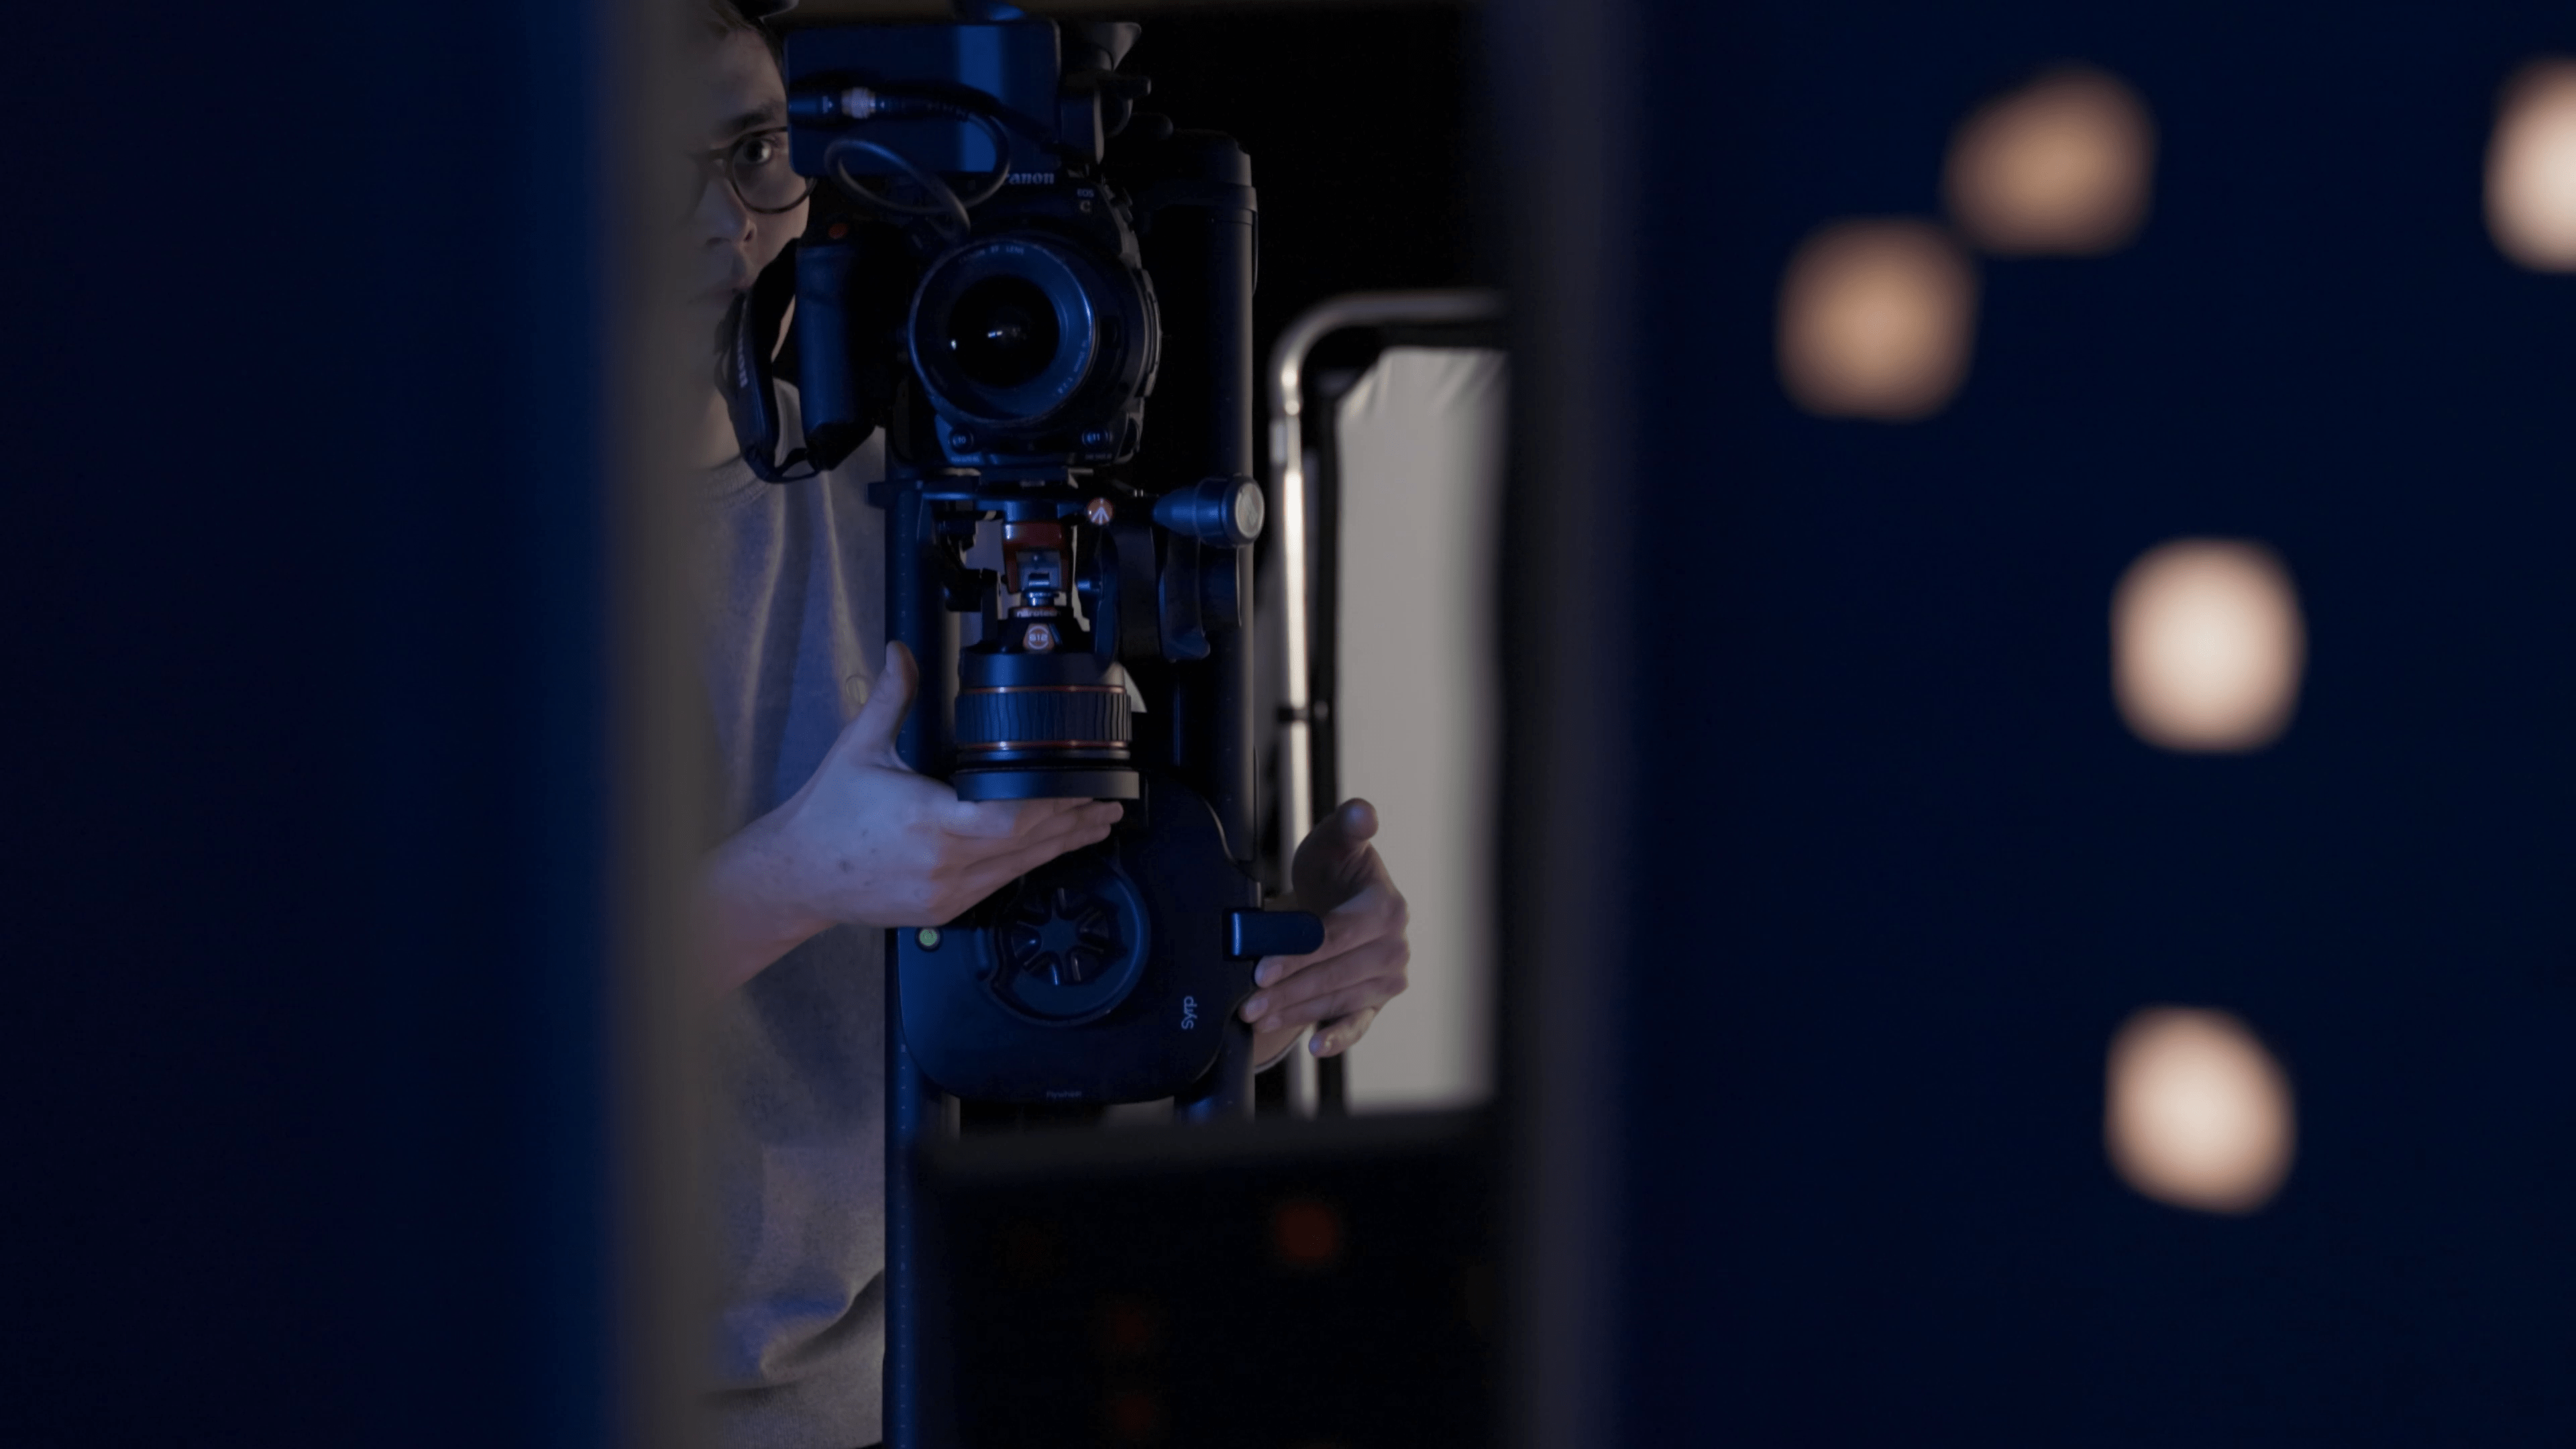

Vertical tracking shots are usually done using a jib or a crane, but you can actually do it by mounting your slider vertically using a video head.
For the movement we use a counterweight, so we bring the camera to the top of the setup, engage the flywheel and slowly lower it down letting gravity do all the work.
We are also using Tilt Platform which makes it easy to take 90 degree shots while moving vertically, and you can also set it to any angle depending on how you have your slider.
Vertical tracking shots are useful when you need to show more of the up / down axis. They can be used to track an object or person and show what's behind them, and have the added bonus of making everything look epic.
Track & Pan Shot
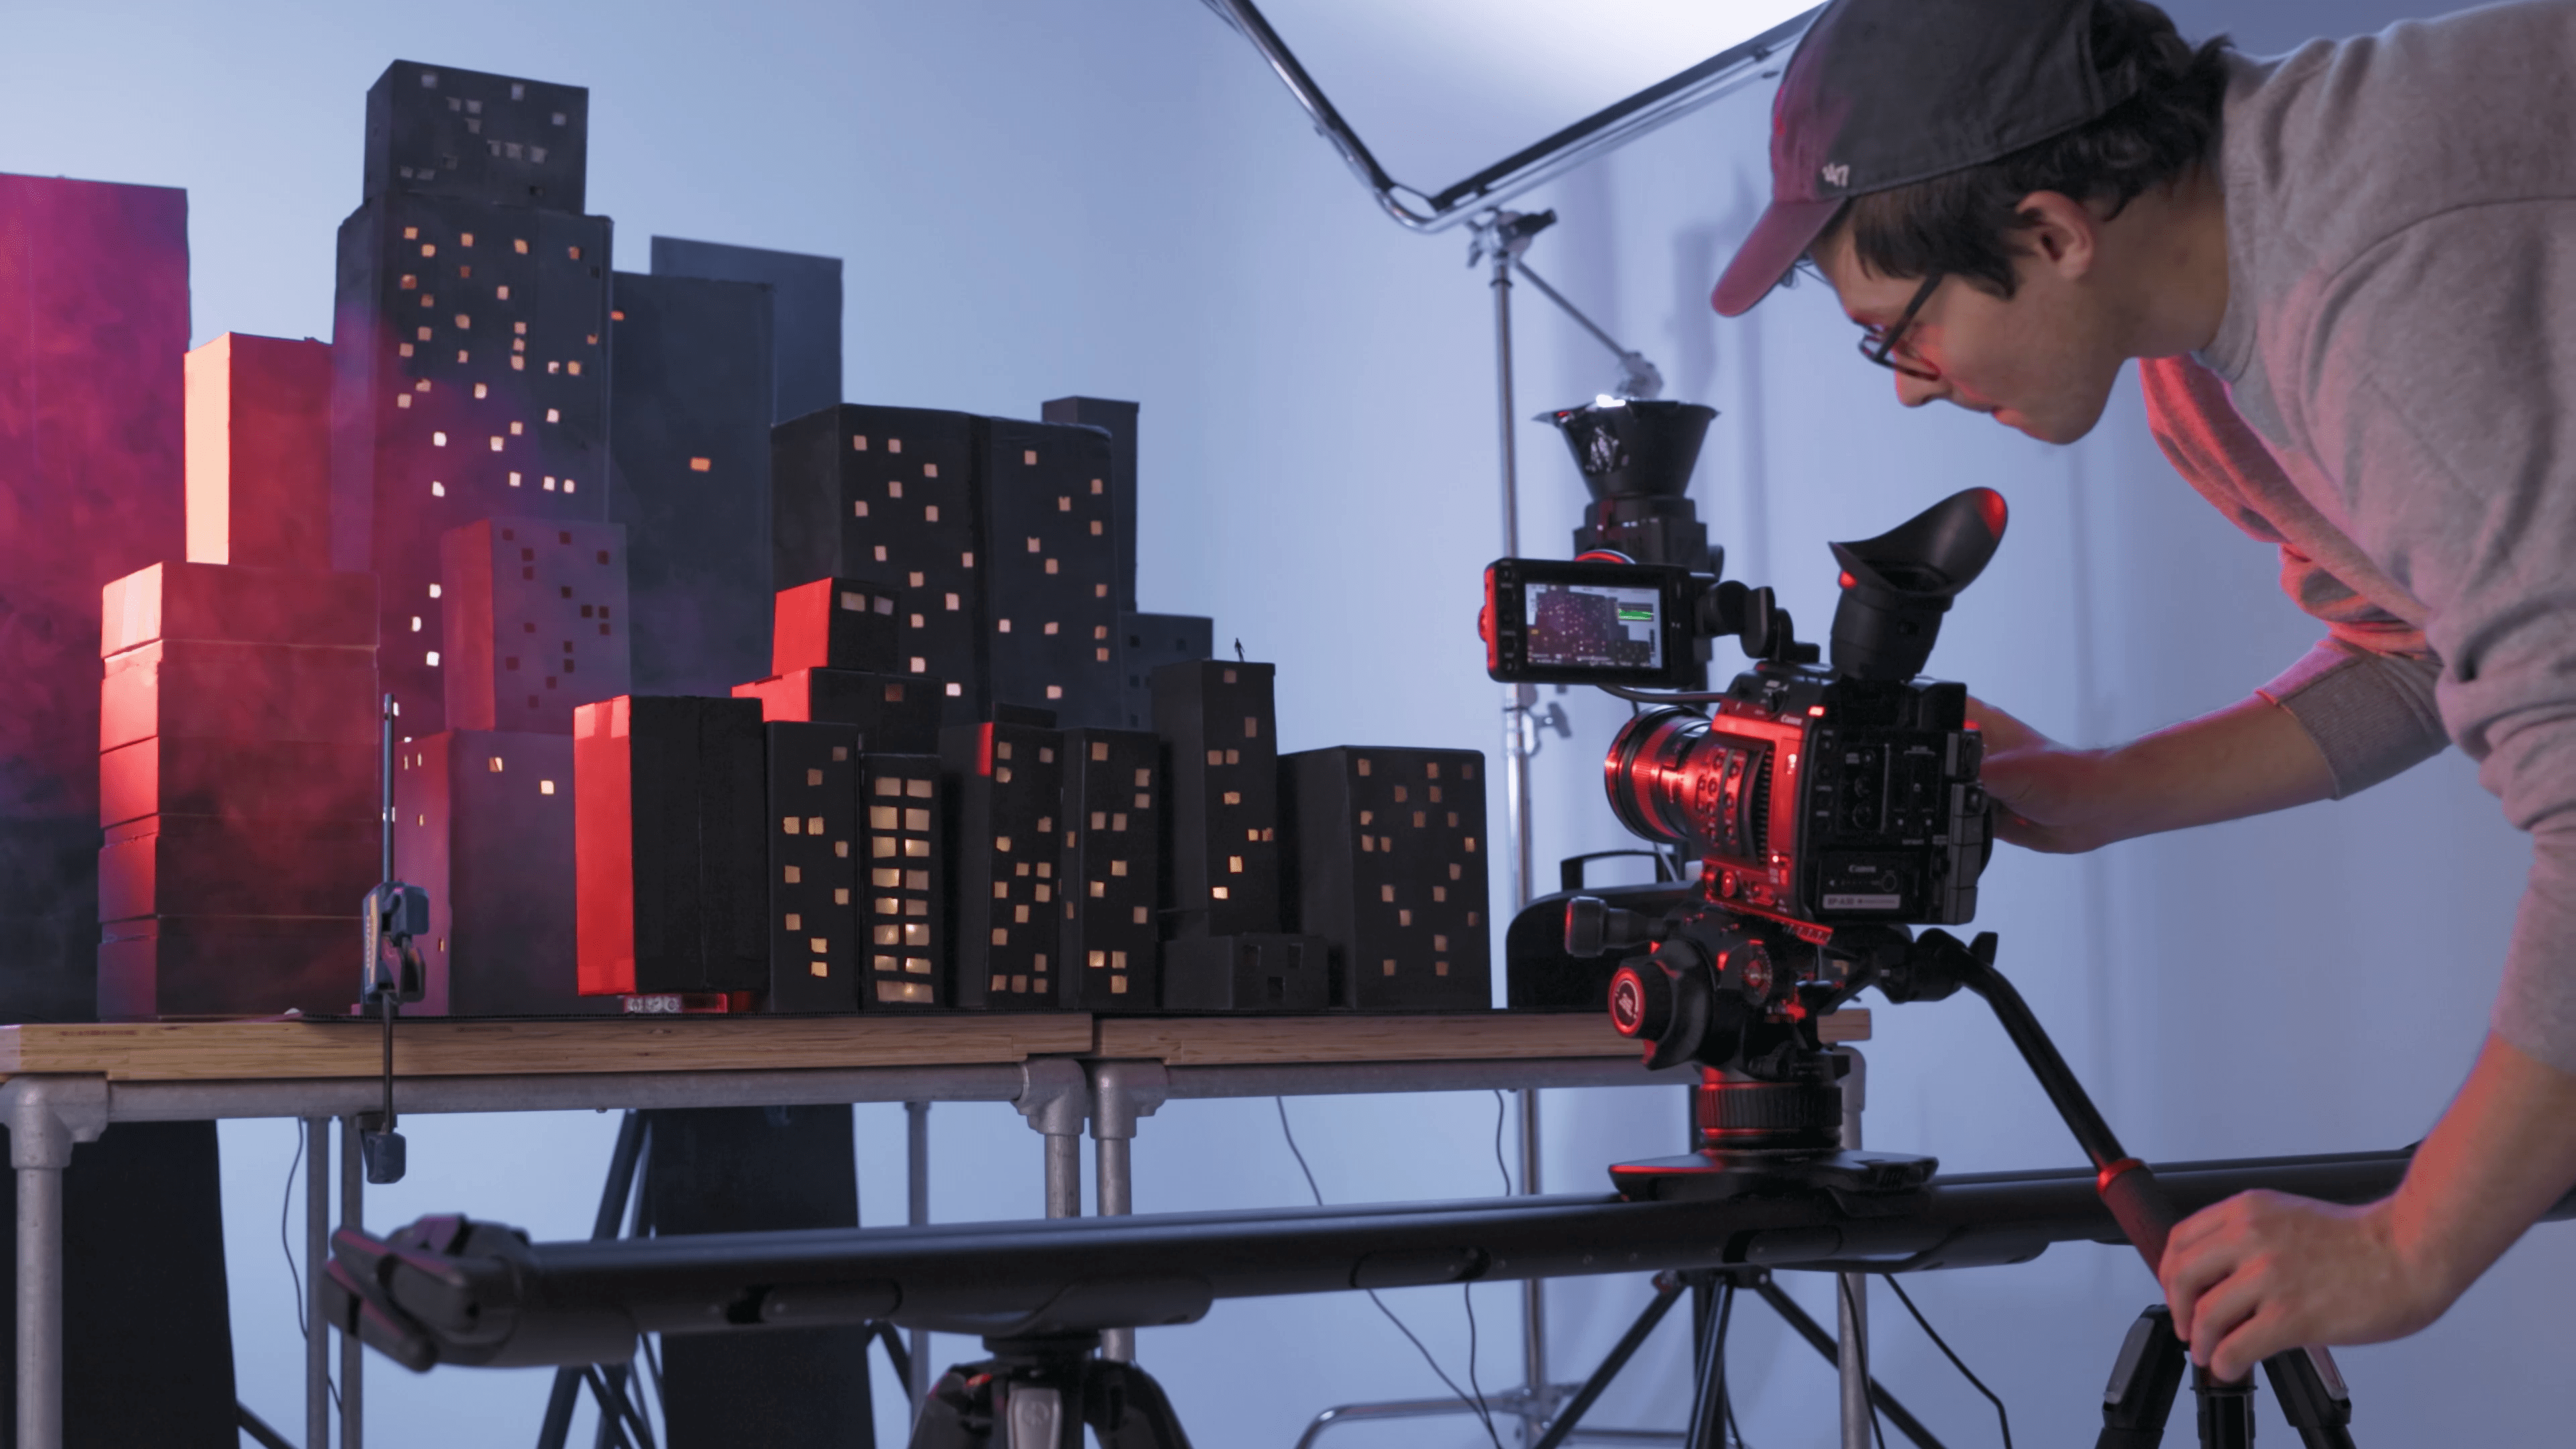

Track and pan shots are often used to add production value to a video and create depth between the background and the subject. You can also create some great effects by having objects in the foreground whip past, adding dimensionality to your shot.
If you want to go a step further, you can also add a pan as you track. This means you can keep your subject in the centre of the frame while still creating a sense of depth.
To achieve this shot, we set up the slider between two . This build method is very stable and allows the camera to stay smooth throughout the whole movement.
If you are having trouble with the panning part, you can increase the drag on your video head. This provides more resistance and makes the entire movement smoother.
Dolly Zoom Shot

A dolly zoom shot can be used to create a sense of panic, or to make it seem like the entire world is crushing in around your subject.
To take this shot, we need to zoom in or out on an object, while at the same time tracking in or out in the opposite direction. Be sure to keep the subject the same relative size and in focus using either Manfrotto Follow Focus, or you can also use the autofocus on your camera, if it's good enough.
Pull Tilt and Roll Shot
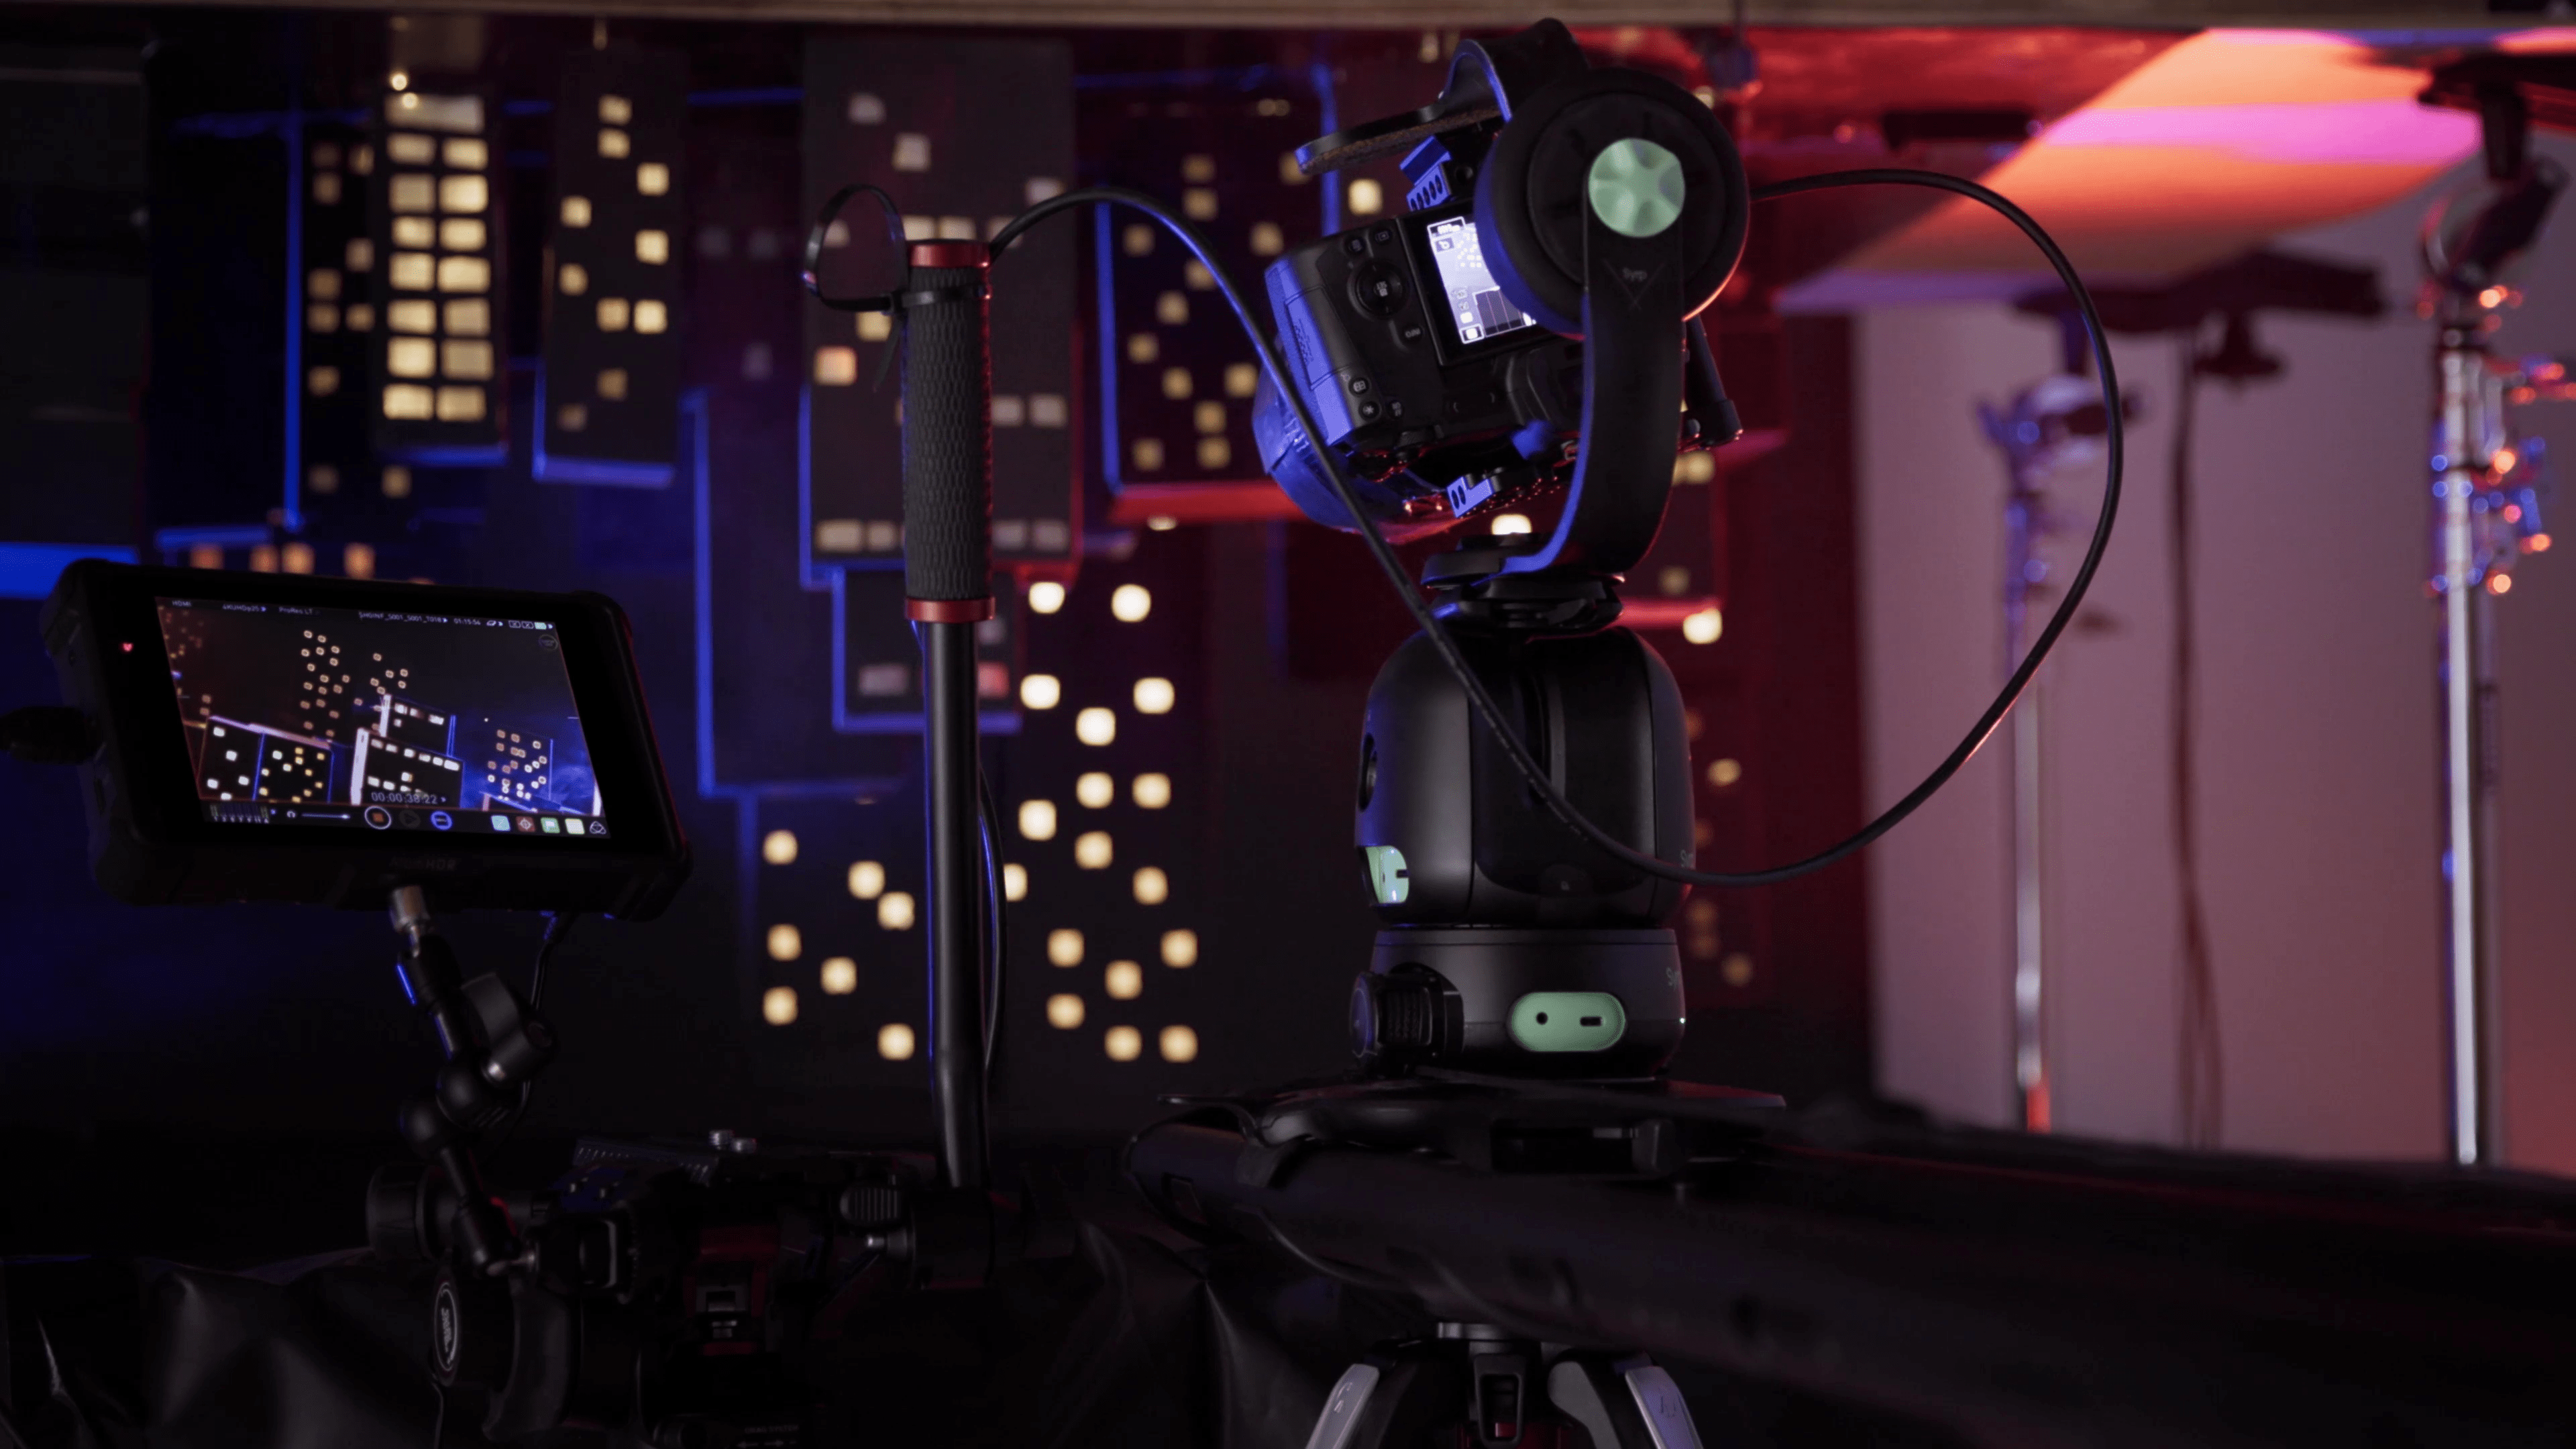

The last shot we're going to cover is the pull, tilt and roll. It’s not the kind of shot that you would use in every video, but if you do it’s guaranteed to make your shot look epic.
To demonstrate, we turned our cardboard city upside down and placed it on top of a small pool of water (made from polyurethane and two-by-fours), giving the viewer the illusion of an infinity pool.
This technique can be shot with just one gimbal, but to make things easier we recommend using motion control. We used the , on top of that we have the and a on a that gives us the roll.
To get all of these parts moving together we run everything through the Manfrotto motion App, allowing all our Manfrotto gear to work simultaneously using keyframes.
Bringing It All Together
After finishing up our shoot we did a quick grade, added some music and titles, and now we have the intro to our superhero show!
Thanks for following along, we hope you learned some practical slider tips that you can use in your next project.


