Explore the creative process of professional photographers and filmmakers.
The Artificial Wave: discover the composing project by Philip Thurston.
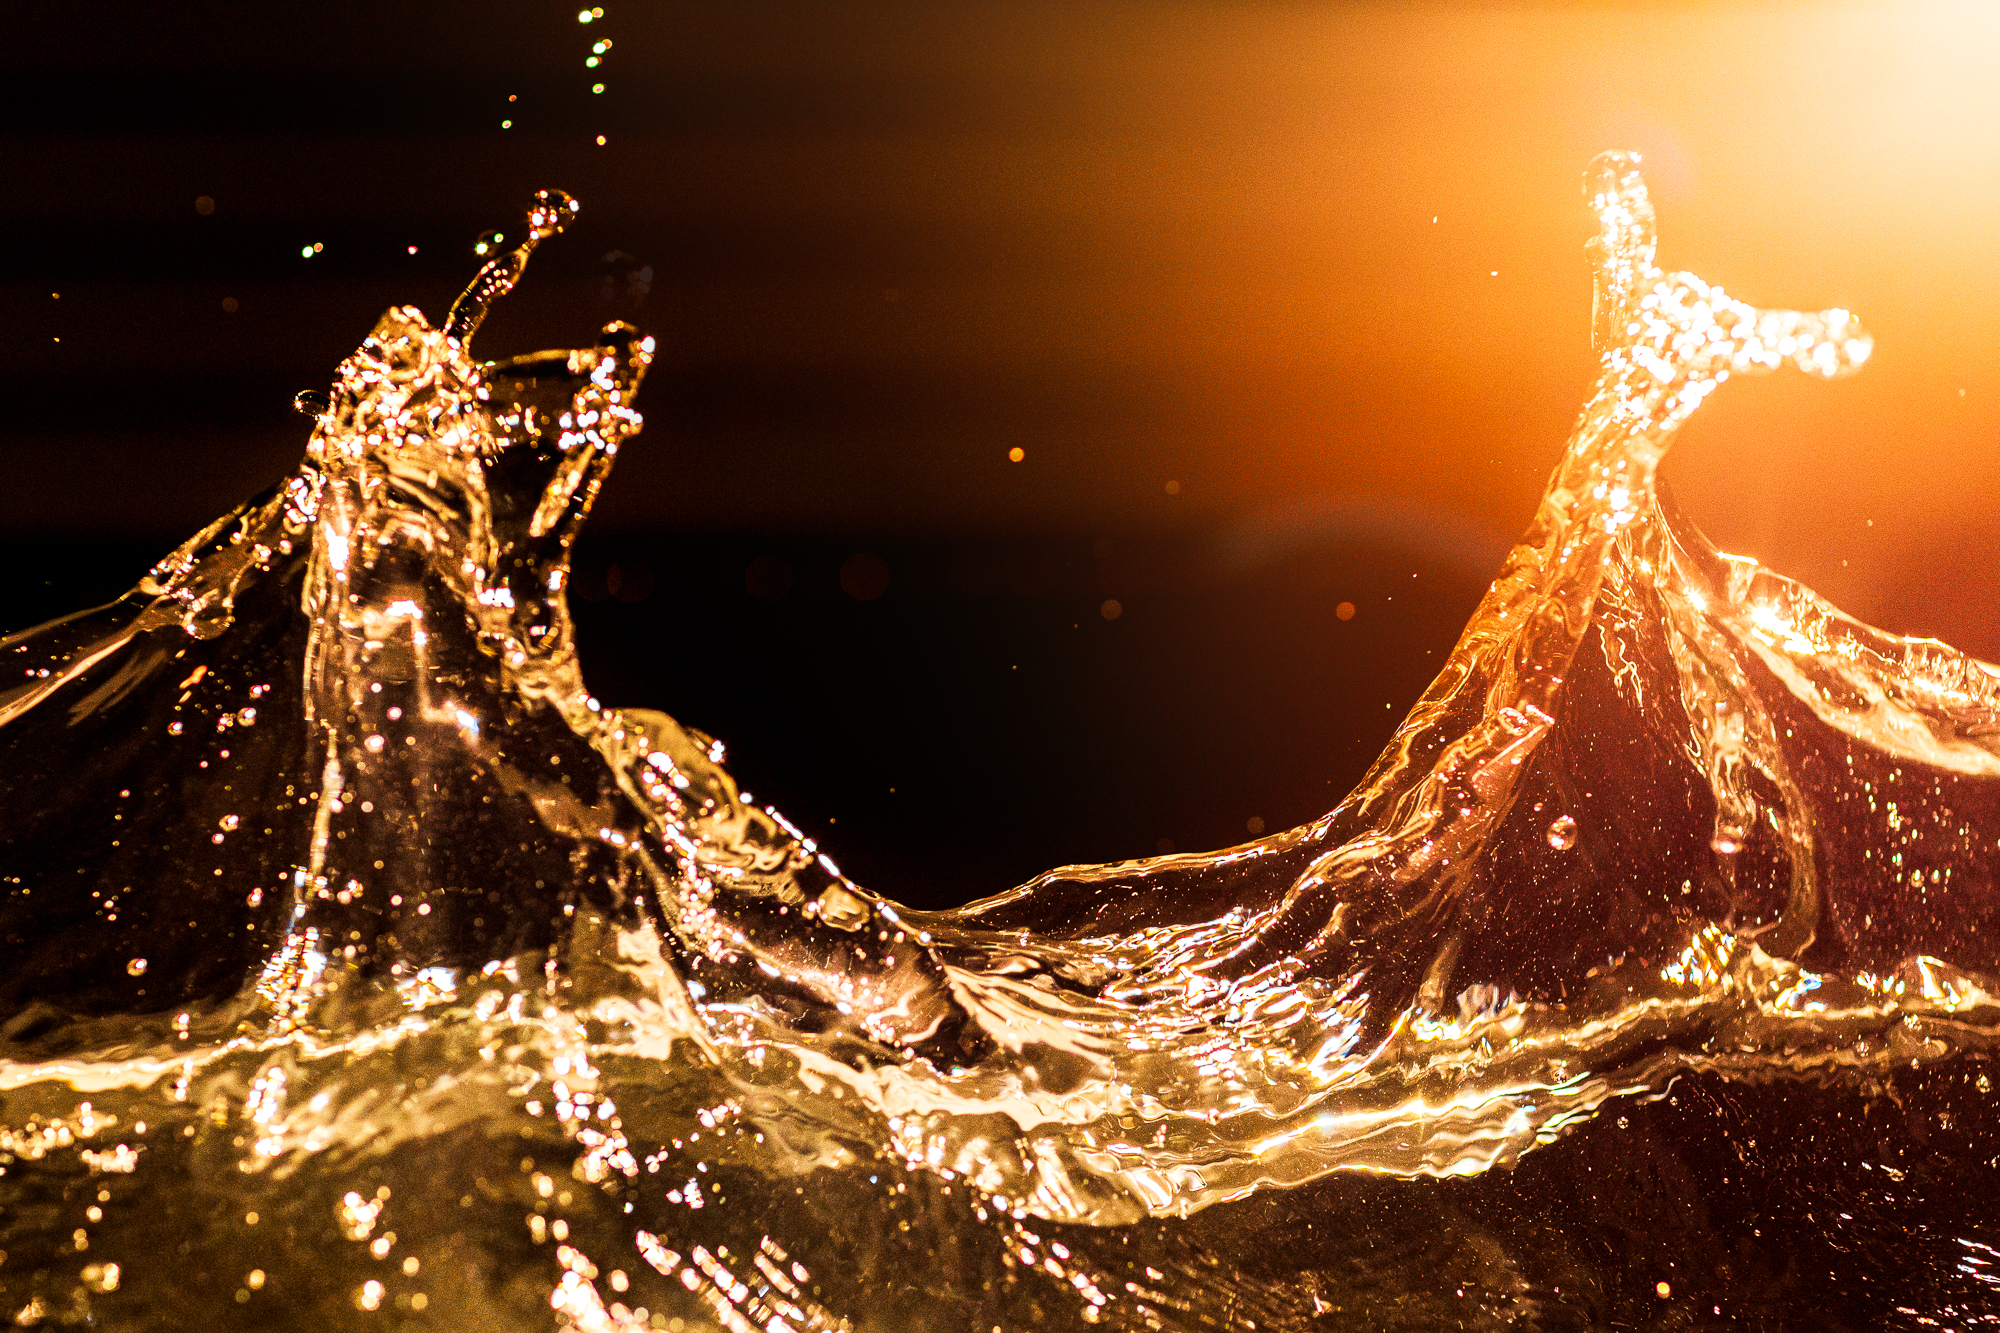


I’ve spent so much time analysing and observing nature, just waiting for the right moment to happen where the elements align perfectly, so when Manfrotto spoke to me about their “Compose your Vision” concept, I immediately thought; ‘Imagine’ if I could recreate those elements, in a more controlled environment.
All my endeavours seem to start with the world ‘imagine’, fitting since the drive behind Manfrotto’s industry leading direction is to “Imagine More” and I believe my career has been carved out of pursuing just that. It’s always my imagination that sends me into these tailspin journeys, whether it be to the far corners of the earth in search of the next portfolio shot or those late nights in the studio tweaking lights and angles. Every endeavour always has the common thread of imagining the image that may present itself just around the corner.
This project was certainly no exception, when the idea was born in my minds eye, I couldn’t seem to shake it. “Is it even possible? I kept thinking. Is it actually feasible to pull off? But there was only one way to find out, so I began putting pen to paper and designing what I saw in my mind. I had seen waves form, collide and explode so many times in the ocean, so I had a good idea of what was required to generate the movement of the water. I needed to push, pull and contain the waves in an environment that I could control.
So with a background in construction, I set out to acquire the resources and tools I needed to build what was going to be an ‘artificial wave machine’.
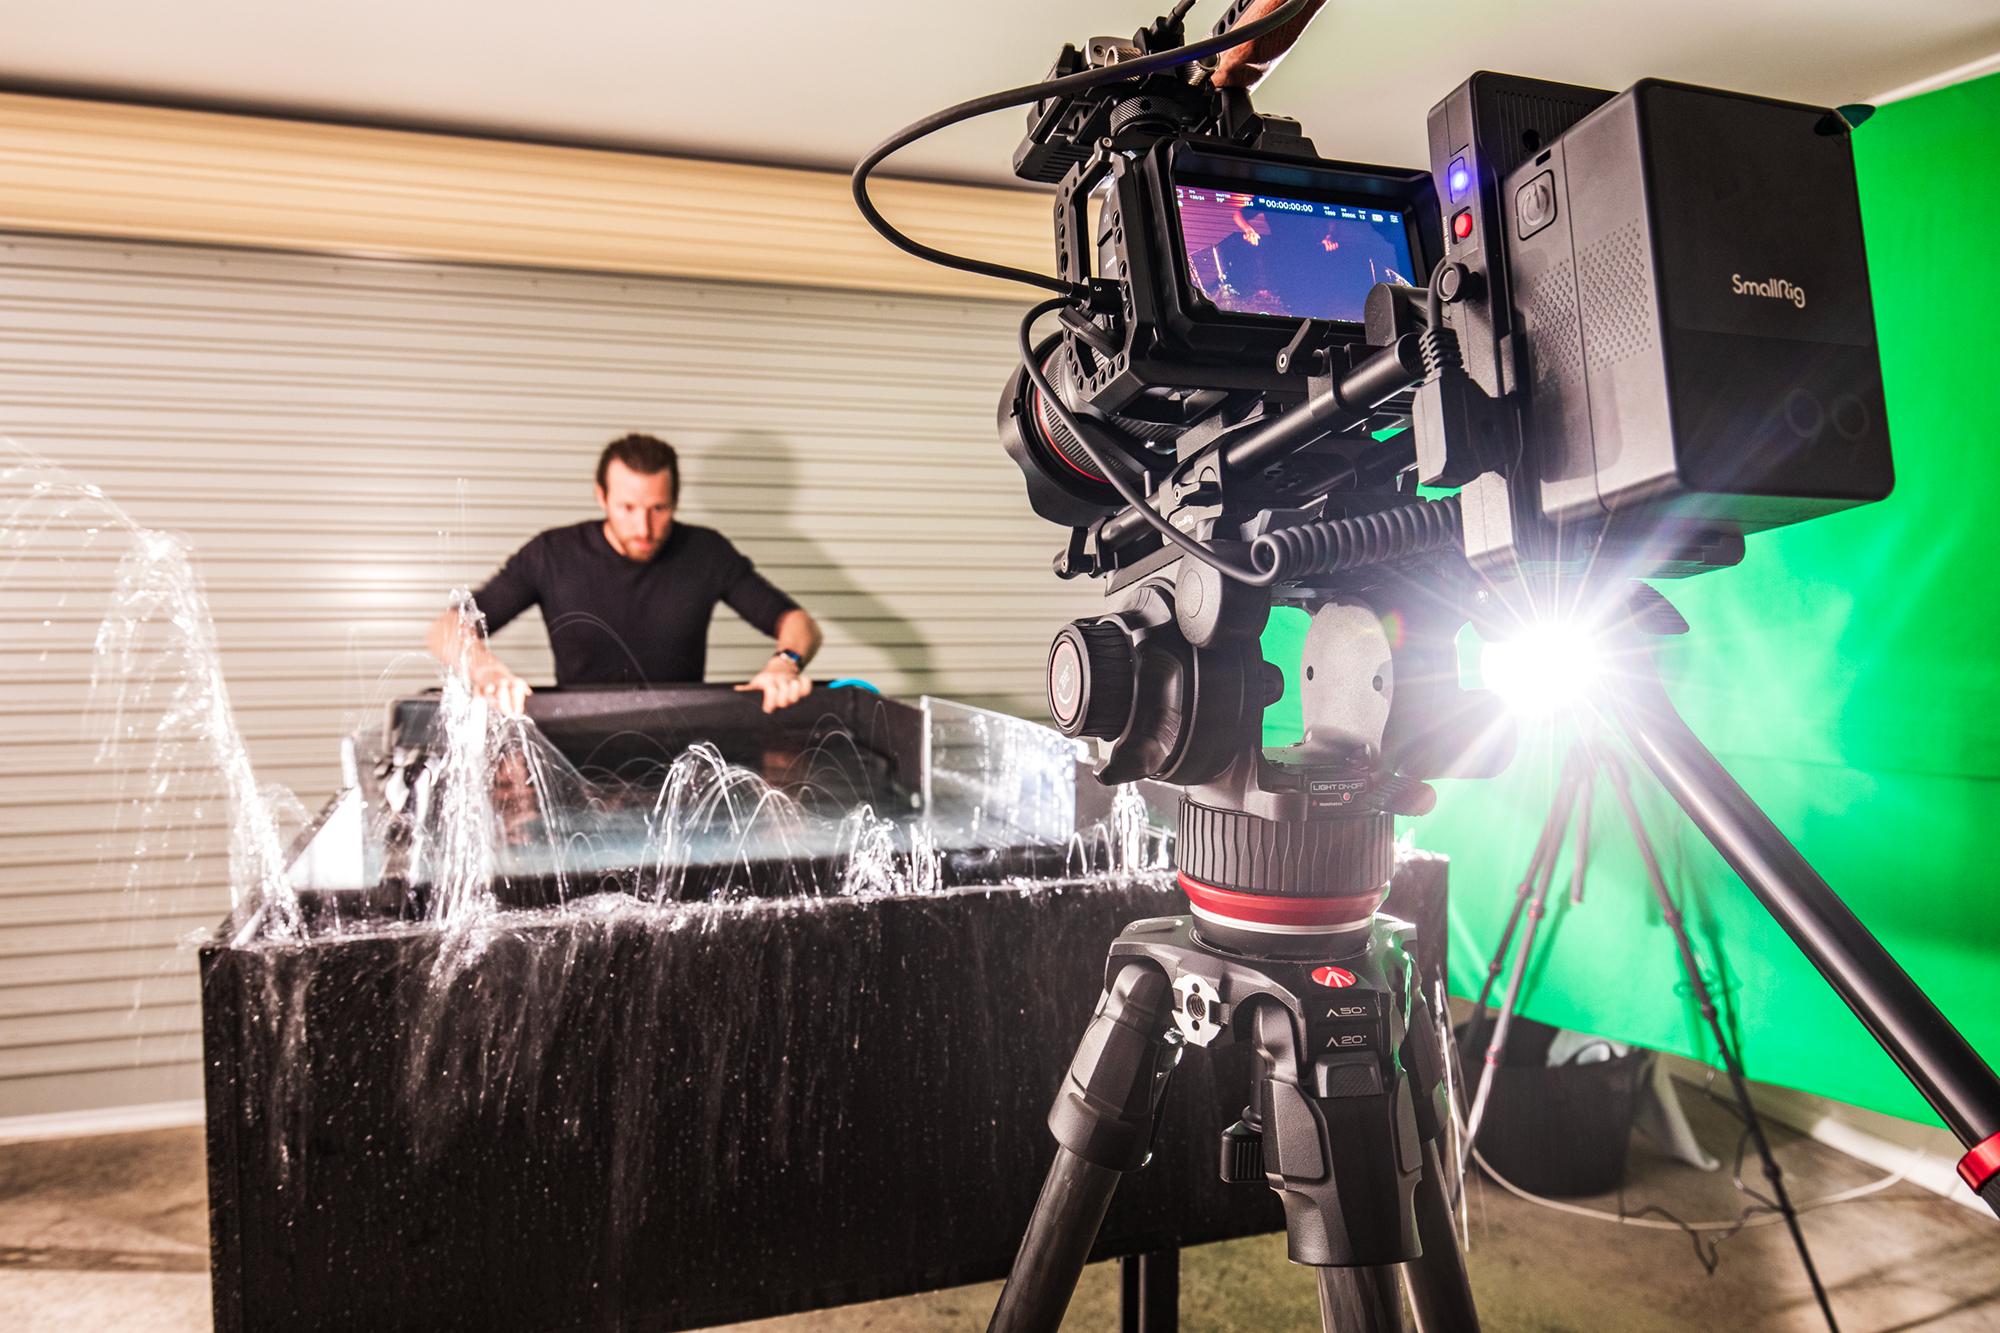

The Building Process
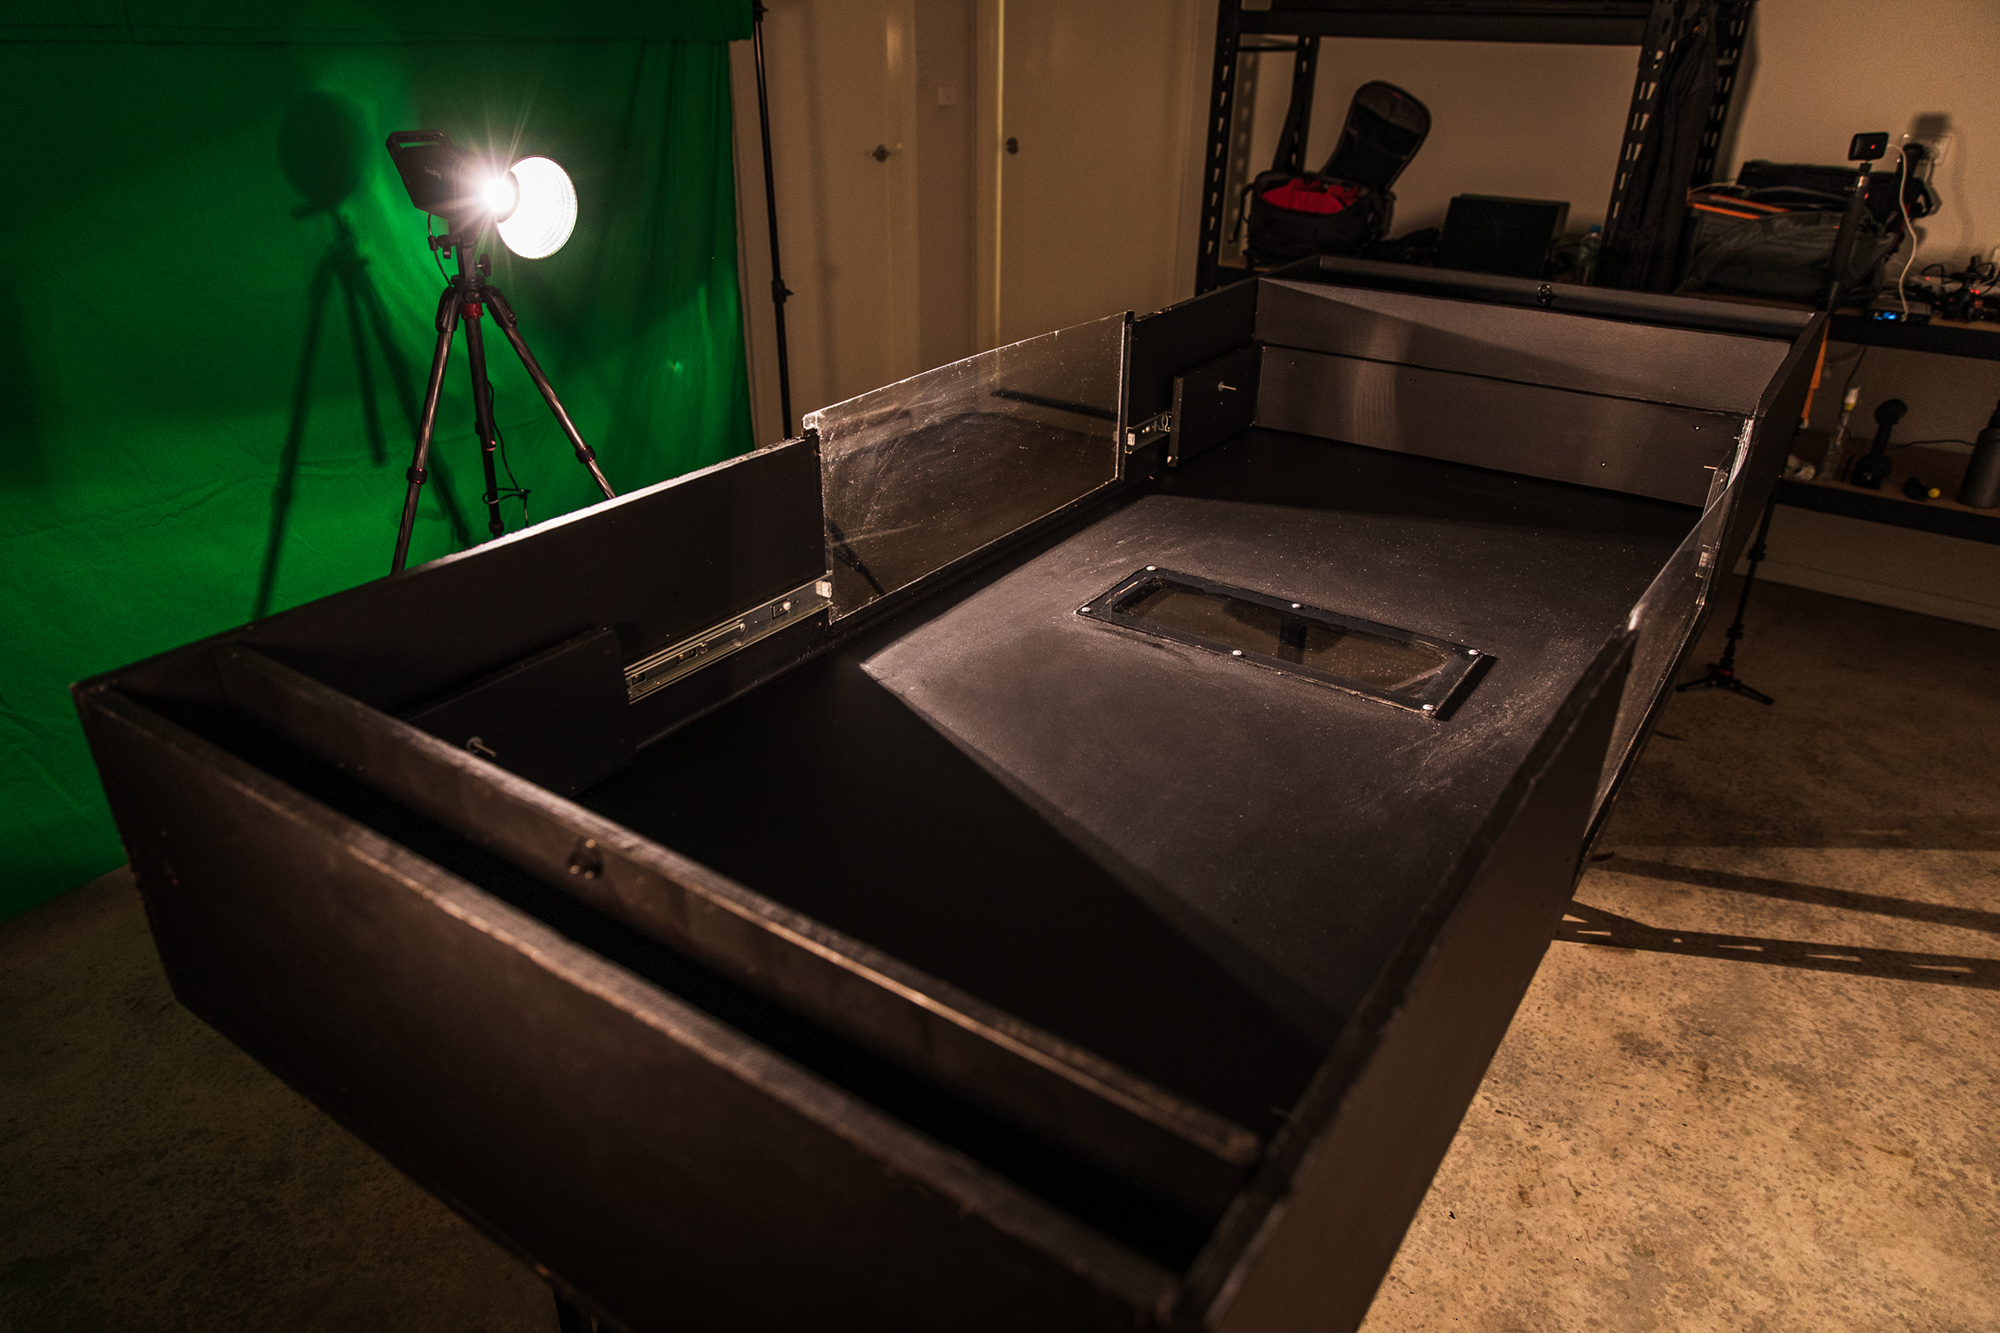

Pioneering an idea like this always has its stages of trial and error, because not having an example to go off will inevitably lead you down a winding path of sorts, and will require persistence and a never give up attitude to see your vision through to fruition. More often than not the end result may be very different to what was originally envisioned but often I find the concept evolves and new ideas always emerge along that path of creative pursuit
To enable my vision to come to life, I built a 4’x8’ box by 16” deep and waterproofed the entire construction. I then needed a contraption that moved a significant volume of water within the box so I installed 2 industrial strength draws in both ends of the box and kept the space around them pretty tight, so water wouldn’t bounce and refract around the edges. I then hooked up some very strong springs on both sides of the draws with the intention to have the whole system spring loaded.
But, I learnt that that wasn’t going to be enough.
I went over and above with the water proofing, having had a history in building underwater camera cases, I knew from experience that water loves to escape wherever it can! And the pressure that it generates can be enormous on joints and seams. I also had to cut out a few clear windows to allow for shooting the subject and also lighting it from various angles. Much of the positioning and sizing of the design features was purely experimental.
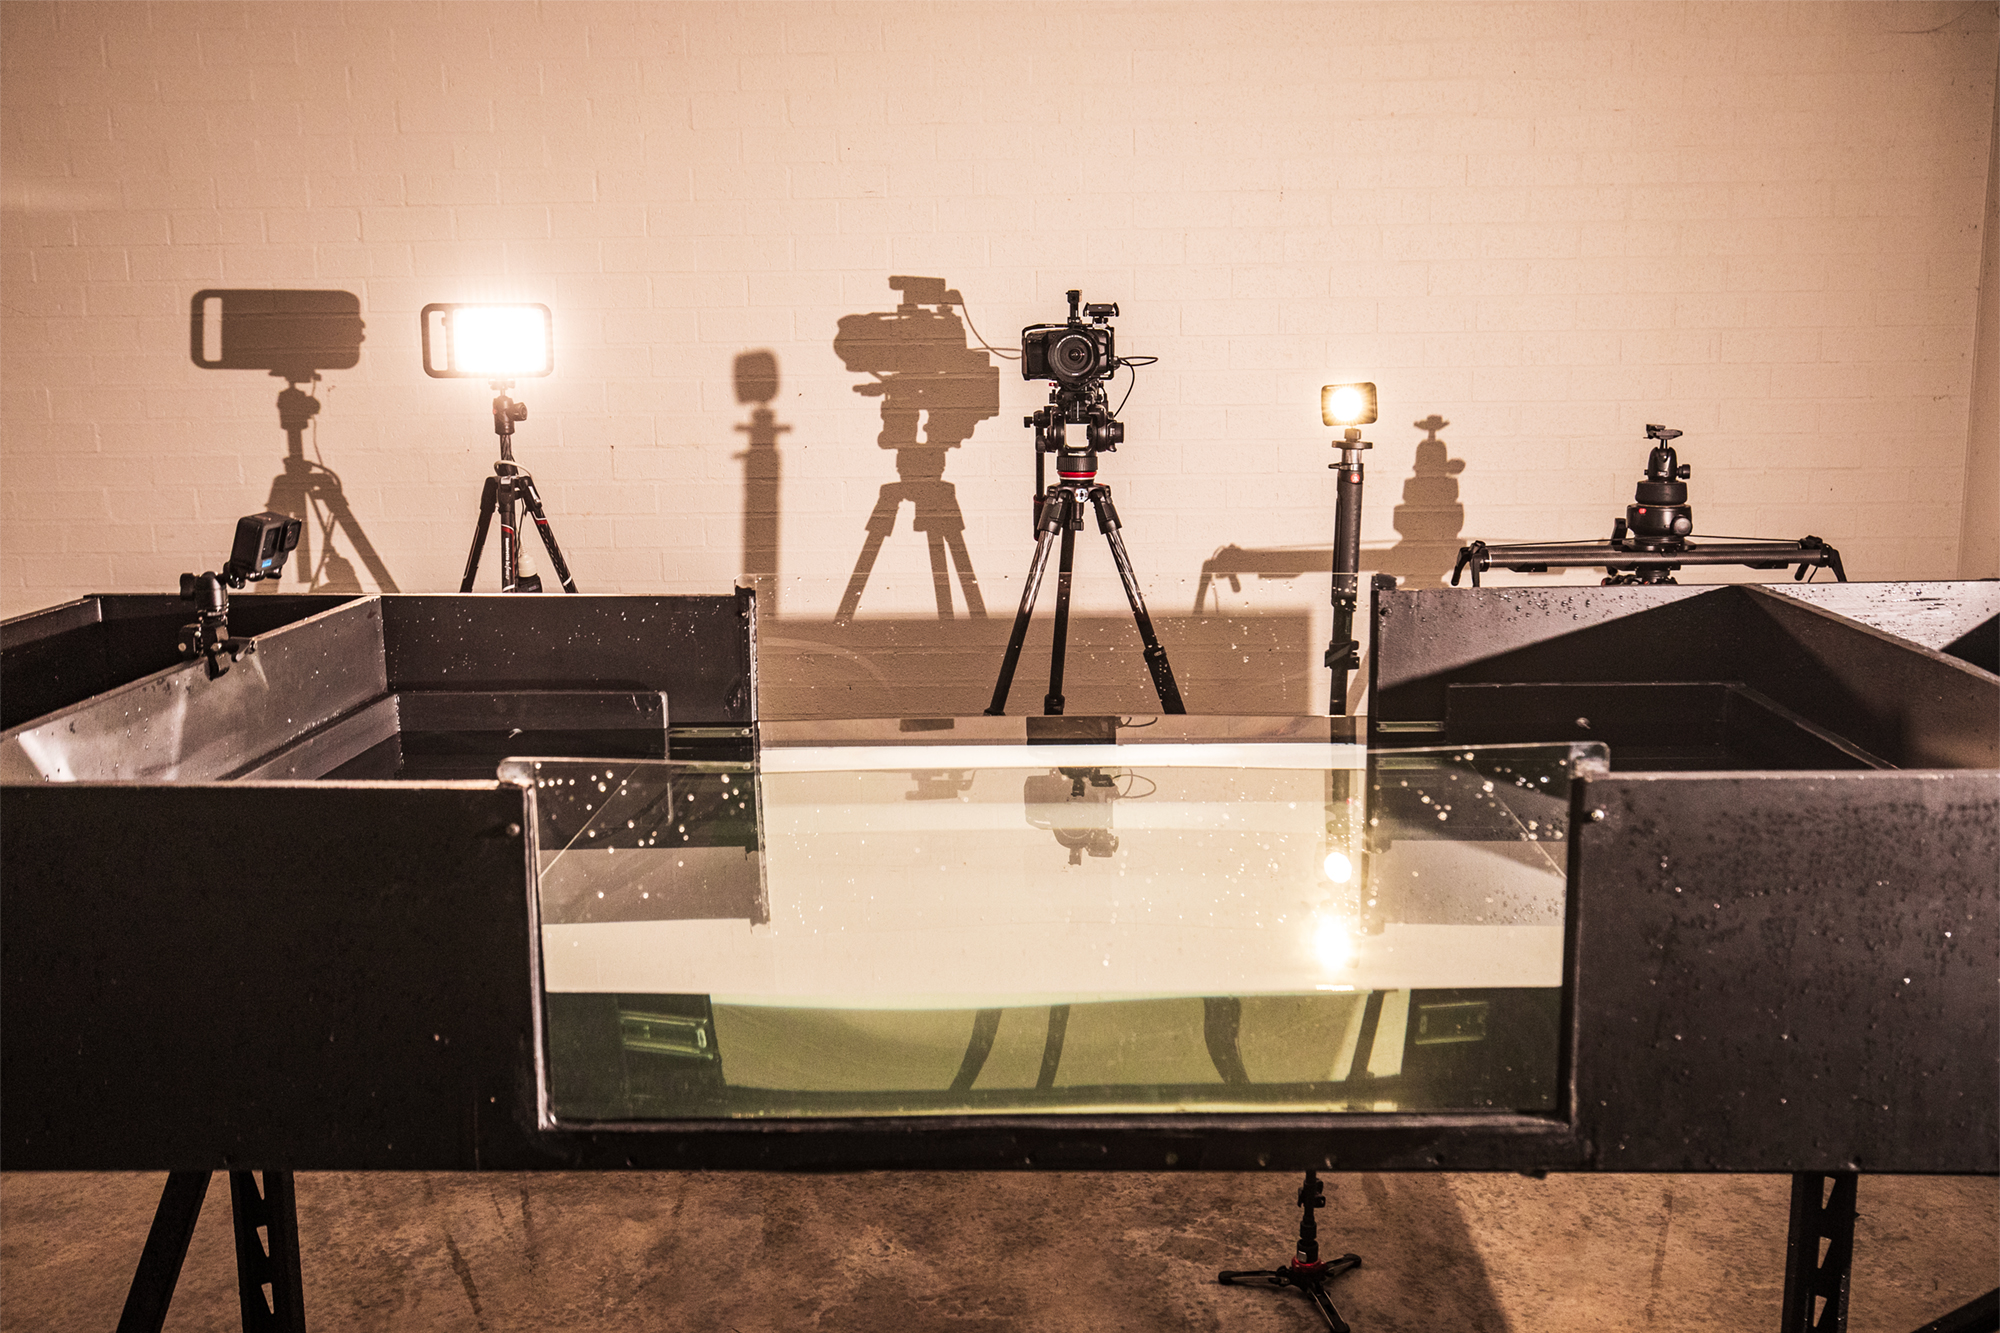

The Trials and Challenges
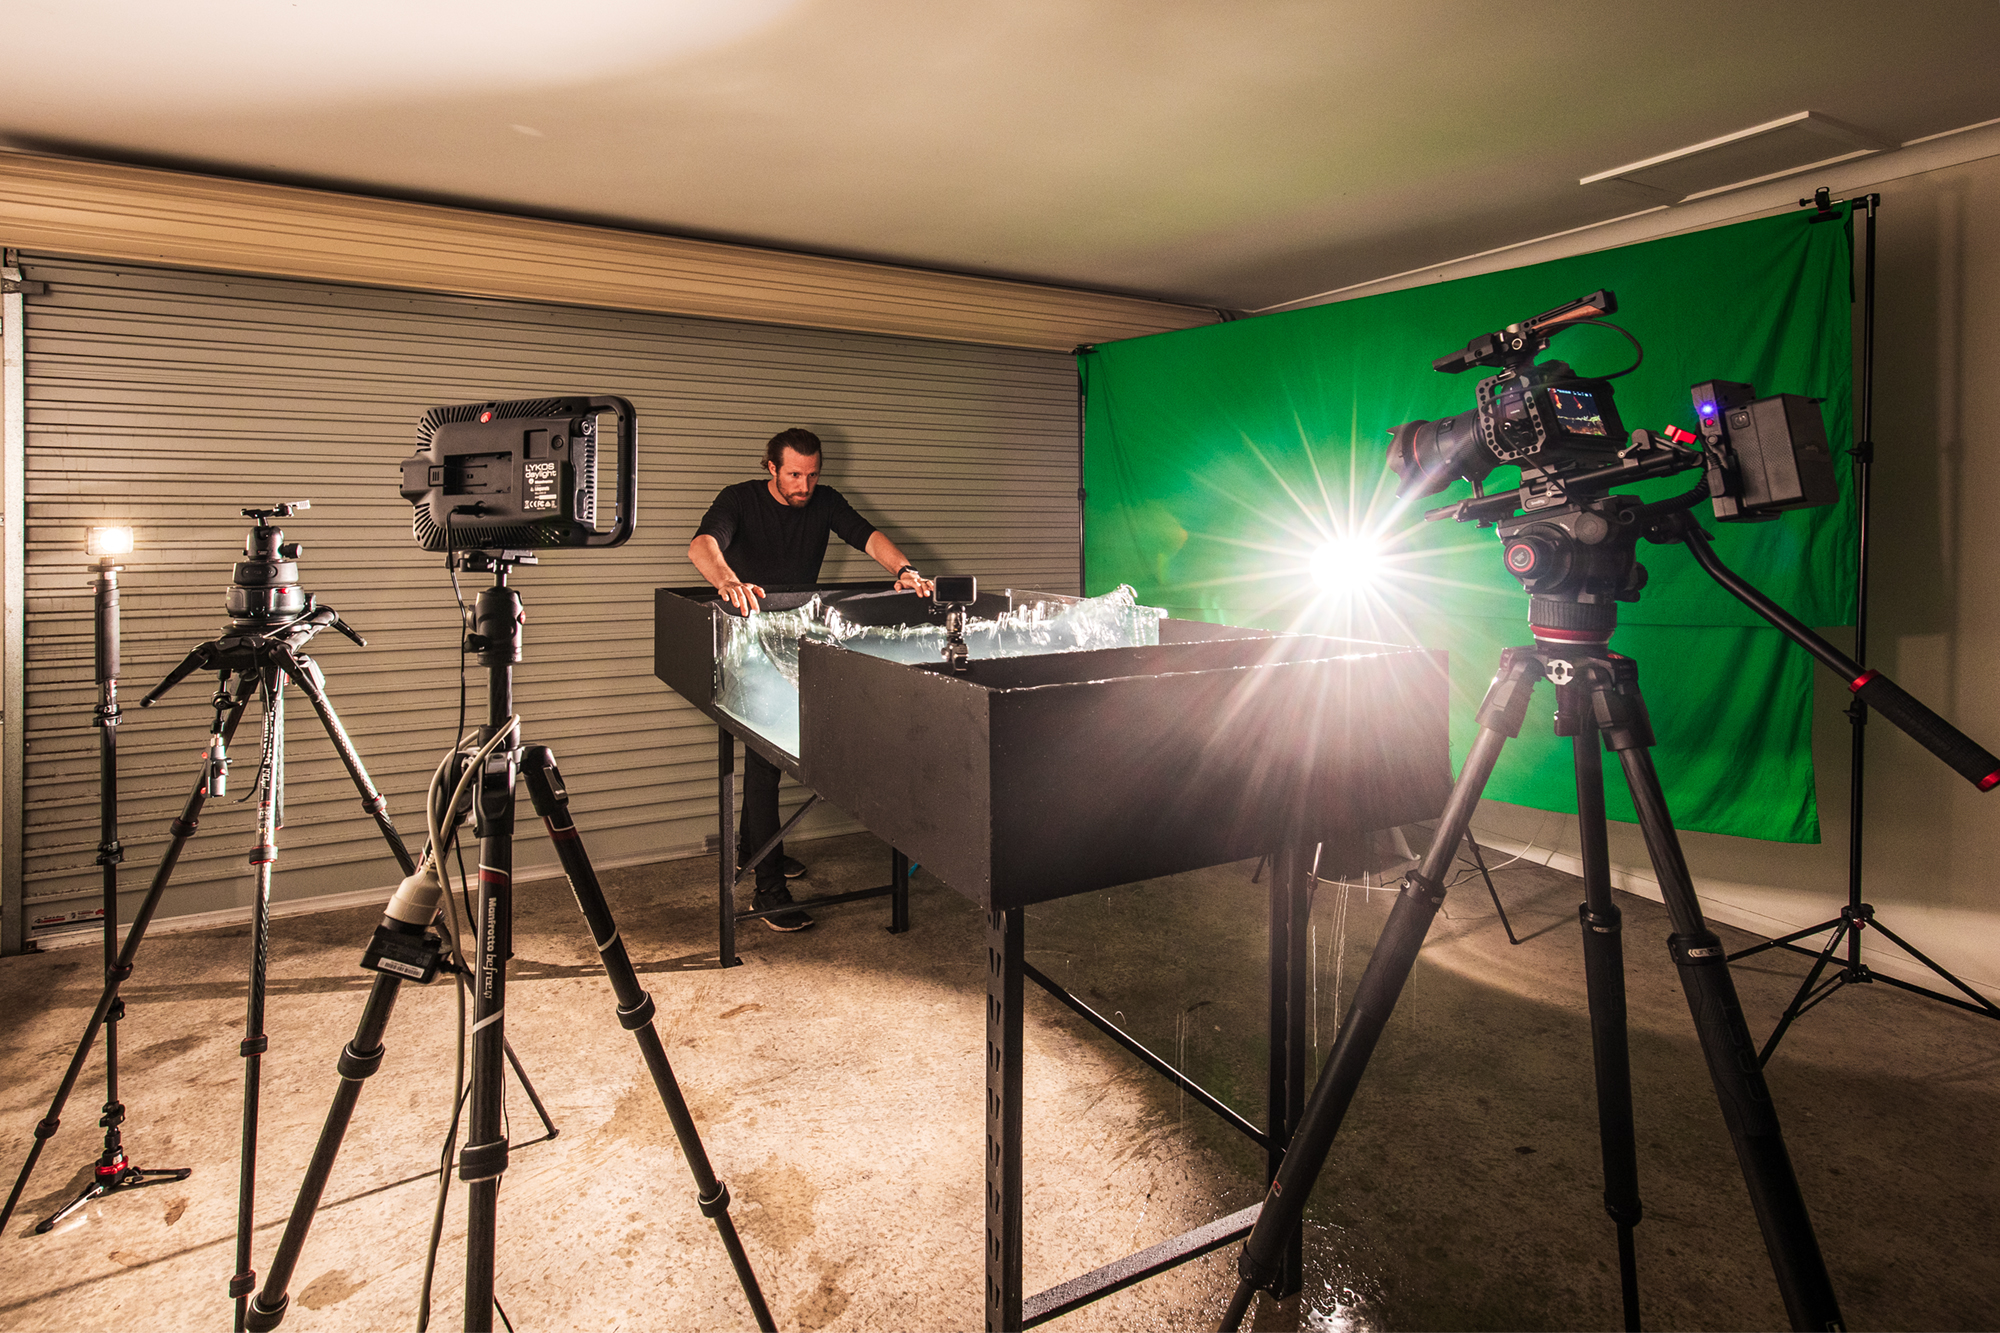

When I set out to compose my vision, it seemed so simple in theory, but when it came down to the practicalities of recreating those natural elements in a studio, there were some challenges...
Even though water, for the most part will do you what you require it to do, it still can have a mind of its own. Thus was the case of the mechanics in my original idea.
The spring loaded draw system didn’t end up generating enough power to push the resistance that a full tub of water created and really get the energy I was after in the waves. However, after ditching the springs idea, I found with the right amount of water, and the momentum that built up from manually timing the push of the draws had a huge effect on how the water was displaced and collided. Apart from building the contraption and getting all the engineering right, the biggest challenge I faced was actually the timing and the pushing of the waves. It turned out, getting the water to meet in the middle was a real artform in itself and took a lot of practice to get in the groove.

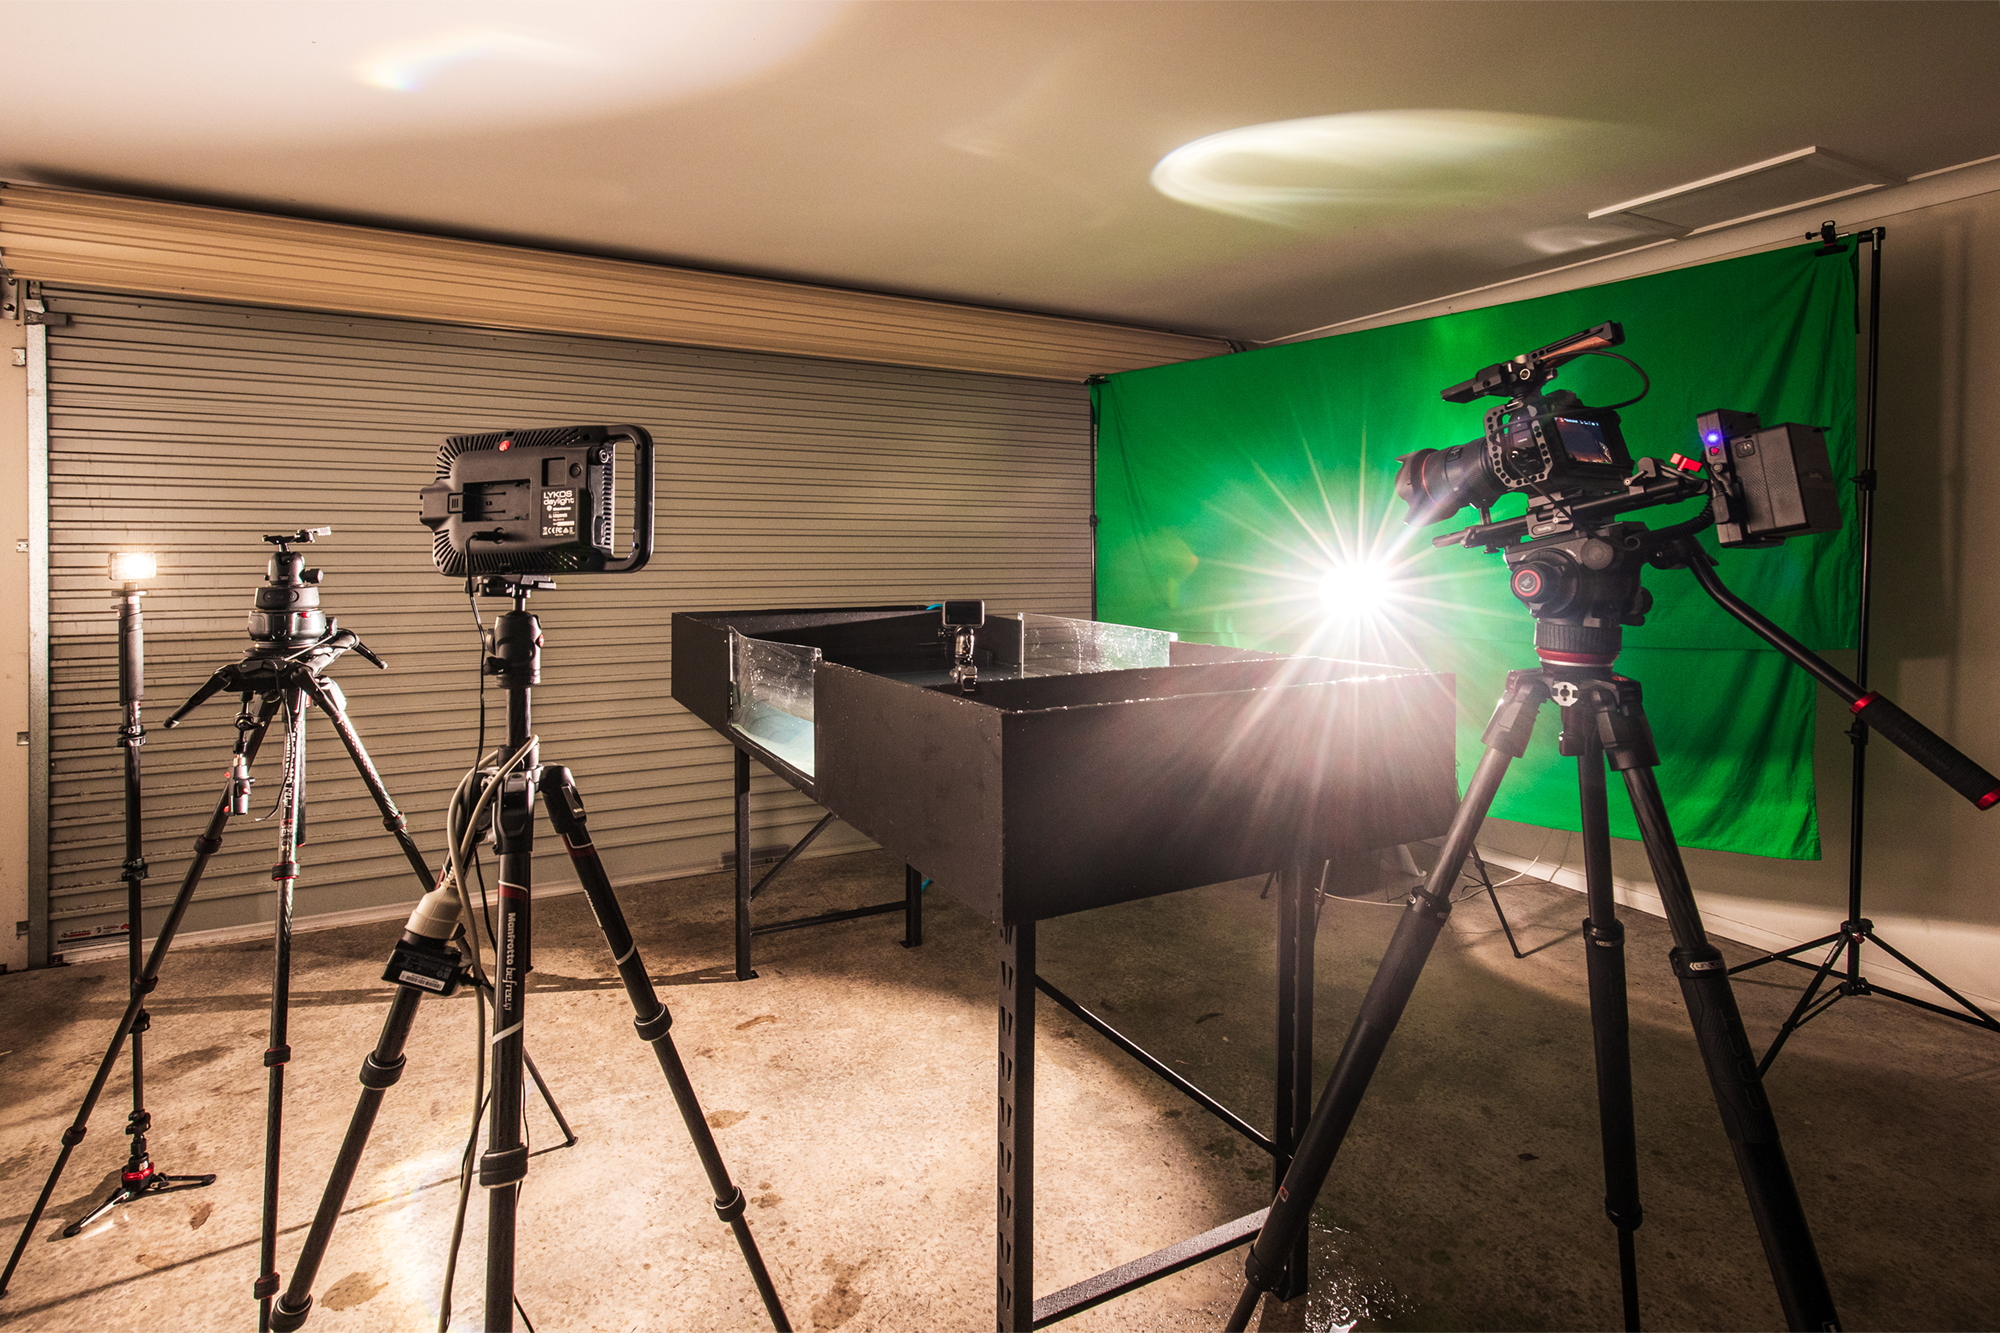

On top of that, having my focus right, and my composition right and getting the position of the light right was just a myriad of things to align. You see, water at this miniature scale moves so incredibly fast, too fast to compose in the moment. So I had to anticipate where the wave was going to flick up and how the water was going to behave based on the wave before it.

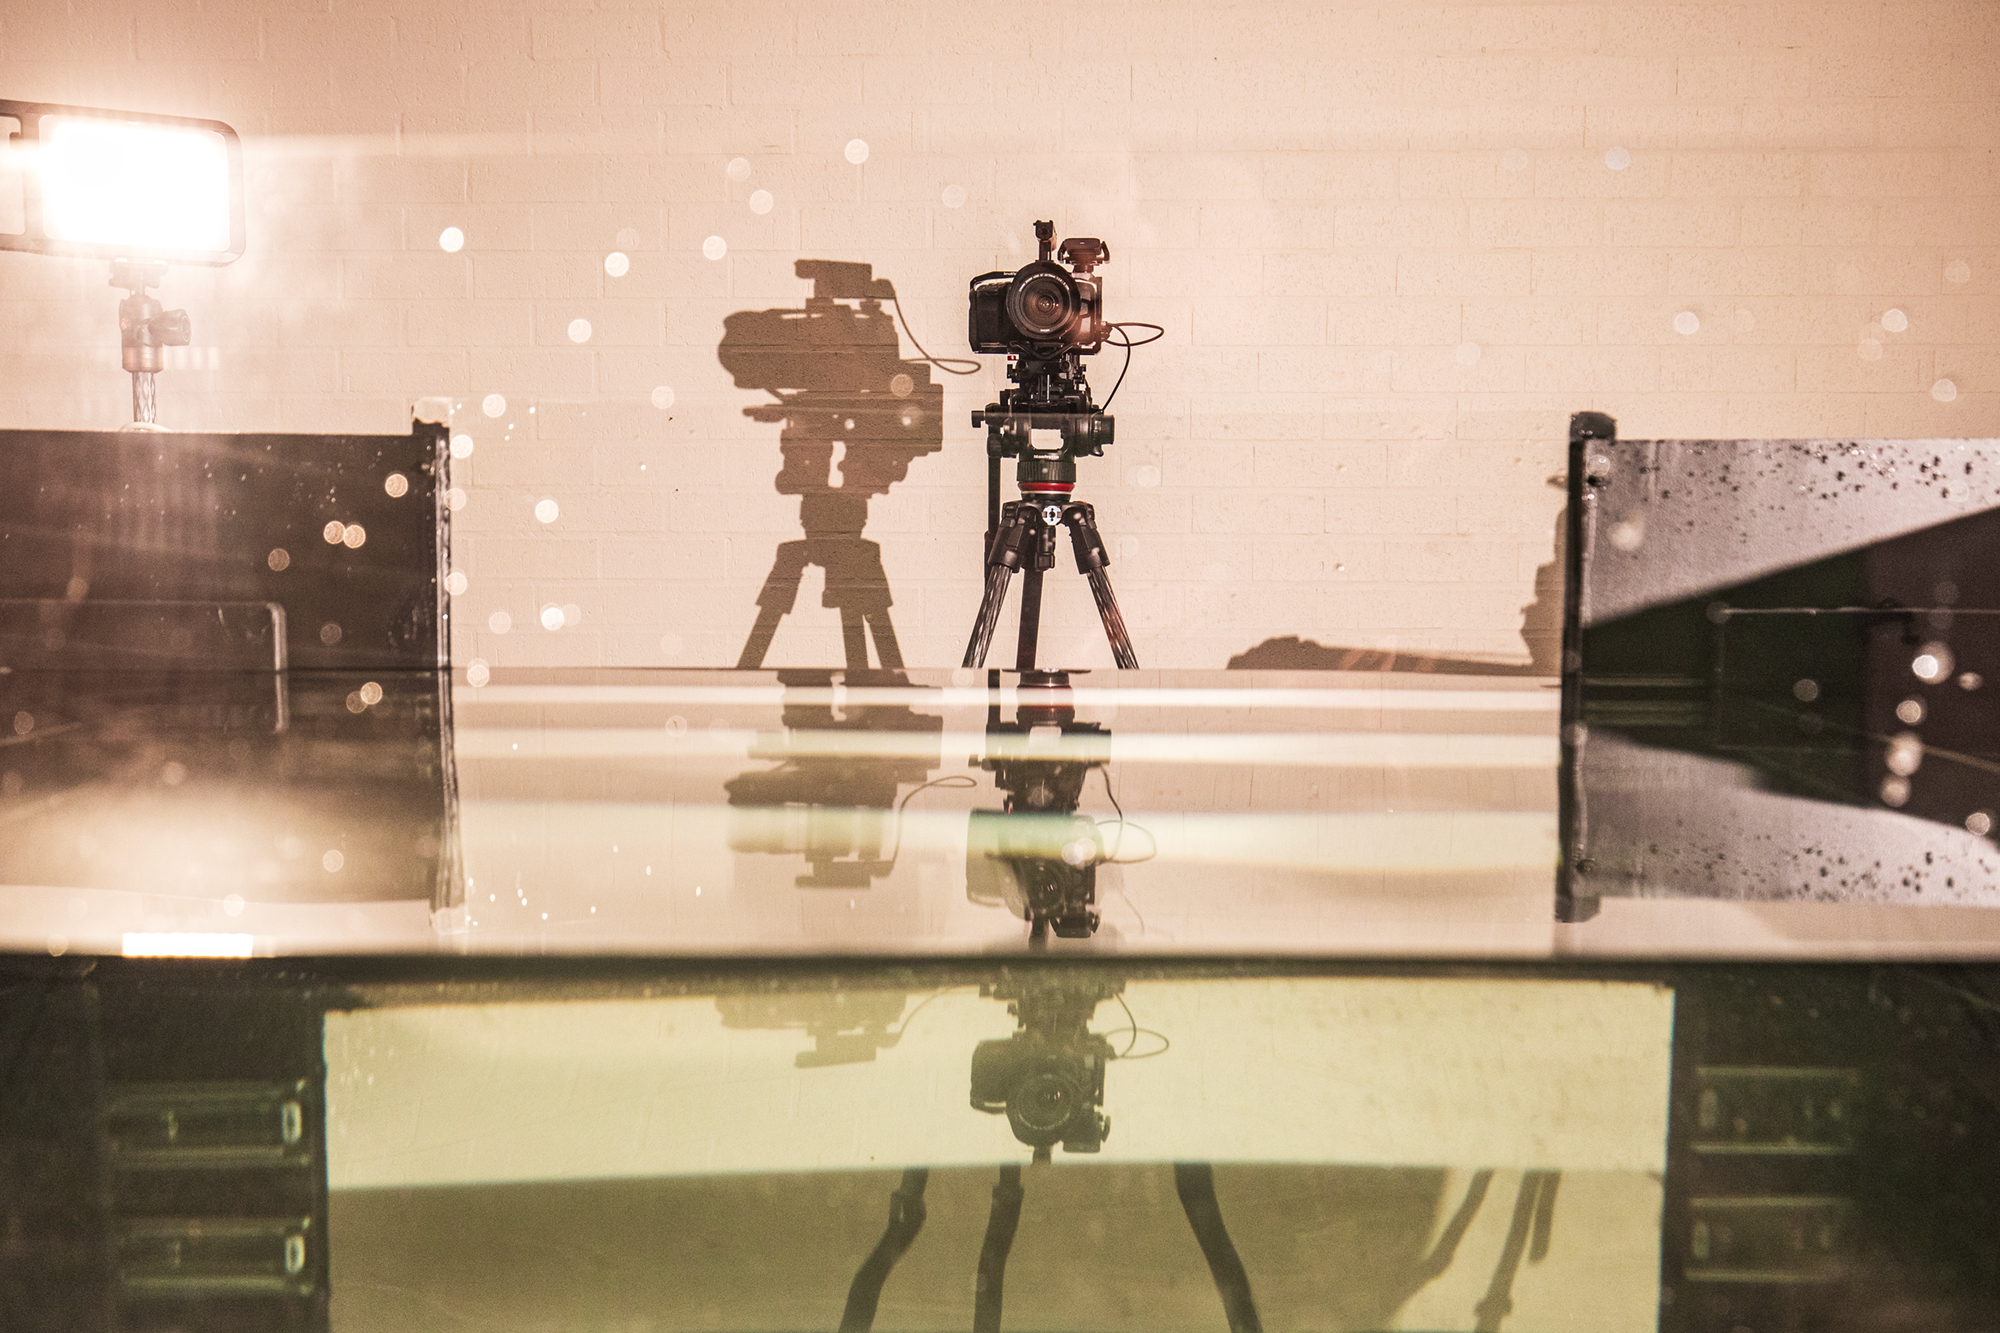

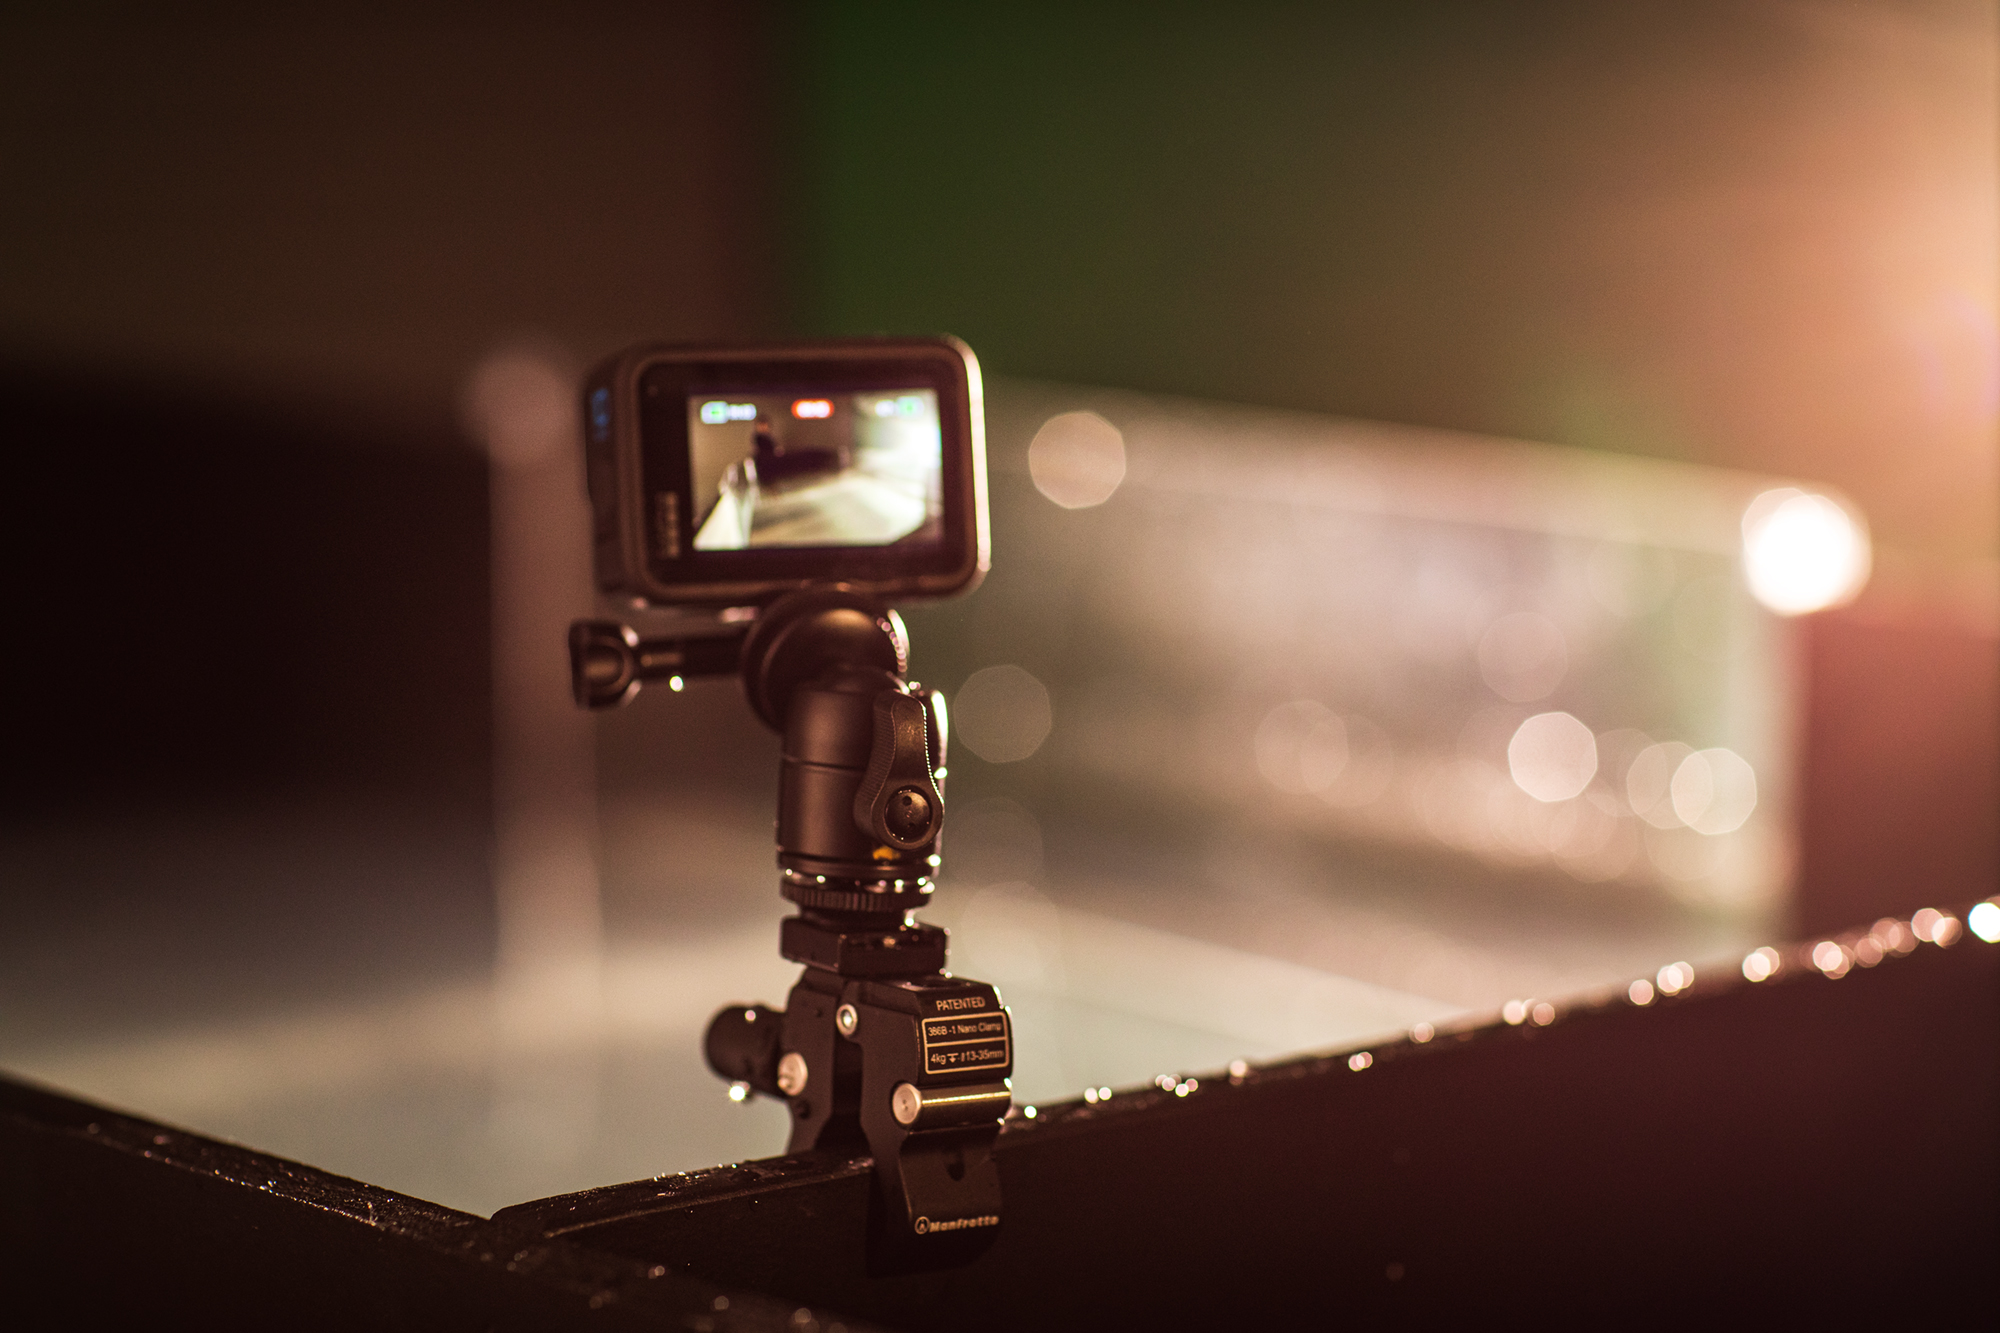

During the whole process, I found it so fascinating, that in nature there’s all the elements of tide, swell, swell direction and wind and all these things that you have to take into consideration to get the perfect shot, all had their place in this little man made environment.
I experimented with a few different lighting setups from different angles using a 220 Bi-colour light to represent the sun. It was a real challenge to find the right angle where light and water met at the most compelling point. I worked away, adjusting the amount of fall off, power, colour temperature while also modifying the background to isolate just the light on the wave. I also tested out an array of lenses on the subject, from the 85mm, 70-200mm, 50mm, 24-70mm, and even a GoPro close up.
Conclusion
It ended up being a very fun and extremely educating project. Using the wave machine to recreate the energy of colliding forces, really taught me a lot about the movement and interaction of water and light, which is indeed a valuable end result of any science project.
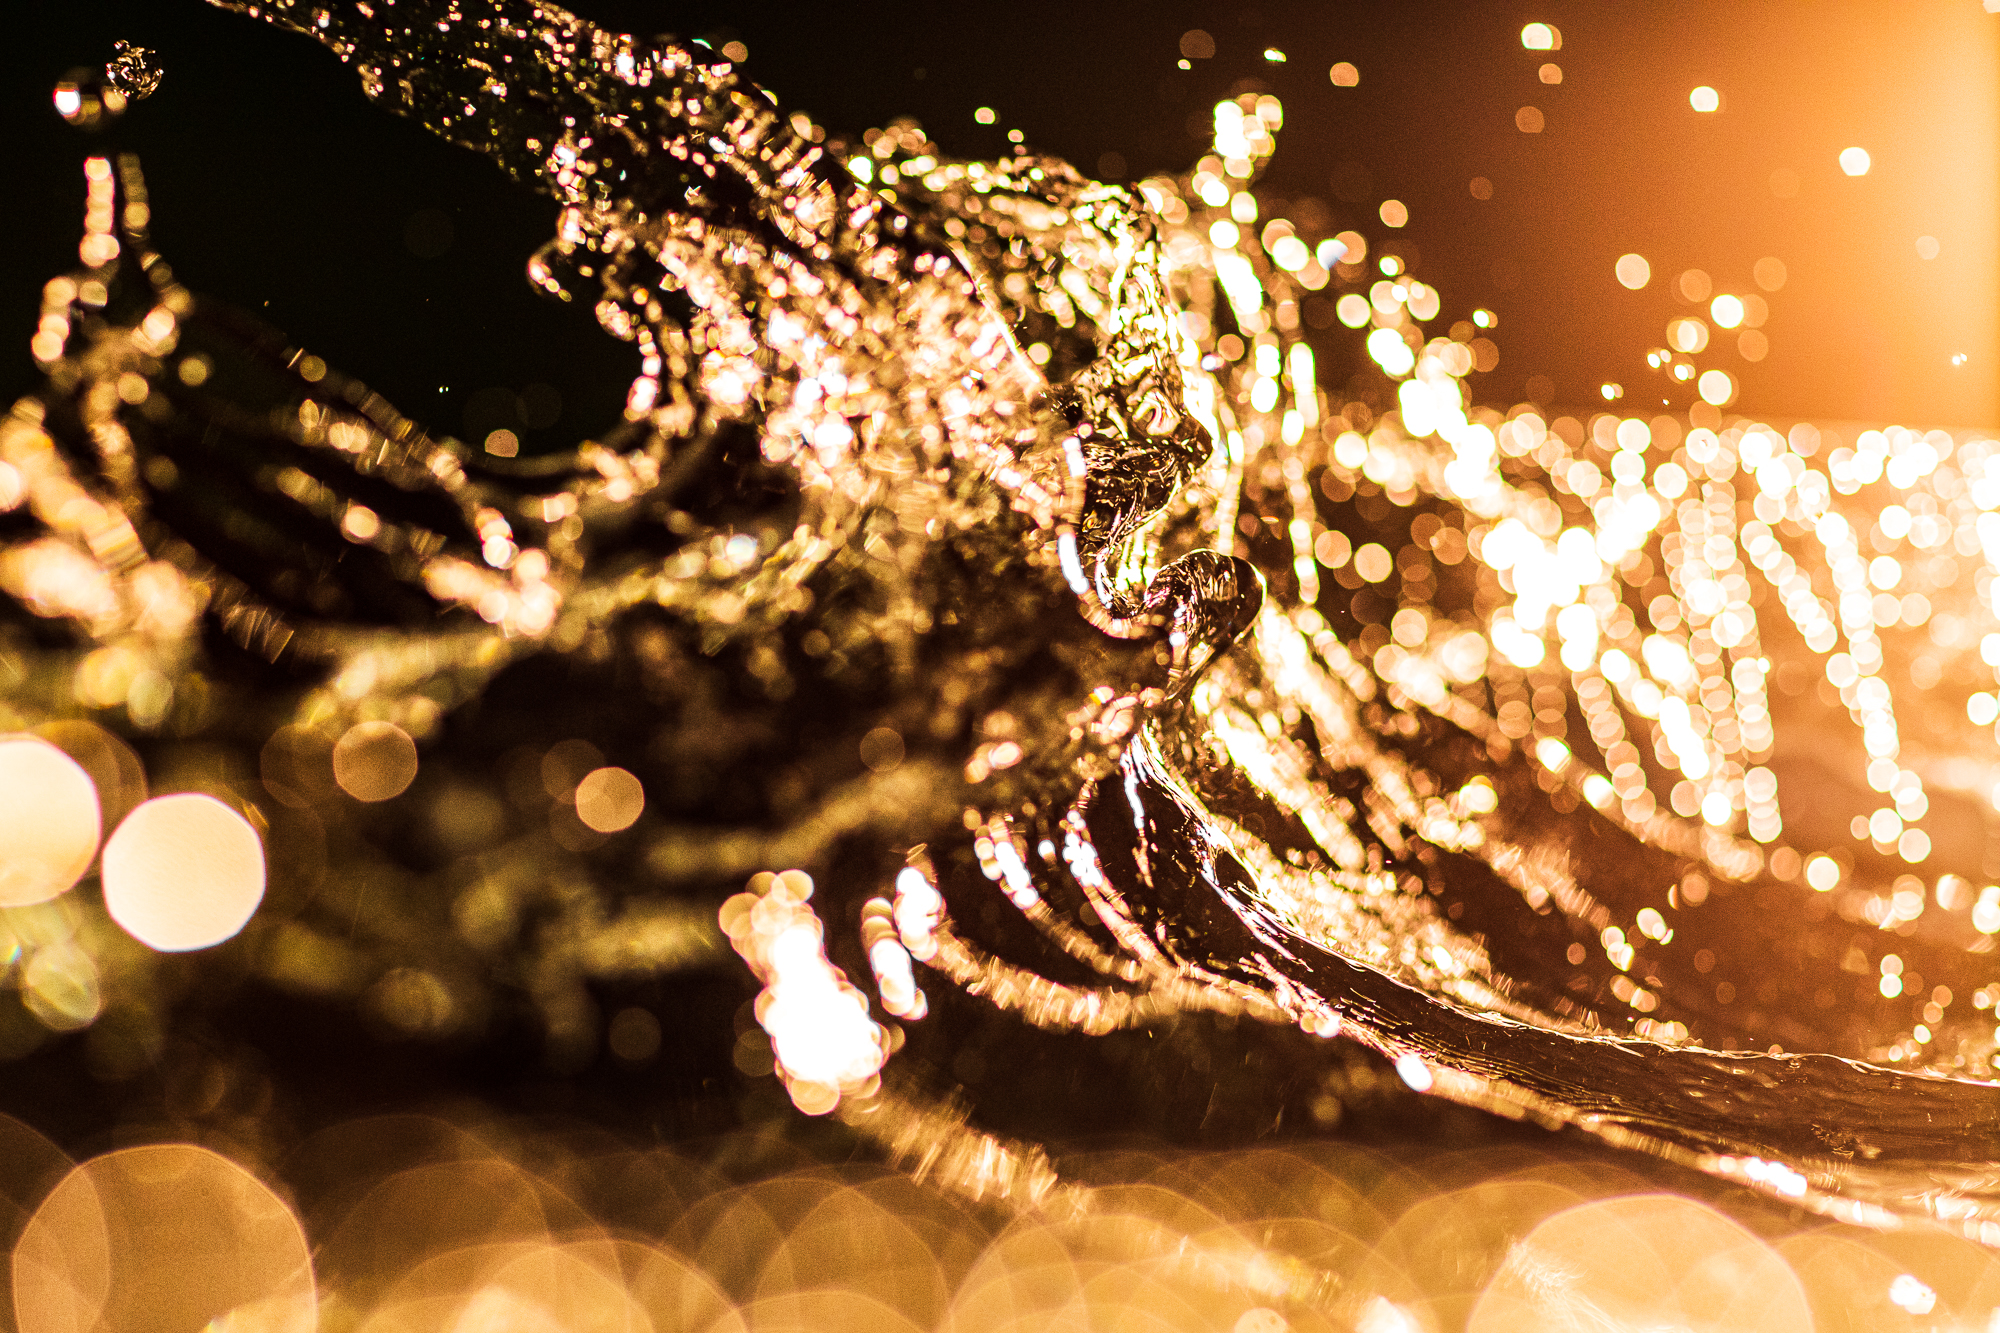

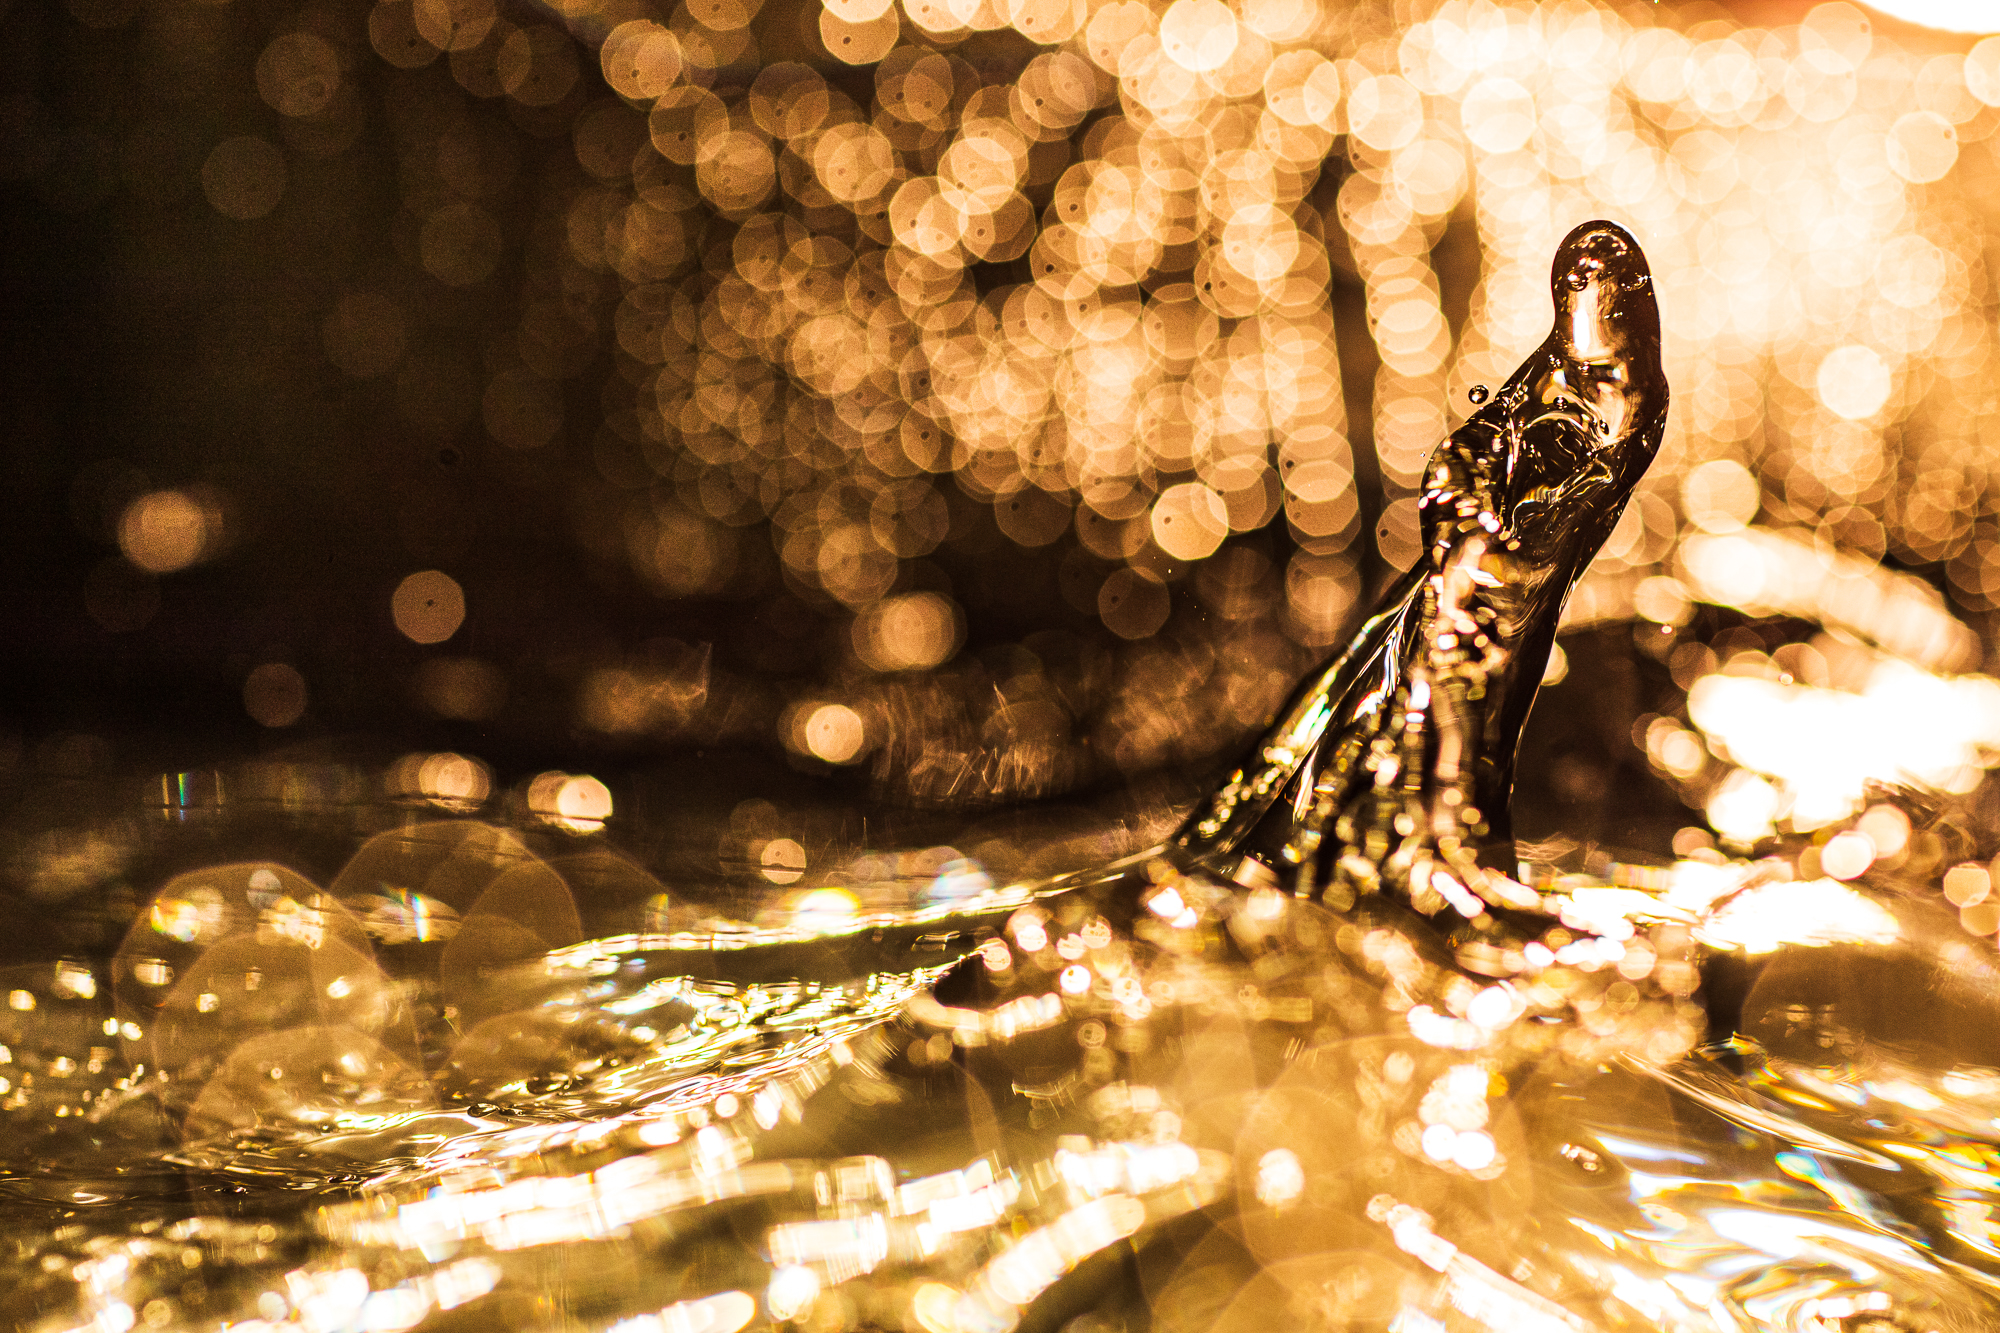

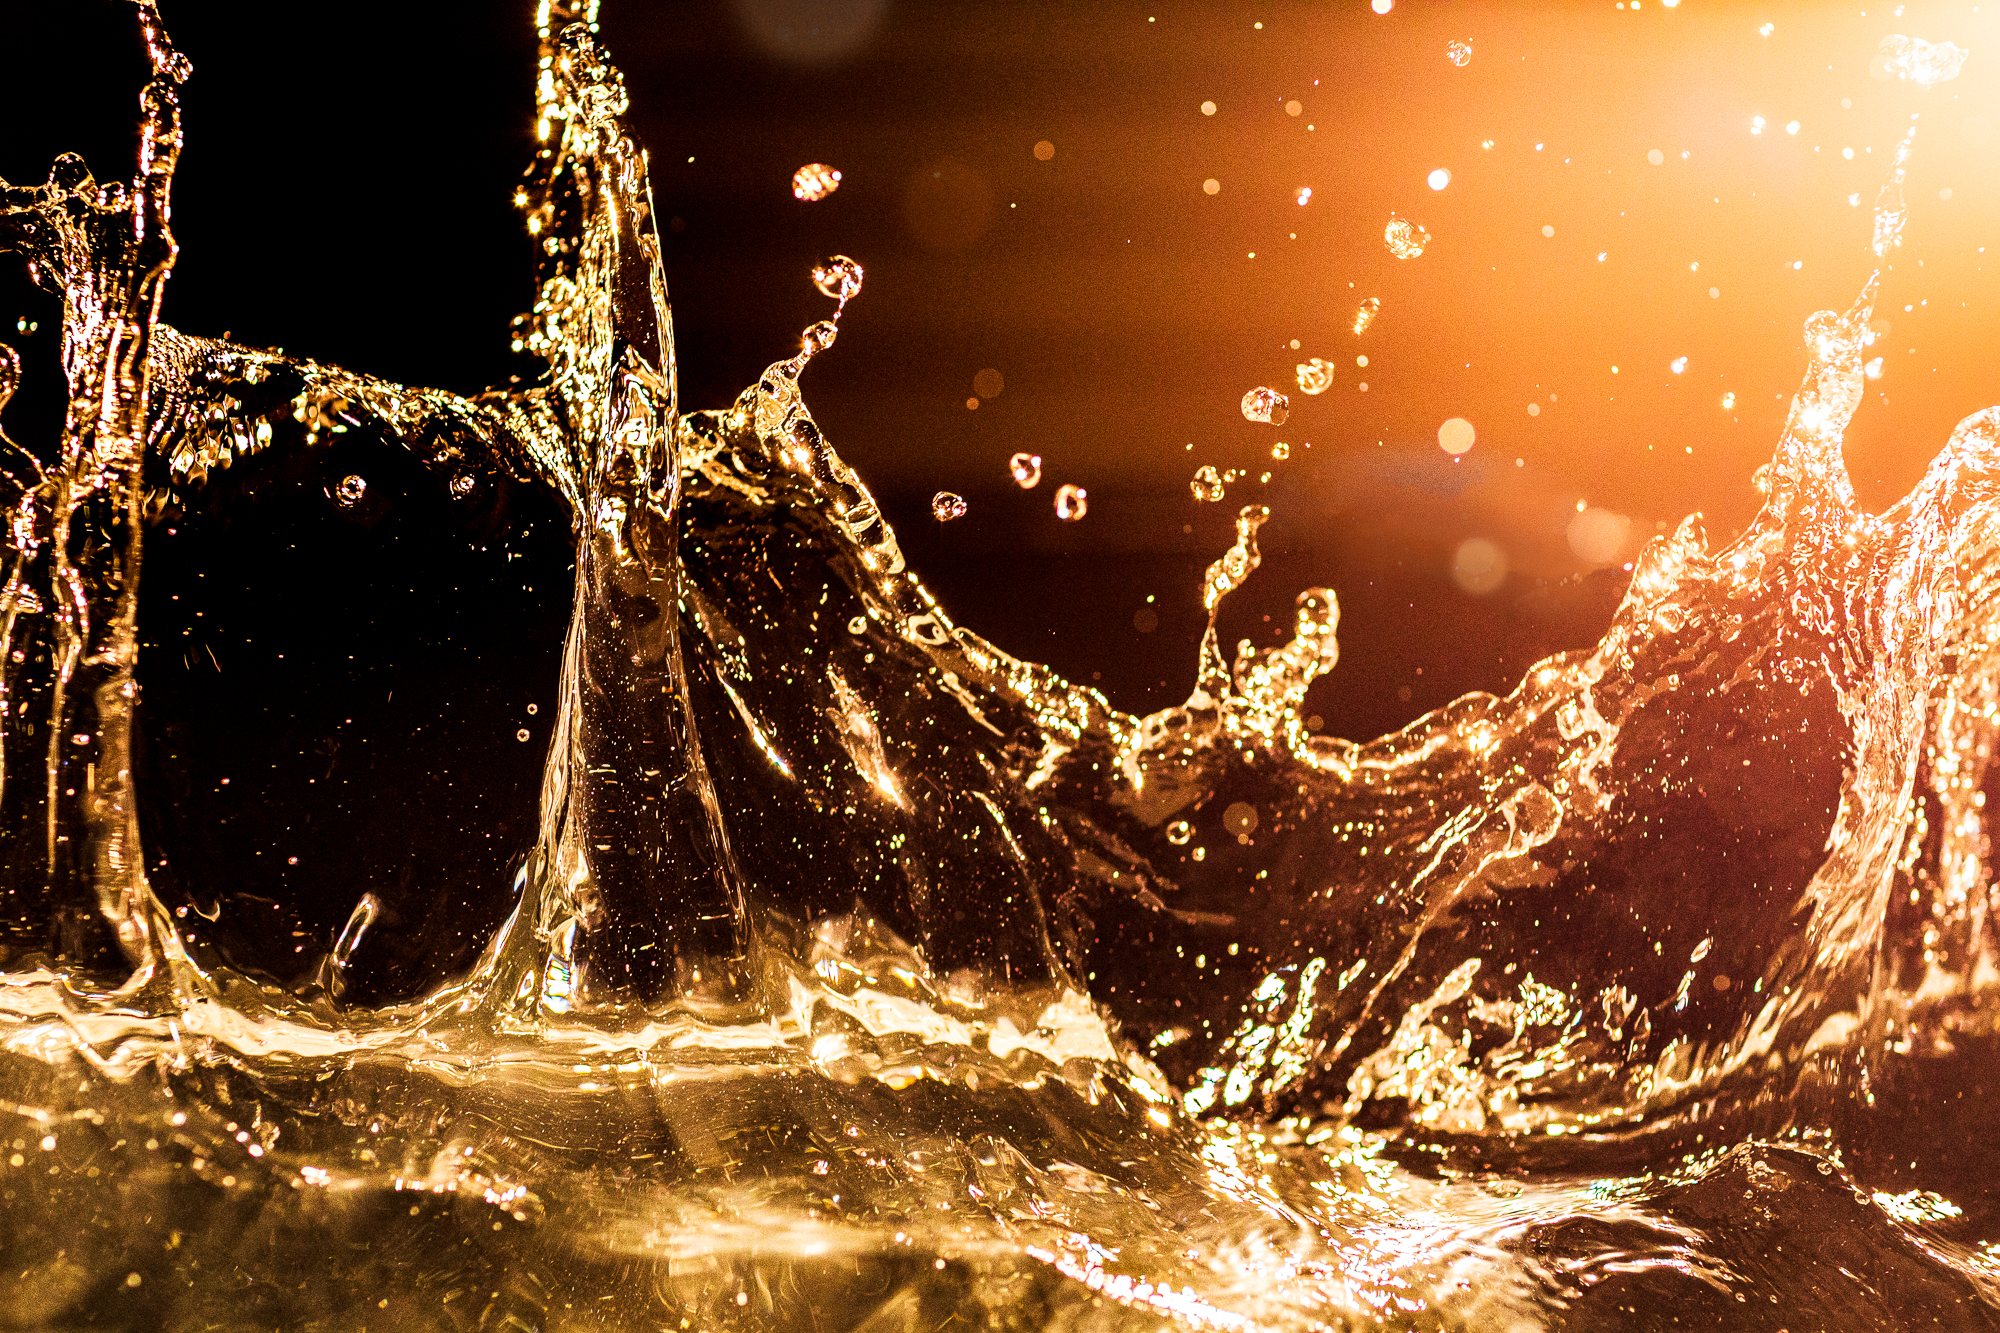

I am yet to further explore this concept and believe I’m only scratching the surface of what’s possible with shaping water within a studio environment. After this Compose Your Vision project, I think the next step is to recreate this conception a larger scale, taking what I’ve learnt from this first endeavour and going back to the design phase and really taking the artistic pursuit of shaping water to the next level.
The lesson here, is always being to just start, start your project, put your idea into motion and you will inevitably evolve as a creator by just simply being in pursuit of the vision that you first had in your mind.
The Gear
None of my creative visions would be possible without the incredible range of supports and products available from Manfrotto and partner brands.
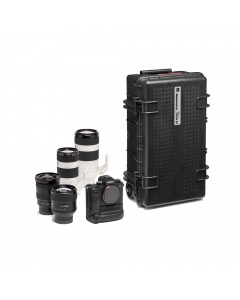
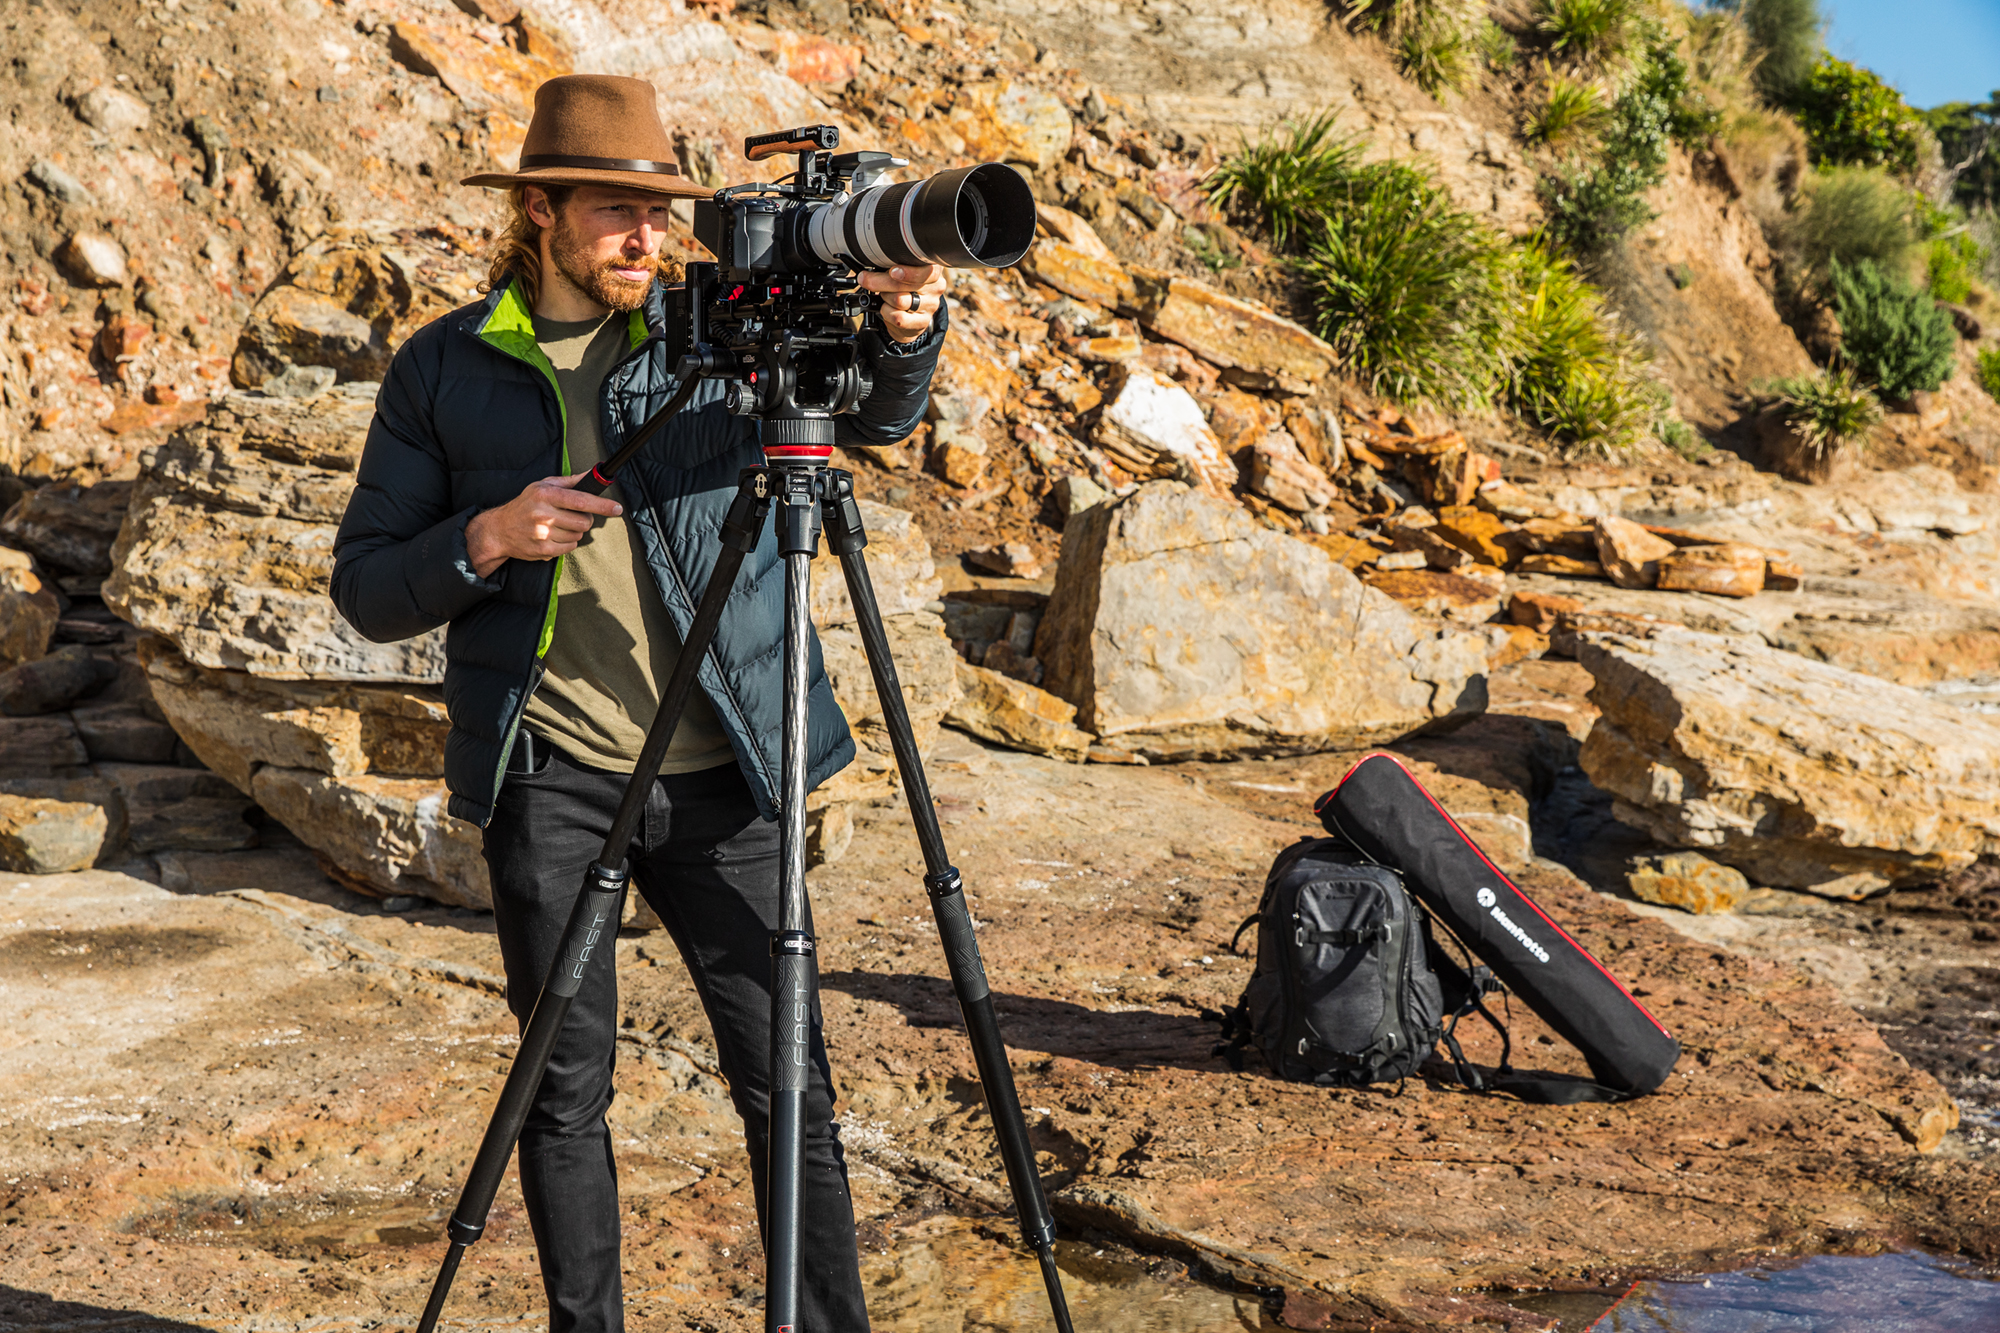
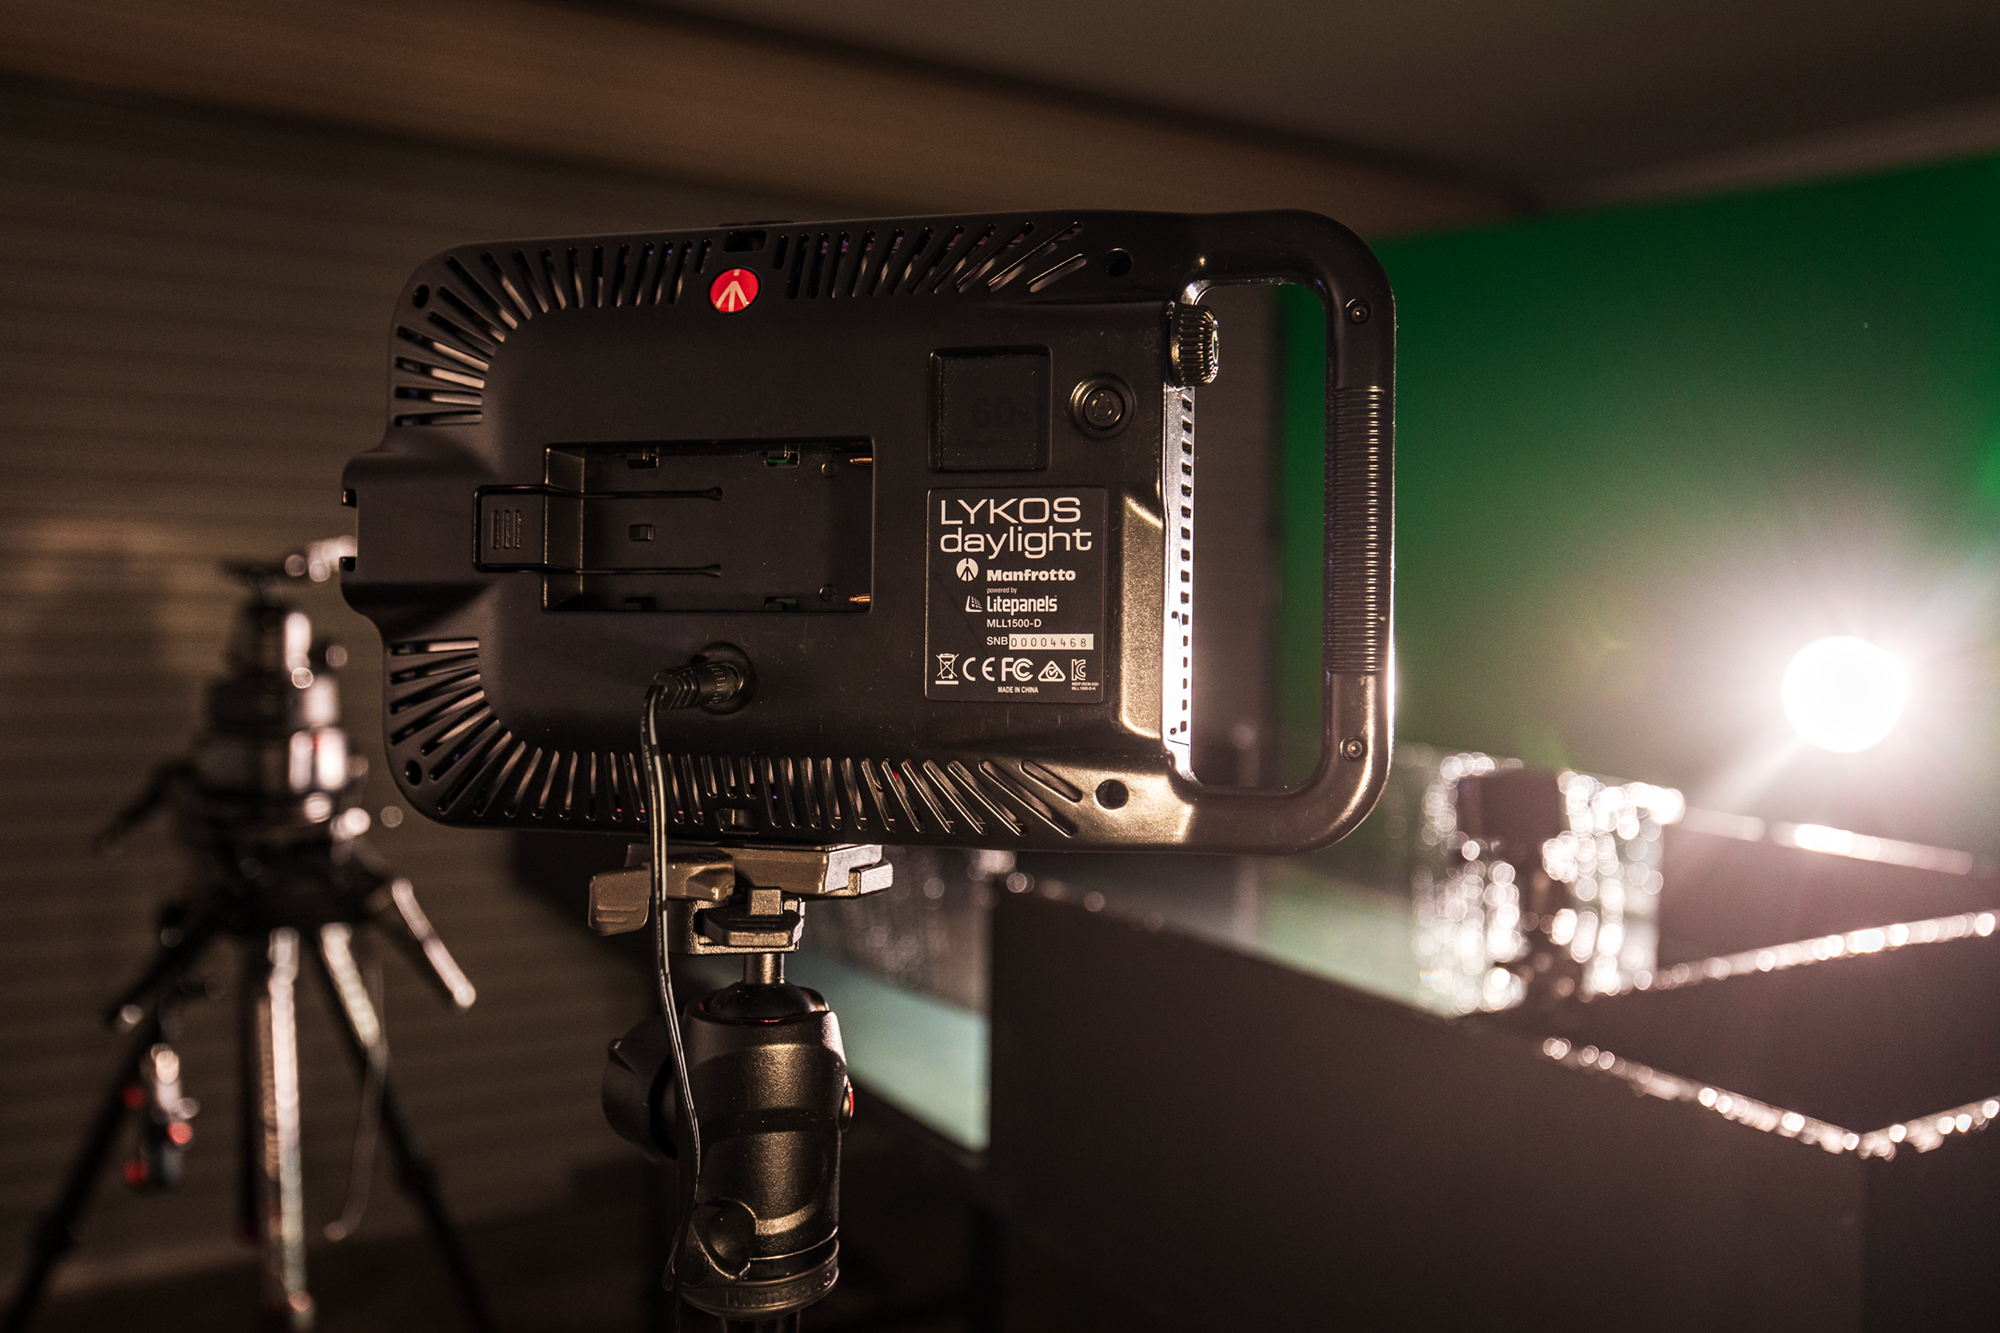
The project came to life with multiple Manfrotto LYKOS lights, tripods and lighting stands, and was filmed entirely using the Manfrotto motion control system.
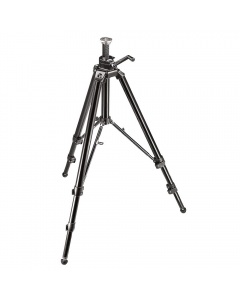
- Main tripod used was the
- Secondary supports used were 2 and a from the BeFree range.
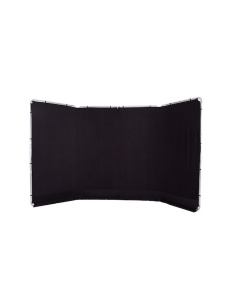
- The was hung on a Manfrotto Photo stand kit
- I attached the GoPro with a
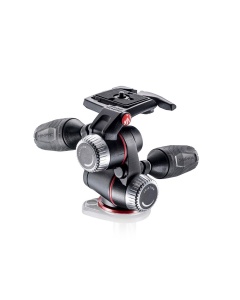
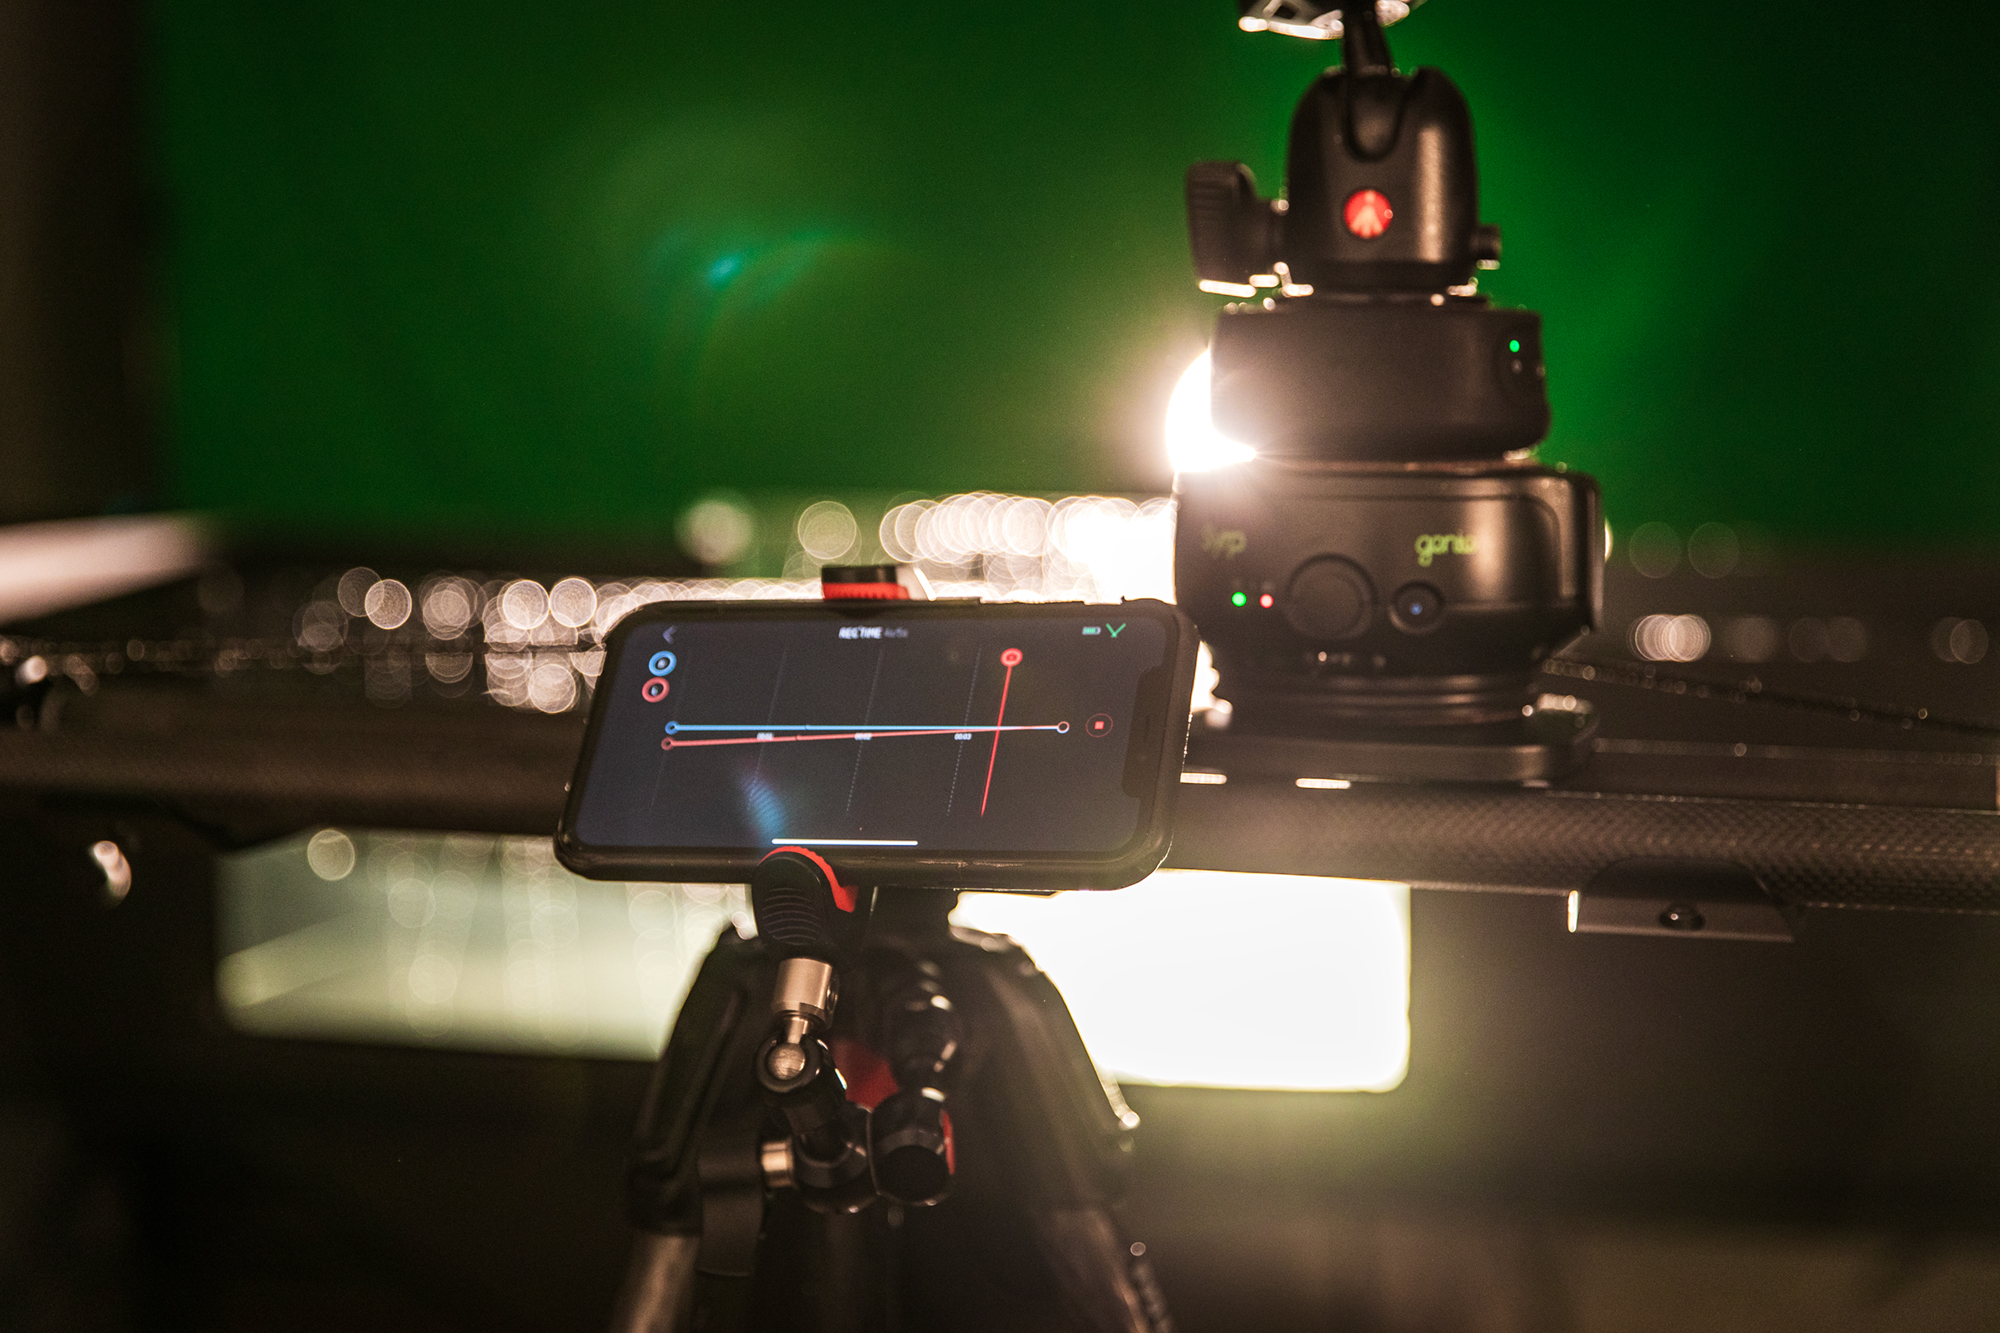
- I filmed almost every BTS shot on the Manfrotto Lab Motion Control system with and setup.
- I made use of the free standing with the lumimuse LED light to get fill light on all the key product shots and features.
- The Artificial Wave -
Watch the video behind the scenes
Dixie Dixon' gear
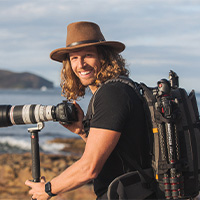

Philip Thurston | author
Thurston’s passion for wave photography and oceanic endeavours has developed from a lifestyle of living by the coast and his immense spirit of adventure. His enthusiastic nature and thirst for revelation has taken him to some of the wildest places on earth in his wholehearted pursuit of transforming “Energy into Art.” Phil’s ambitions has seen his work internationally acclaimed by collectors and investors all over the world and is known for its excellence in both the photography and cinematography industries. As a Manfrotto Ambassador, Thurston makes use of the ProLight gear, the Fast Carbon tripods and the wide range of travel friendly supports and equipment that the Manfrotto range is known for.
Phil currently resides between, LA, Hawaii and Australia and is currently pursuing Fine Art Ocean photography & Commercial Cinematography full time.


