


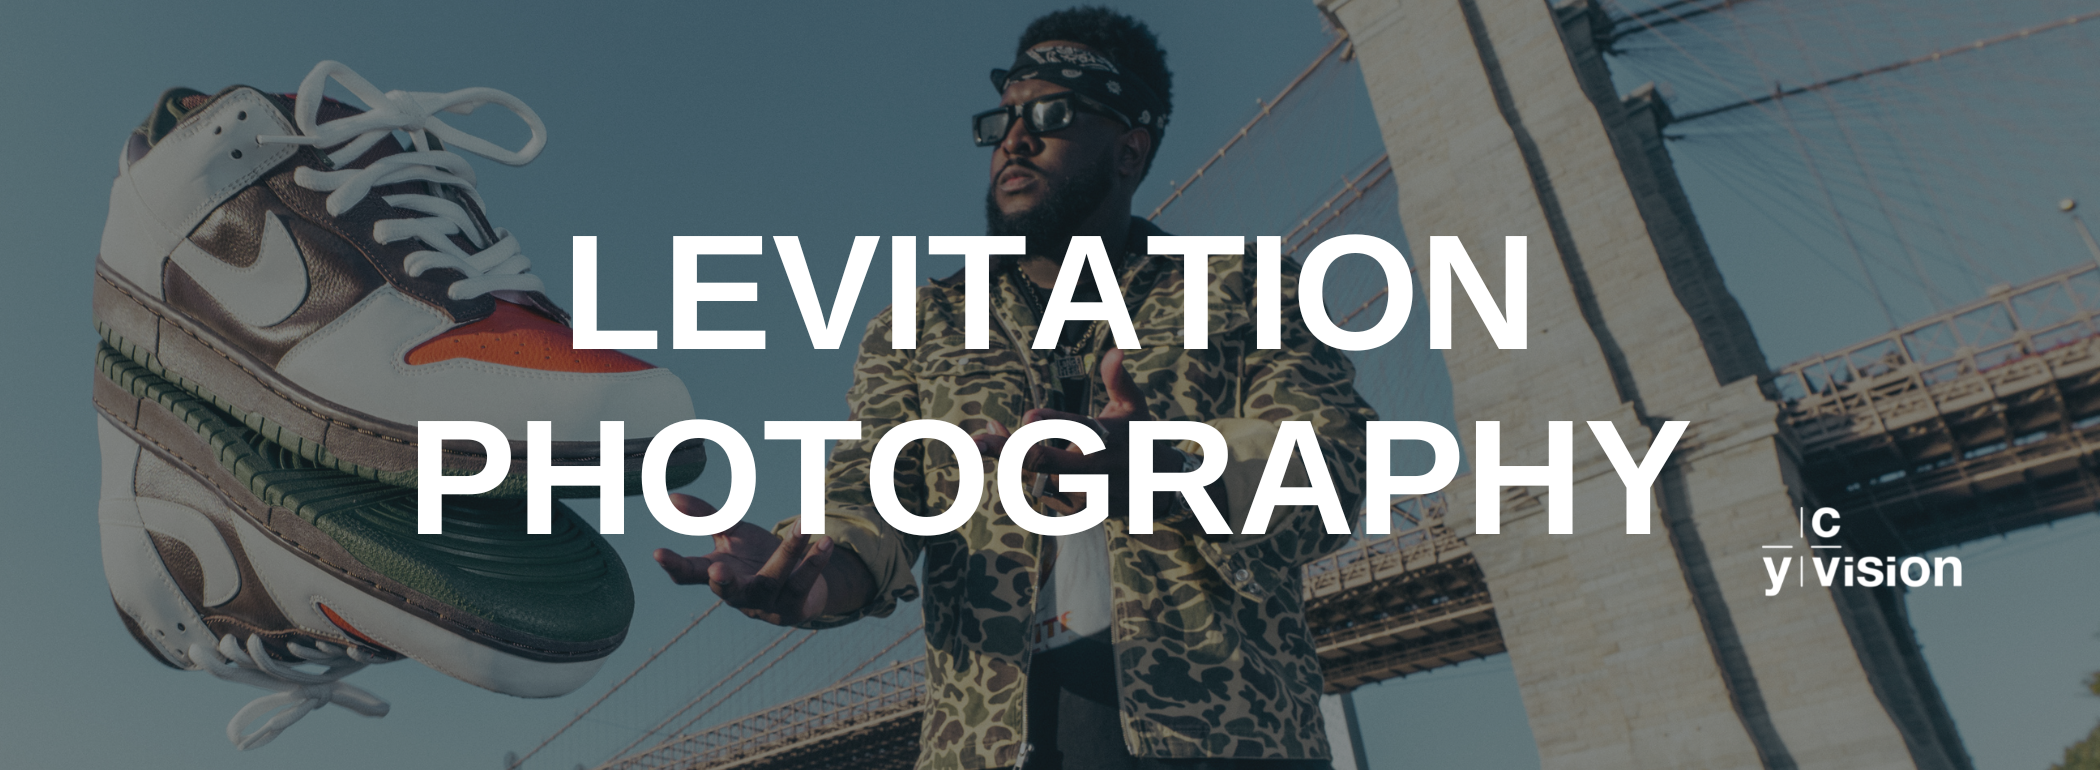
Explore the creative process of professional photographers and filmmakers. Real-Levitation photography: discover the composing project by Erick Hercules
CONCEPT
Real-Levitation Photography is a testament to finding beauty in the surrealism of moving subjects in the air. It is a celebration of the transient moments happening all around us every day that we barely seem to notice.
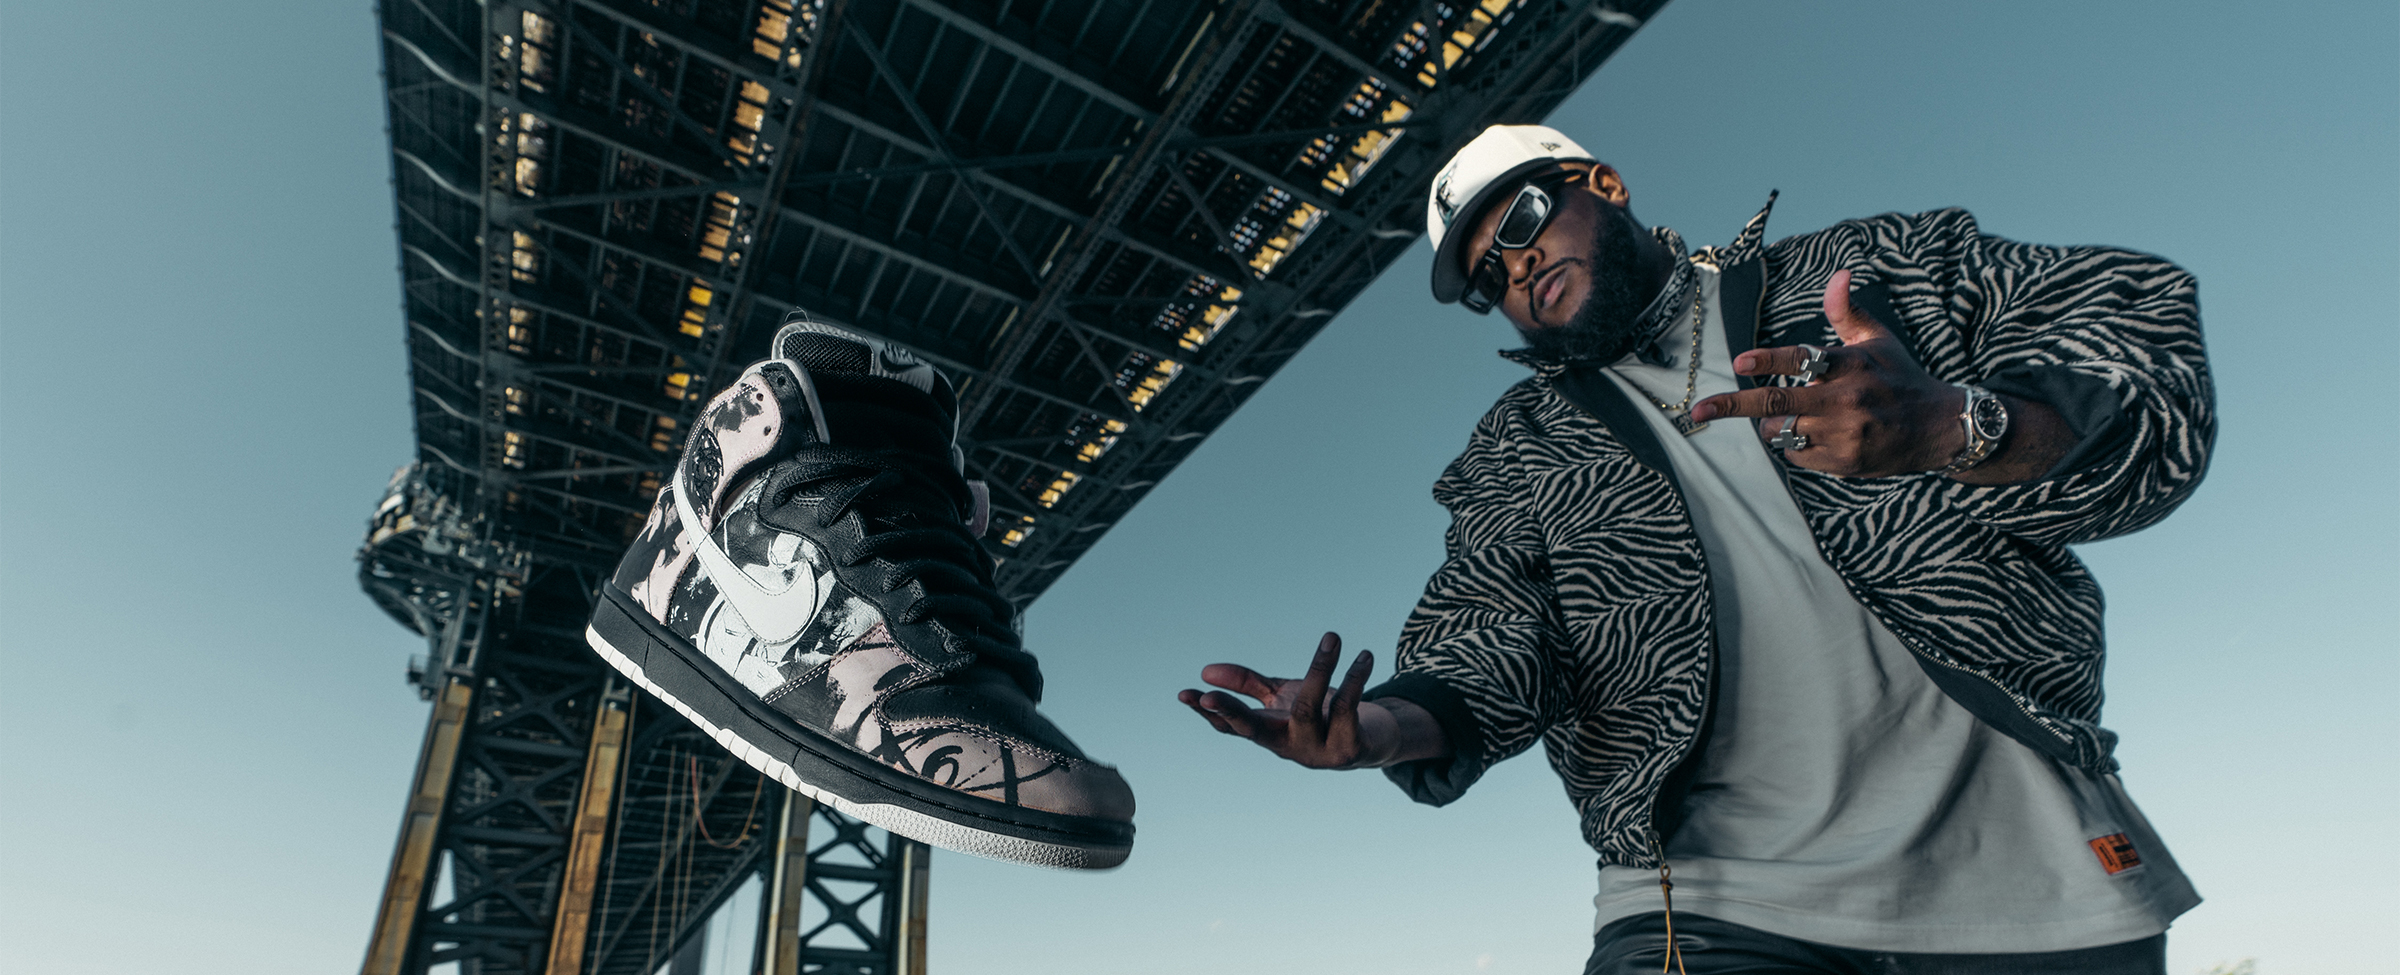
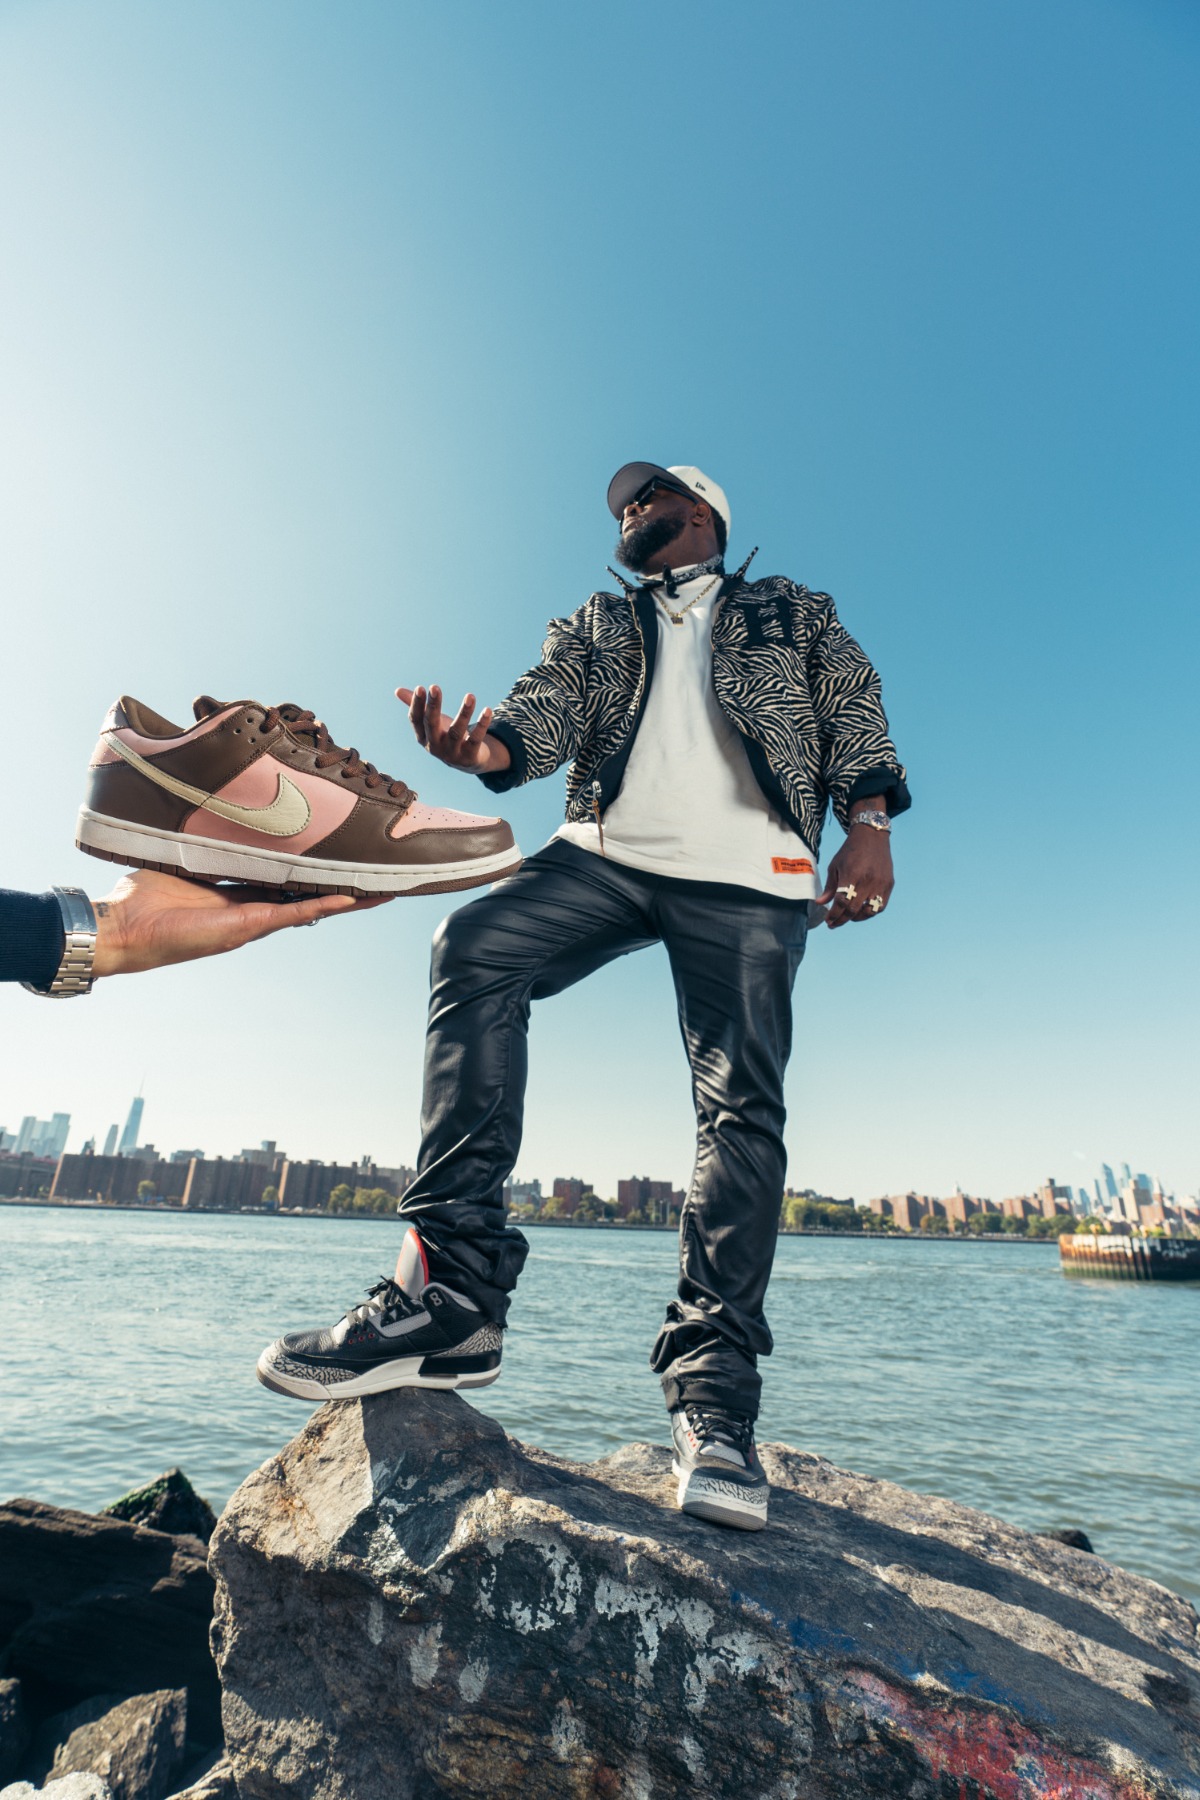
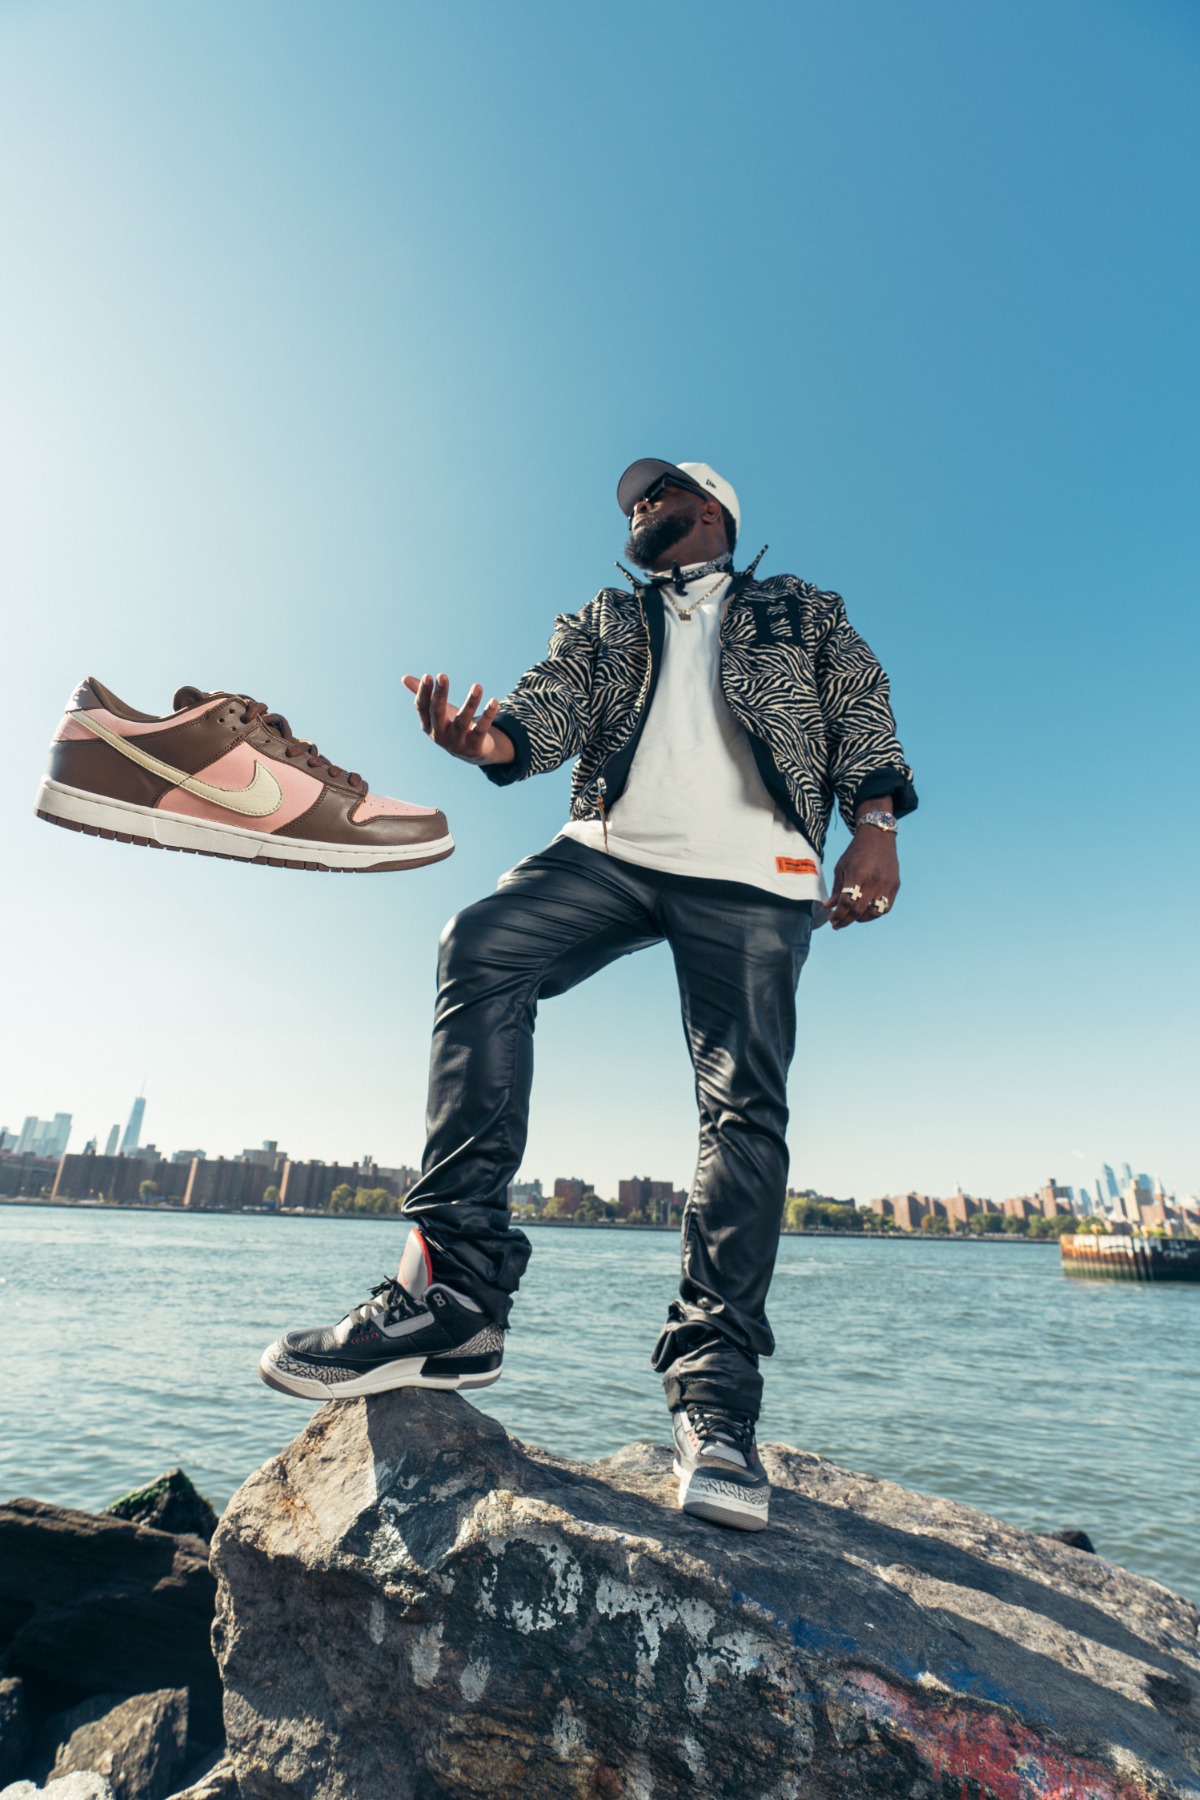
For this project, I am bringing it back to where real levitation got its start: Footwear. I will be highlighting some of the world’s most coveted sneakers, alongside NBA style legend, Lance Fresh.
The goal is to create studio and on-site photos that use Manfrotto gear to elevate production value, freeing me from environmental constraints and elevating my creativity to unlimited levels.
COMPOSITION
It is important to ideate and think of poses before we get to shooting. This serves as a roadmap for all images.
Study your subjects. What kind of light makes them look better? What kind of background do I need? Will I shoot from below or from eye level? The main levitating subject should always be sharp, have depth and be well positioned within the frame. I like to take test shots to position the subject in the pre-drawn frames.
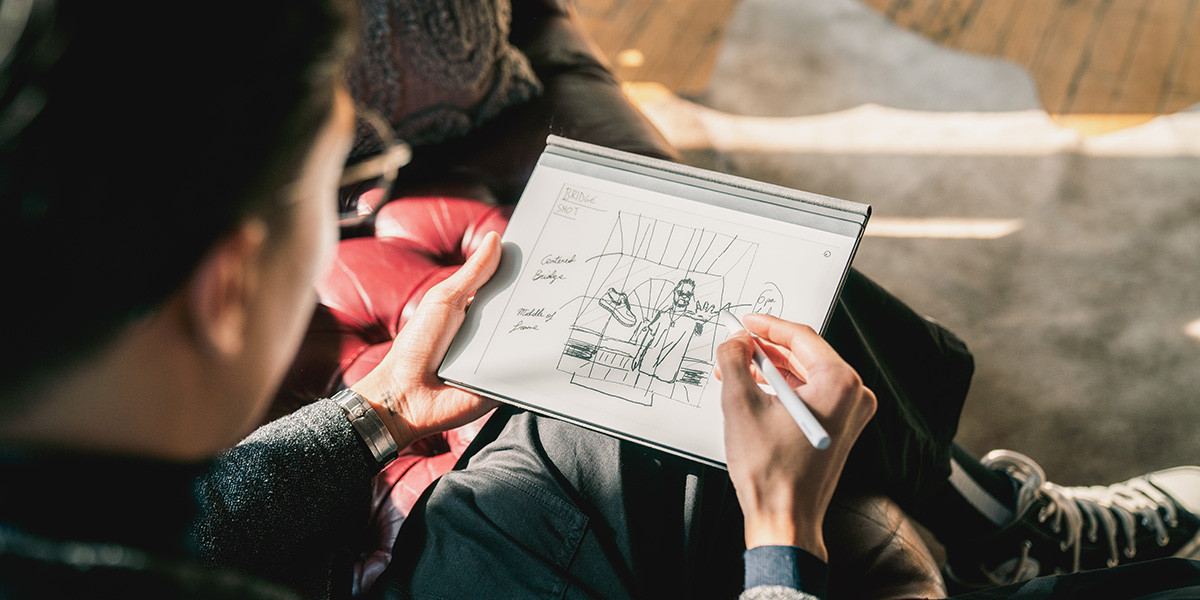
The exciting thing about Real Levitation Photography is that images will often evolve from the central creative direction.This is perfectly fine (and actually encouraged!). You’ll be surprised how many new angles I’ve found by letting creativity thrive on set!
Final shot
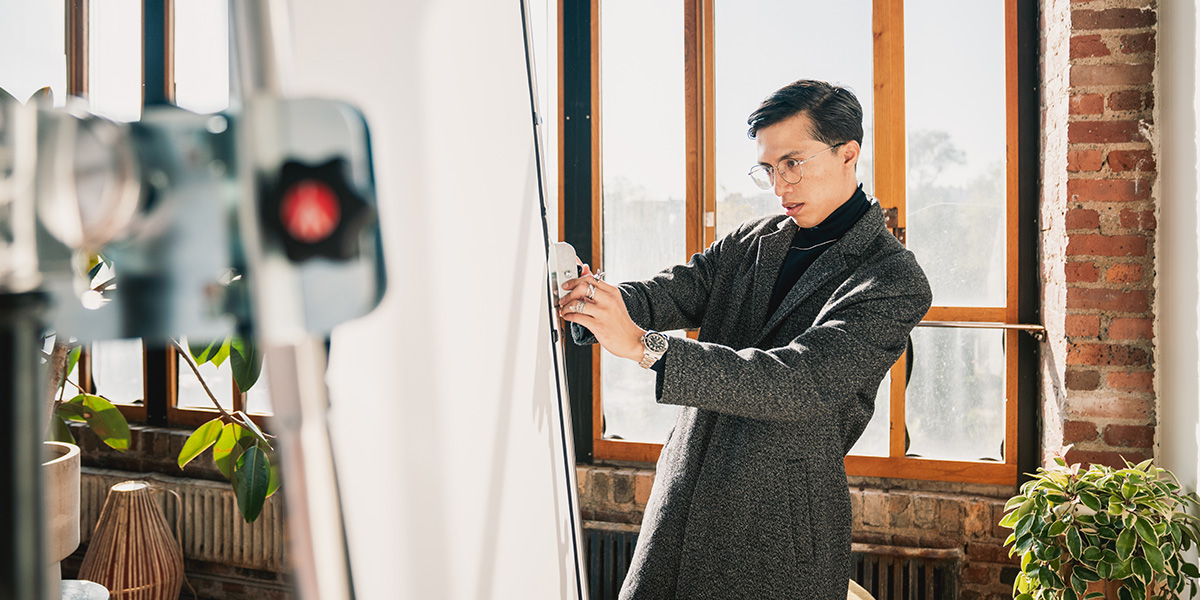
Set up and shooting – Interior
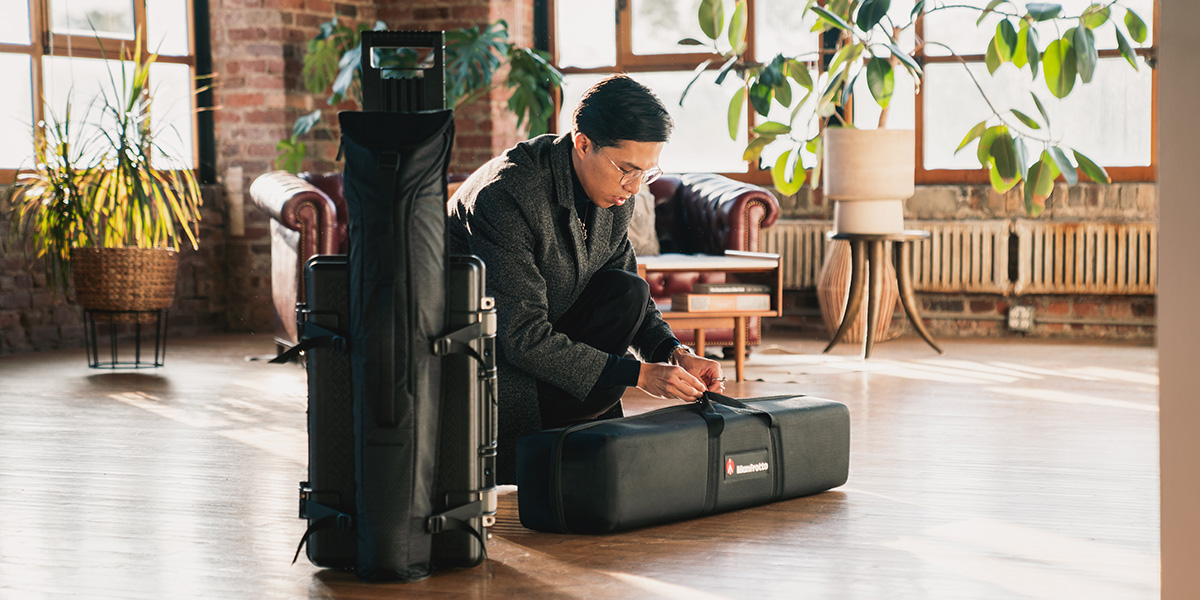
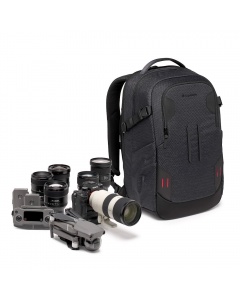
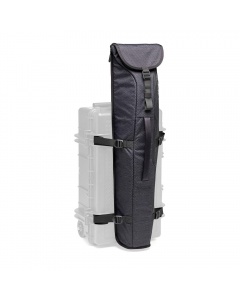
For this location, I carried most of my delicate gear in my , Which has a pretty good rubber traction on the wheels. It also has the ability to attach to my , which detaches from the tough case in seconds!
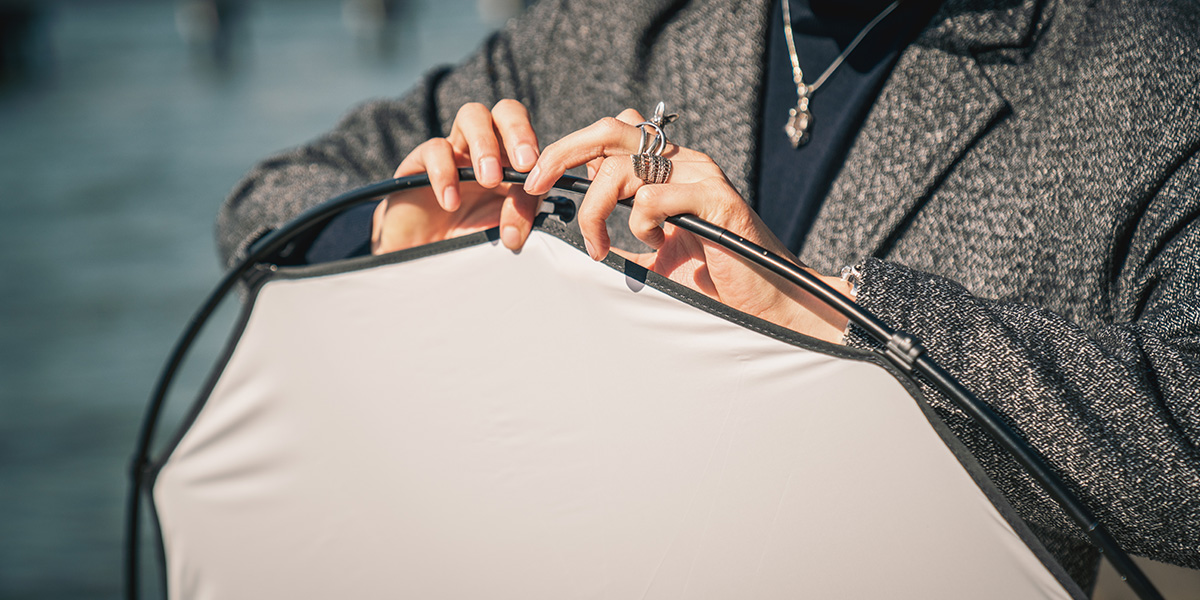
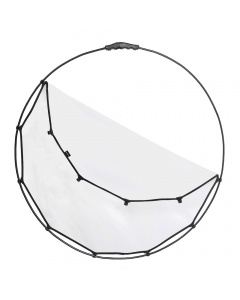
Inside, I imagined a scenario where flash was not an option. So I used external light and shaped it using . There are many roles this scrim can play, one of them being an incredibly big bounce (reflector) to make sure I light up not only the main subject but also the back talent seamlessly and evenly.
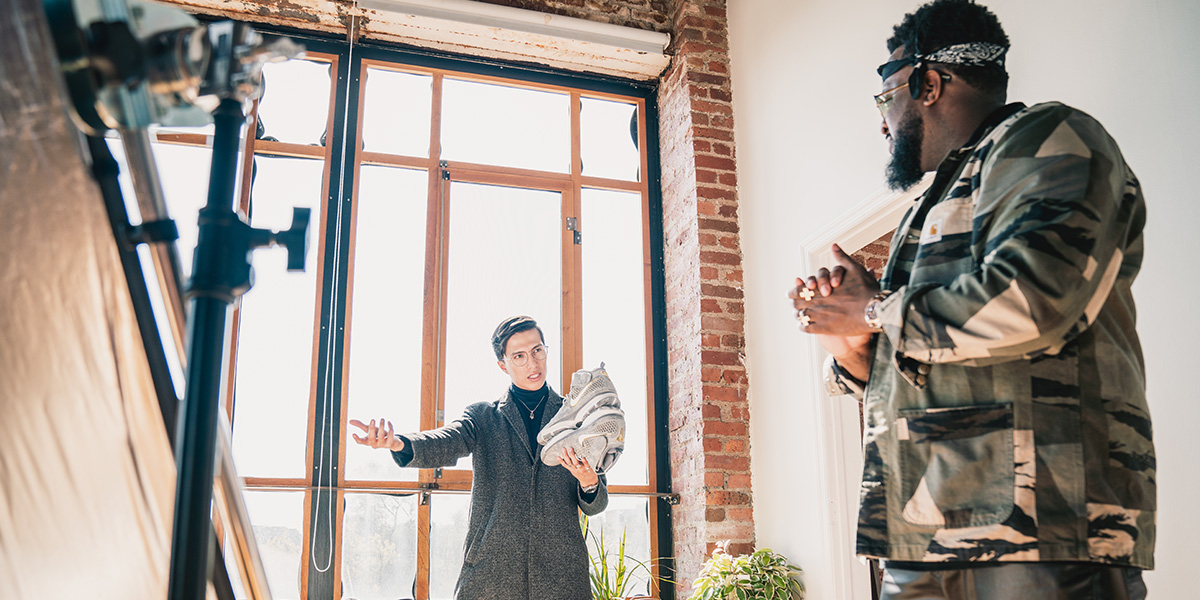
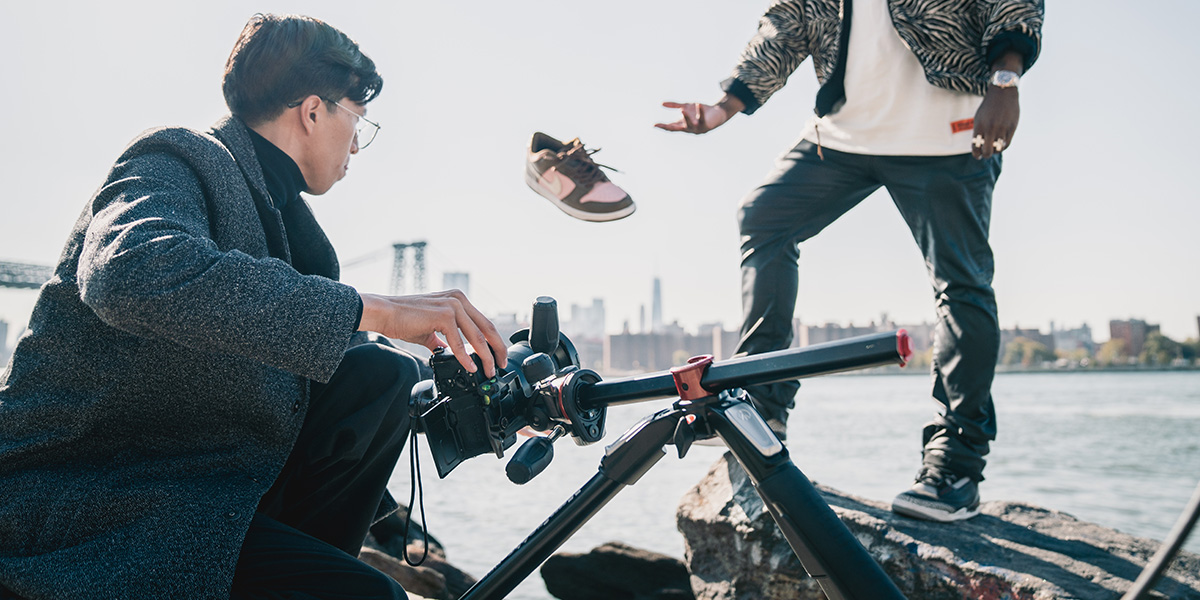
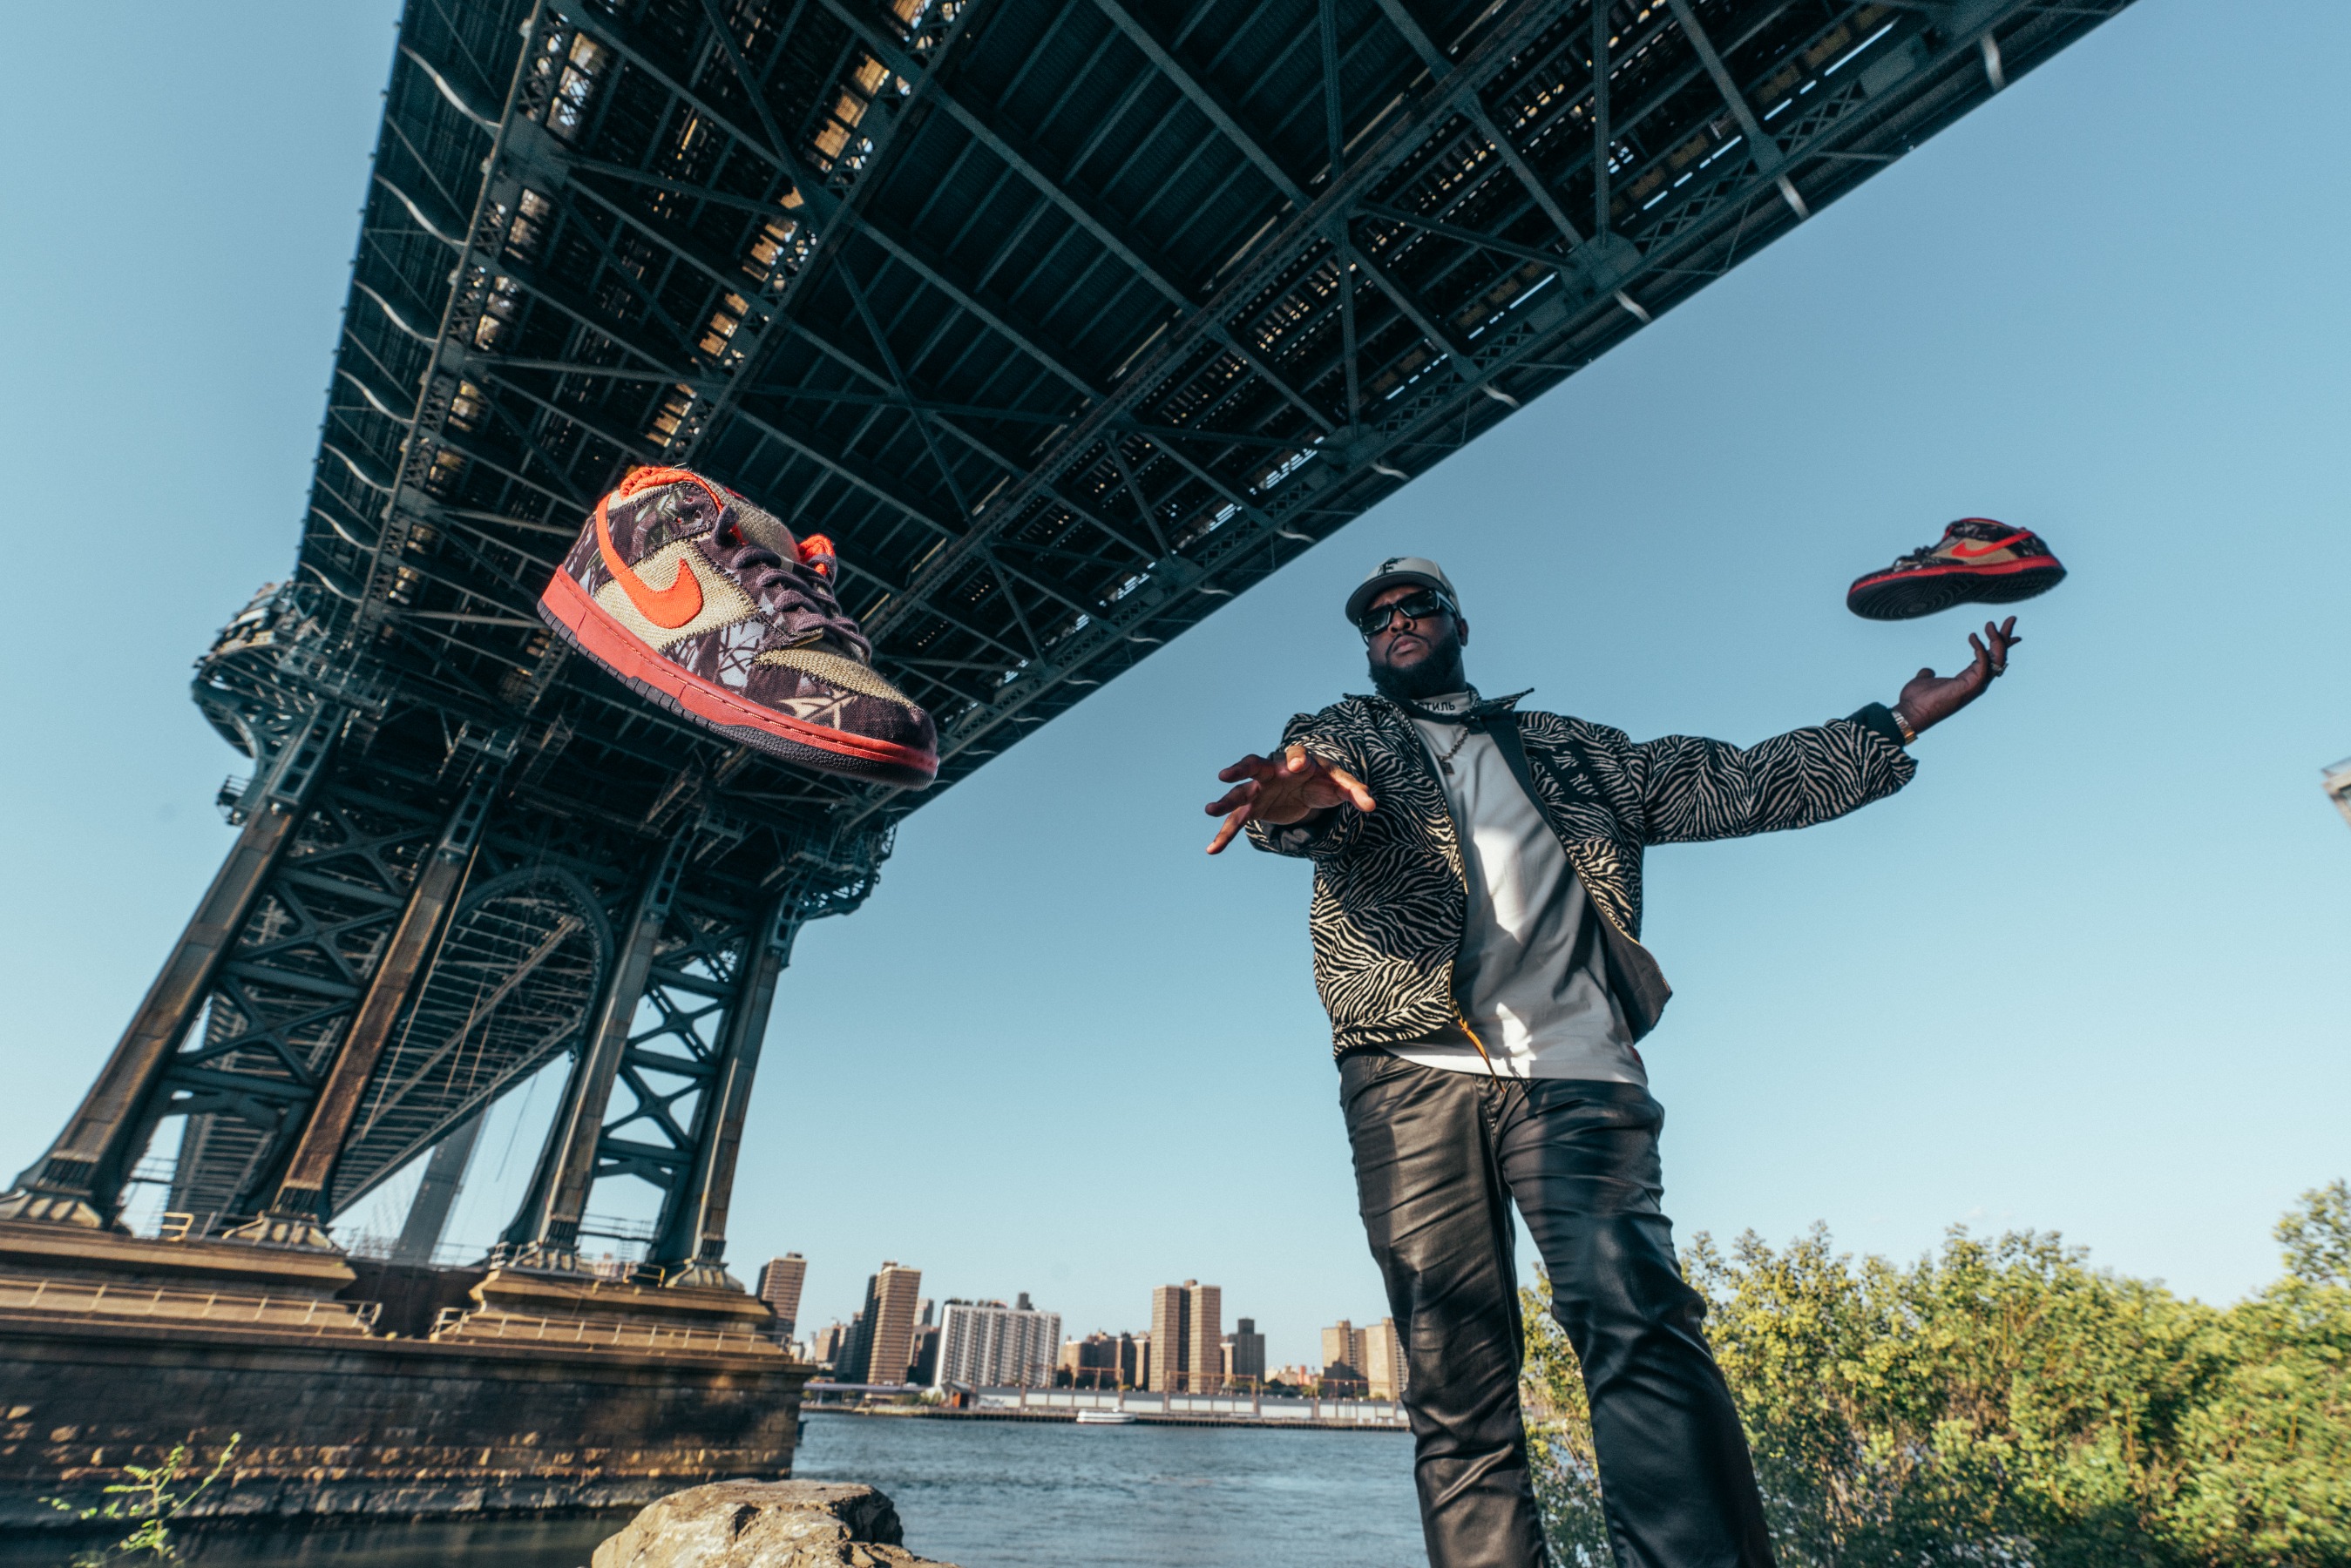
I then get in position, and begin taking test shots to find a frame that incorporates all three: The main subject (levitating), second subject (talent), and third subject (background). Once I find the frame I like, It’s time to play. Once you throw the subject in the air, it all happens in a millisecond.
Final shot
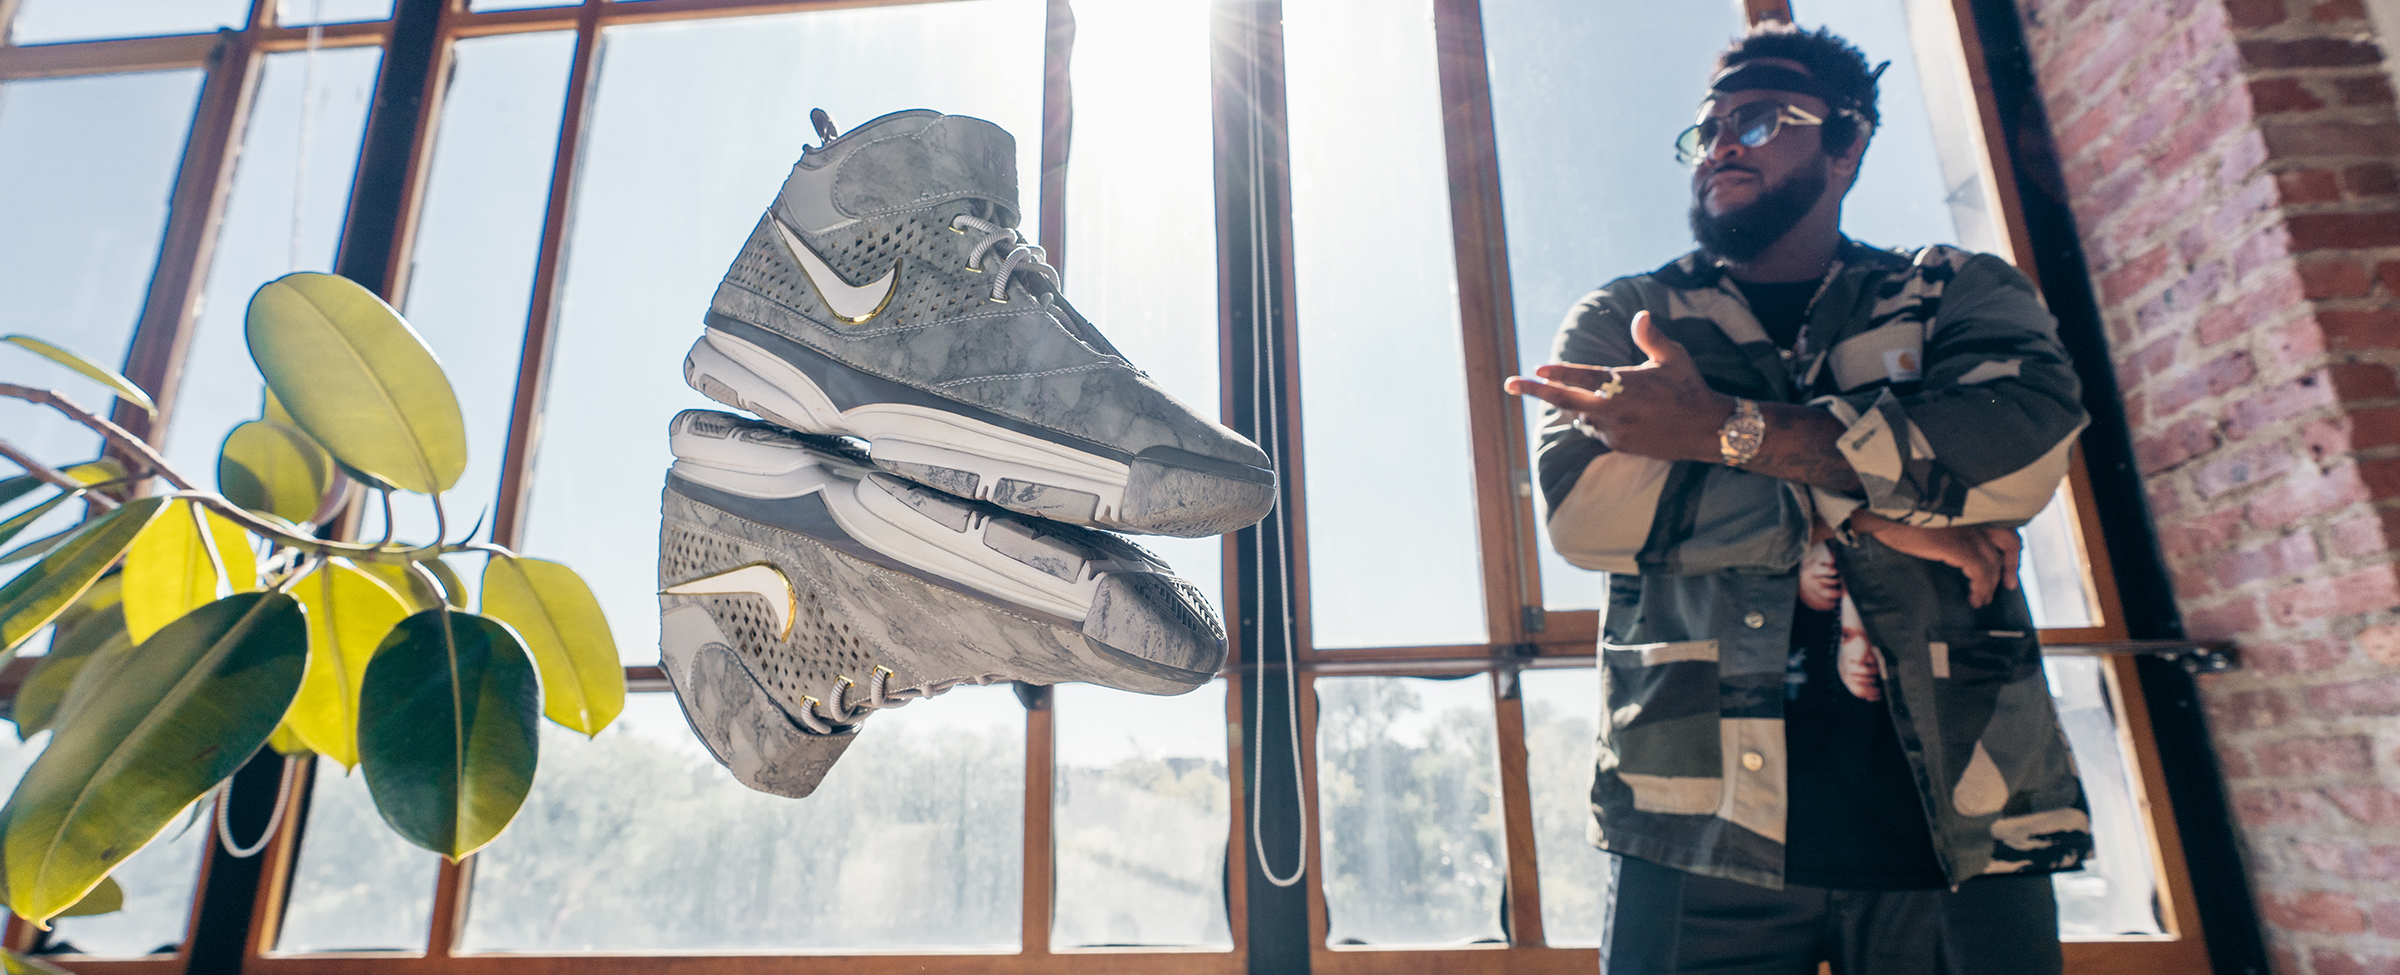
In Real Levitation photography, there are 3 main things to consider: Fast shutter speed, fast hands, and an aperture that highlights both the main subject and story behind
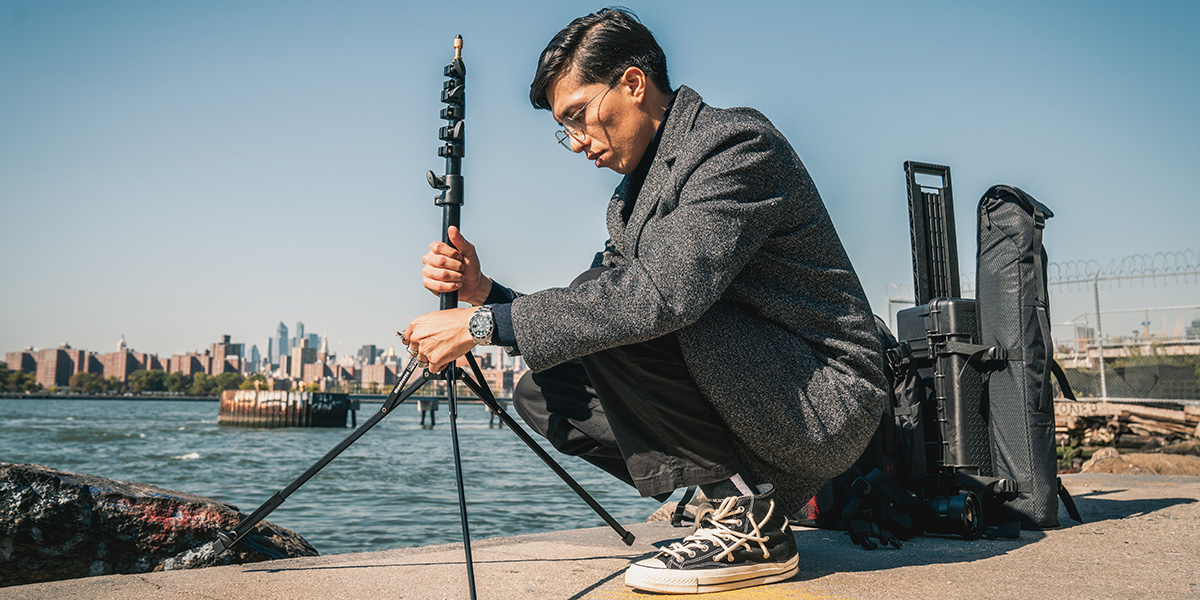
Setup - Exterior

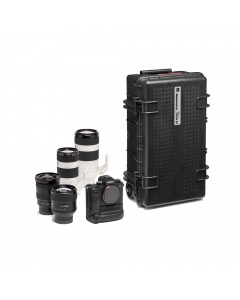
My outside location required more lens choices (all wide!), bouncers, an extra camera for BTS, and stands. I used my to carry all of this necessary equipment! I love it because it's super modular, has some of the best equipment protection in the world and it even fits my !!
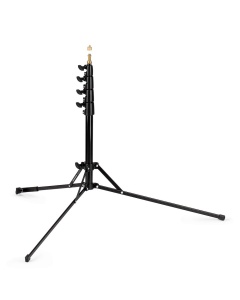
Real levitation shines when light is abundant! This gives you the option to bump your shutter speed up and lower your aperture, ending with a sharper image with more information across the board. Outside, I use Two , which are light and extremely portable for a variety of needs, making them perfect travel companions.
In one stand, I mounted a flash with a softbox, on the other, I mounted a . Which is sturdy enough to stand on its own, and comes with a 1/4th thread mount, which fits perfectly on the stand!
Extra Hand
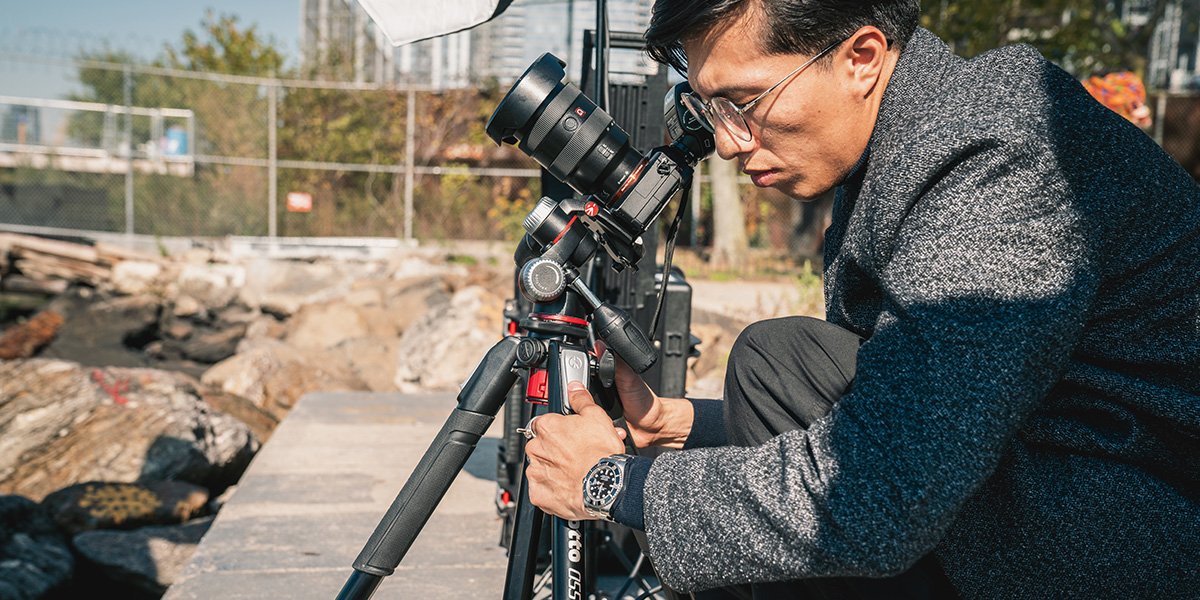
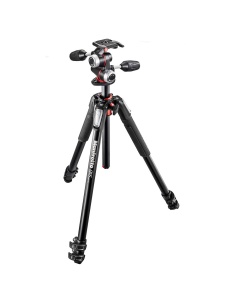
To free my hands and get the perfect shot, I use the . I’ve used this head since the beginning of my career due to its ability to do micro adjustments, helping me get the perfect angle. Adding the 055 tripod has been a game changer. Its 90°column gives me a full range of movement, freeing me to choose whatever angle I have in mind!
Finding my perfect angle
Shooting - Exterior
Test shot example
Similar to the inside imagery, we begin by taking test shots. Once we are happy with the angle of the subjects and their placement, it’s time to levitate.
Remember to find your frame before you levitate. Preparation is key. Below you will find my frames before and after. My 055 tripod kept my frames intact, helping me focus on my levitation while keeping my angle intact.
Before and After examples
Last words
Most people photoshop things in the air, but the challenge of Real Levitation Photography lies in appreciating the true beauty happening all around us. If your first images don’t come out as you wish, keep trying, because the impossible is just one shot away!
Final shot
Watch the video behind the scenes
Erick Hercules' gear
 MK055XPRO3-3W
055 kit - alu 3-section horiz. column tripod with head
| Weight | 3.5 kg |
| Maximum Height | 183 cm |
| Closed Length | 74 cm |
| Head Type | 3 Way Head |
| Safety Payload UNI/PdR 105:2021 | 12 kg |
| Maximum Height (with Center Column Down) | 153 cm |
| Base Diameter | 60 mm |
| Bubble Spirit Level (No.) | 4 |
| Carrying Bag Included | none |
| Center Column | rapid |
| Upper Disc Diameter | 60 mm |
| Colour | Black |
| Leg Sections | 3 |
| Top Attachment | 1/4″ screw |
| Easy Link | Yes |
| Friction Control | Yes |
| Front Tilt | -30° / +90° |
| Min Height | 9 cm |
| Independent Pan Lock | yes |
| Ball Locking | No |
| Independent Tilt Lock | yes |
| Lateral Tilt | -30° / +90° |
| Leg Type | Single |
| Leg Angles | 25°,46°,66°,88° |
| Leg Lock Type | Flip Lock |
| Legs Tube Diameter | 30, 26, 22.5 mm |
| Material | Aluminium |
| Maximum Working Temperature | 60 °C |
| Minimum Working Temperature | -30 °C |
| Pan Drag | NONE |
| Panoramic Rotation | 360 ° |
| Plate Type | 200PL-14 |
| Quick Release | Yes |
| Tilt Drag | NONE |
 MB PL2-BP-BL-M
PRO Light Backloader Backpack M for CSC/DSLR
| Weight | 1.89 kg |
| Minimum Weight | 1.89 kg |
| Internal Dimensions | 27 x 16 x 43 cm |
| Camera Insert Dimensions | 27 x 16 x 40 cm |
| External Dimensions | 32 x 26 x 52 cm |
| Colour | Black |
| Volume | 22.5 L |
| Tripod Connection | Yes |
| Laptop Compartment Dimensions | 25 x 2.5 x 42 cm |
| Material | Nylon, Synthetic Fabric |
| Number of Lenses | 6 |
| Types of Gear | DSLR, DSLR with grip, Tripod, Foldable drone, Mirrorless with grip |
| Type of Bag | Backpack |
| Water Repellent | Yes |
 5002BL
Nano Plus Stand
| Weight | 1.35 kg |
| Min Height | 52 cm |
| Maximum Height | 197 cm |
| Payload | 4 kg |
| Top Attachment | 1/4″ screw, 3/8″ screw |
| Air Cushioned | No |
| Male Attachment2 | 3/8" / 1/4" |
| Load Capacity at Maximum Extension | 3 kg |
| Male Attachment | 16 |
| Closed Length | 52 cm |
| Colour | Black |
| Column Tube Diameter | 29, 26, 23, 20, 16 mm |
| Footprint Max Diameter | 105 cm |
| Leg Cross Section | rectangular |
| Leg Sections | 3 |
| Levelling Leg | 1 |
| Stand Leg Size | 15x6 mm |
| Weight | 1.4 kg |
| Material Base | Aluminium |
| Material column | Aluminium |
 MB PL-RL-TH55-F
PRO Light Tough TH-55 HighLid Carry-on with Pre-cubed Foam
| Weight | 4.5 kg |
| Internal Dimensions | 28.5 x 20.5 x 52 cm |
| Camera Insert Dimensions | 26 x 14 x 50 cm |
| External Dimensions | 35 x 22.5 x 55 cm |
| Colour | Black |
| Volume | 30 L |
| Tripod Connection | No |
| Material | Plastic |
| Number of Lenses | 8 |
| Storage for personal items | No |
| Types of Gear | DSLR with grip, Foldable drone, Modular Camcorder, DSLR/mirrorless handheld gimbal |
| Type of Bag | Roller |
| Water Repellent | Yes |
 MB PL-RL-TH-TR
PRO Light Tough Tripod Bag for Manfrotto Tough Hard Cases
| Weight | 0.54 kg |
| Minimum Weight | 0.54 kg |
| Internal Dimensions | 18 x 10 x 88 cm |
| External Dimensions | 20 x 12 x 91.5 cm |
| Colour | Black |
| Volume | 11.5 L |
| Material | Nylon, Synthetic Fabric |
| Tripod Compartment Dimensions | 18 x 10 x 88 cm |
| Types of Gear | Tripod |
| Type of Bag | Carrying Solution |
| Water Repellent | Yes |
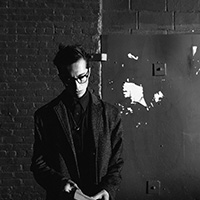
Erick Hercules| author
Erick Hercules’ photography has inspired a generation of digital photographers to capture moments without photoshop, spearheading a new technique highlighting surrealism within reality. In less than a decade, Erick has managed to help redefine footwear and lifestyle photography and his subject and angles choices have become viral ideas that transcend digital media.
Erick is currently a Fine Art & Commercial Photographer and Creative Director