


Explore the creative process of professional photographers and filmmakers. Compositing in Still Life Photography by Marco Tortato.
CONCEPT
With a background in commercial still life, I’ve had the opportunity to work at several complex projects of product photography many of which involving bottles, wine, liquids, and other “difficult” items to deal with. I am very passionate about narration and creativity, so when it comes to still life, I like very often to add action to improve the image storytelling effect.

So, it’s not uncommon for me to have in my works liquids splashing, powders exploding, products flying or on the verge of falling. This usually spices up the overall impact of the image on the viewers and creates that sort of interest and attention that today is required by brands in order to be noticed, in a world where the images are in such an overwhelming number and the time, we look at them is usually so short, that they tend to all look alike.
In all these occasions, compositing is definitely the way to go, the perfect solution to make my creative ideas come real.
TECHNIQUE
It is not a new or a secret technique among professionals. However, it is often overlooked by most beginners or amateurs’ photographers. It involves combining multiple images or elements to create a final image that may not be achievable in a single shot. It gives photographers greater control over their final image and allows them to push the boundaries of creativity.
What are the scenarios in which compositing can be useful?
- Product Photography: In product photography, compositing can be used to create perfect arrangements of products by combining multiple images. This allows you to control the placement of each item precisely and ensure everything looks flawless.
- Lighting Control: Compositing allows you to separately light different elements of your still life scene and then combine them into a single image. This can be useful for achieving complex lighting setups or creating dramatic effects.
- Creative Effects: Compositing opens endless possibilities for creating surreal or fantastical still life images. You can combine elements from multiple photos to create imaginative scenes that go beyond what is possible.
- Removing Unwanted Elements: Sometimes, despite careful staging and composition, there may still be unwanted elements in your image. Compositing can be used to remove these distractions by replacing parts of the image with clean backgrounds or other elements.
COMPOSITION
To show how this technique works, I’ll use two recent works.
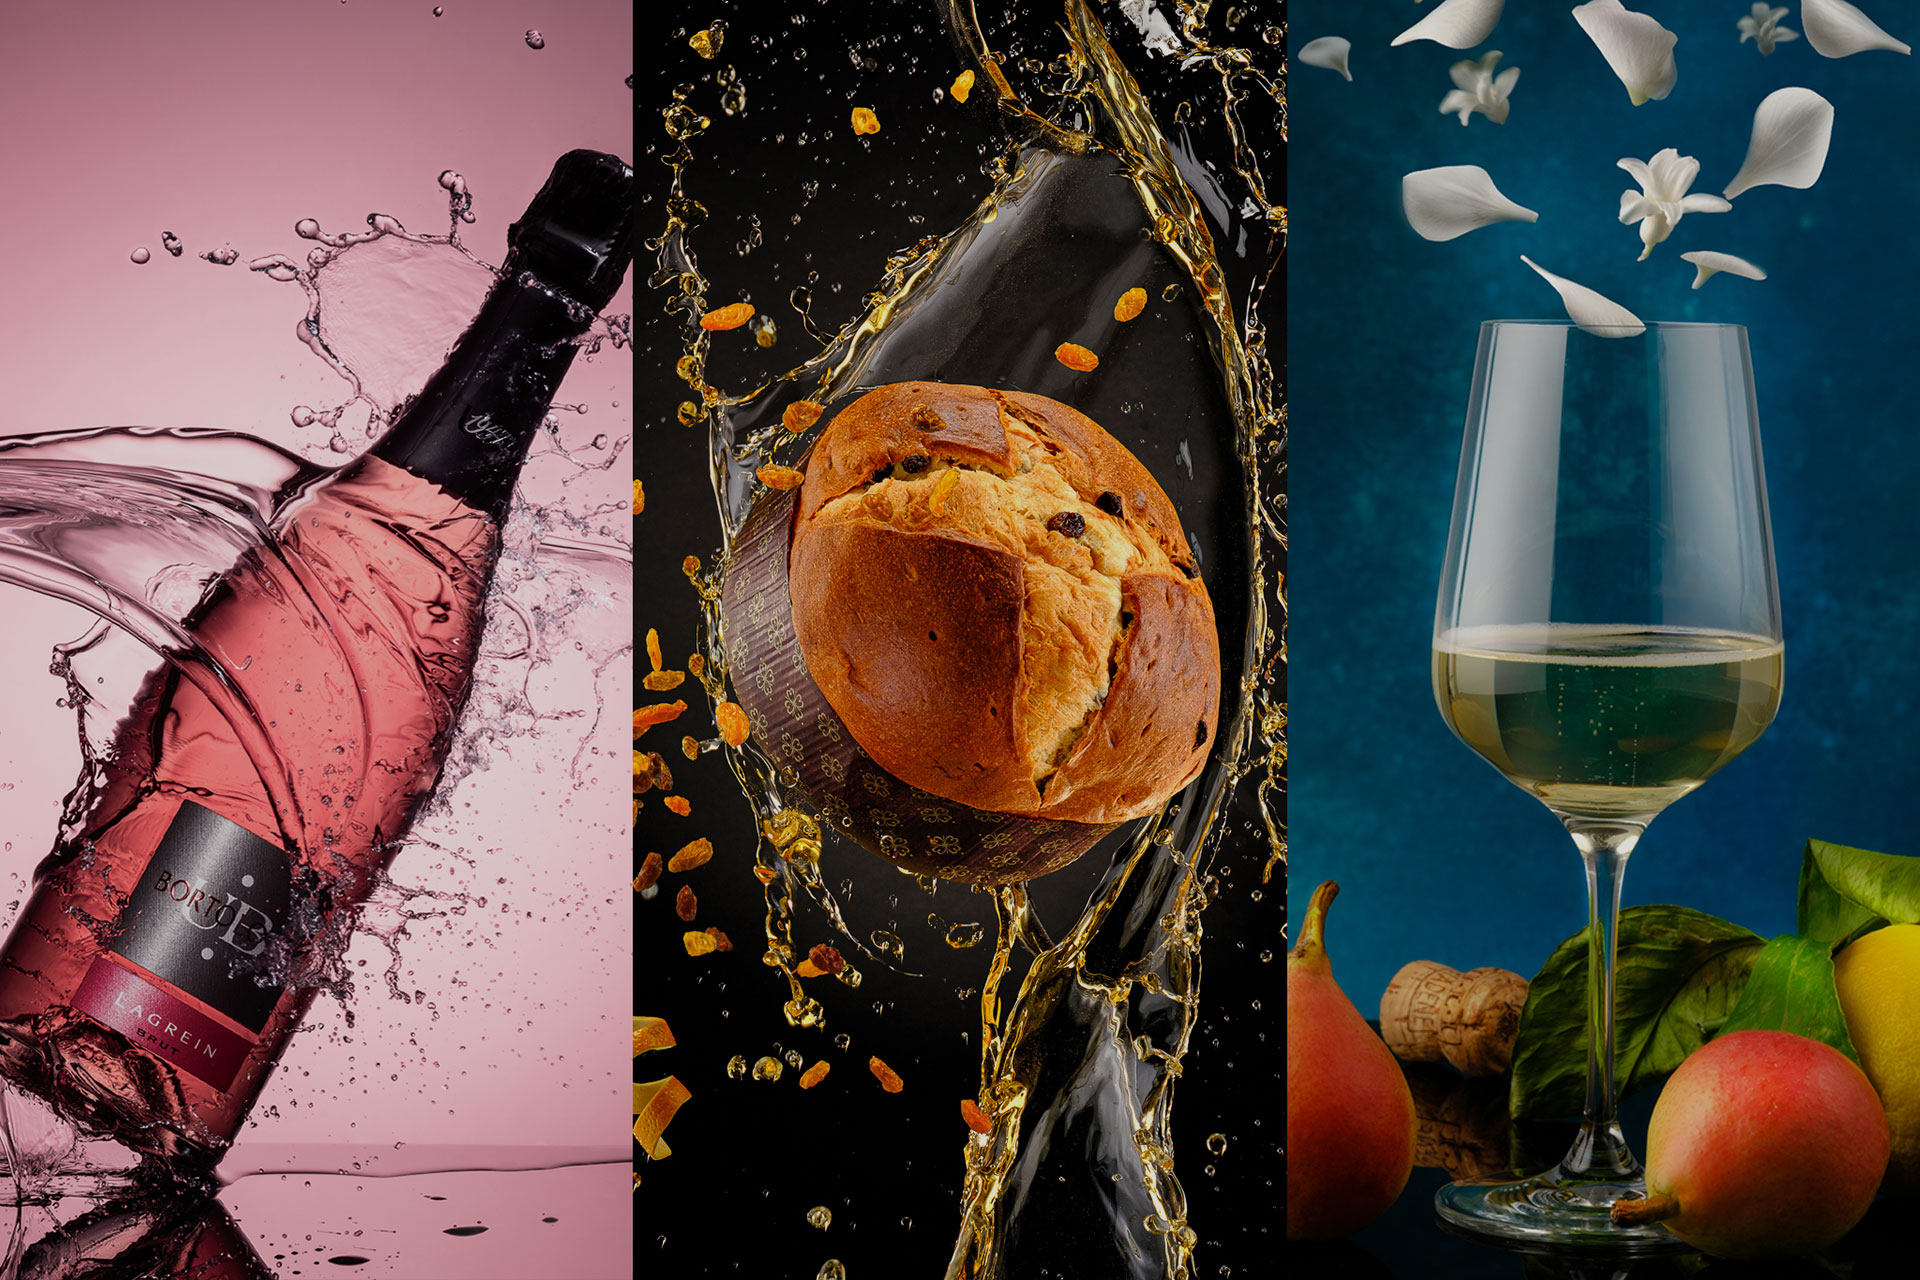
In the first image the moving wine in the glass adds a dynamic twist to the movement already created by the bottle hanging in balance. A double visual stimulus used to trigger other senses, specifically touch and hearing.
The other one, instead, is built to be a metaphor. Creatively we use white flowers and petals to simulate the scents of the wine in the viewers. They are composed to imitate the flow of fragrances coming out of the glass and expanding in the air. Again, a visual stimulus is used to touch other senses and to create a more vivid involvement of the audience, with the goal to catch their attention.
Final shot


SETUP, SHOOTING AND COMPOSITION
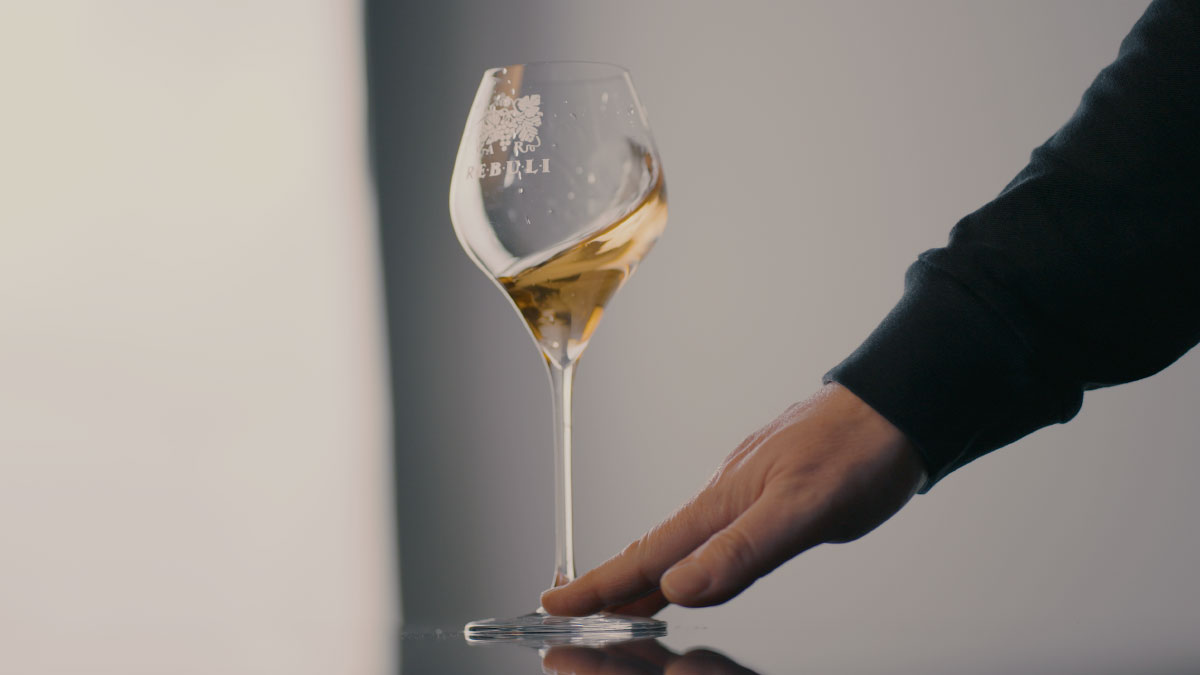
In both images we didn’t touch the light setting. But we shot different frames for different parts of the image. Parts which we mounted all together in post-production. In the first case, we shot first the bottle and the empty glass. For the bottle we had to add one frame for the label and a couple for the capsule. We also took a shot of the glass filled with wine, just as a nice to have option. We then cleared the set, leaving there just the glass, and we shot it as we were stirring it.

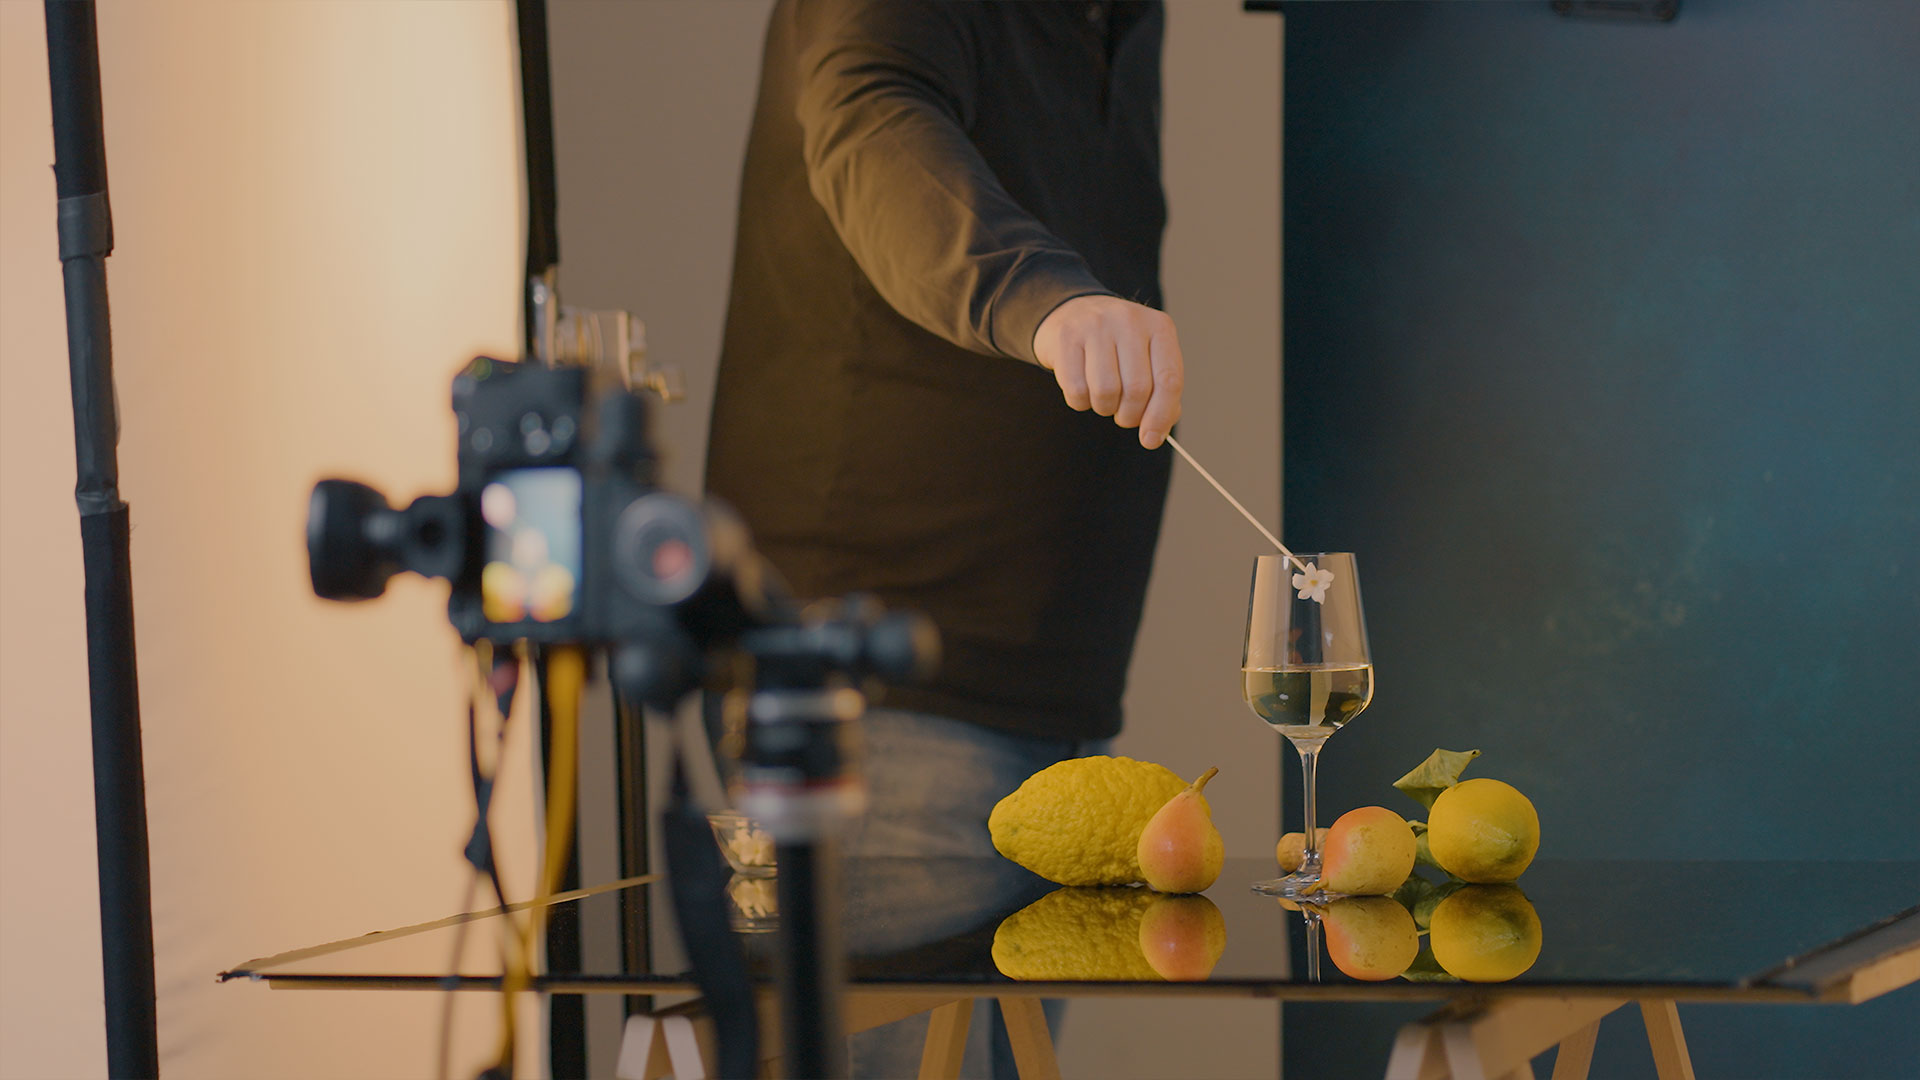
The second photograph instead is the result of much more images combined together. To be precise one for each petal and little flower. The post-production, as a consequence, has been much longer and in a way creative, in order to arrange all the little pieces in the right place.
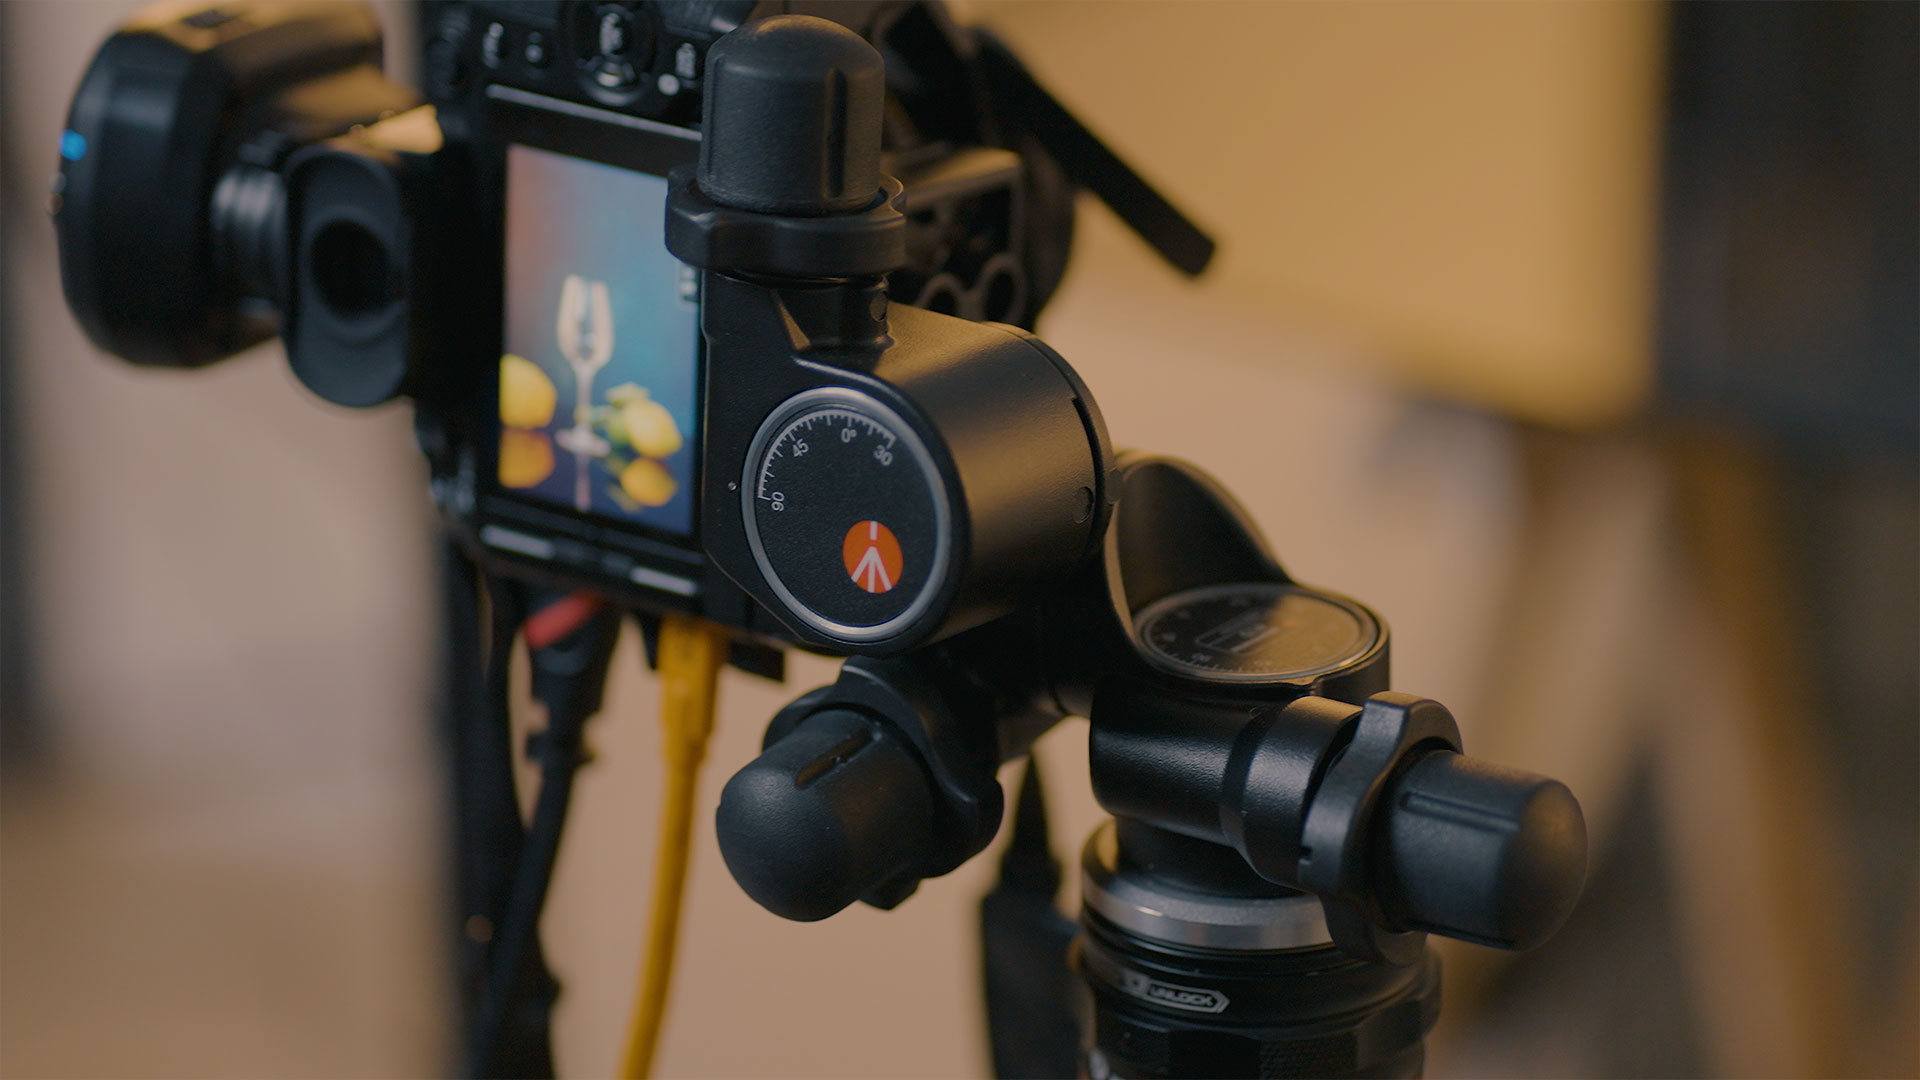
WHY A TRIPOD IS MANDATORY
Needless to say, that in all this one really crucial aspect to keep in mind is that you must shoot on a tripod.
For several reasons:
- Consistency: When creating a composite image from multiple photographs, it's essential that each individual shot is taken from the same perspective and angle. Using a tripod ensures that your camera remains steady and fixed in position, resulting in consistent framing and alignment across all images.
- Alignment: To seamlessly blend multiple images together in post-processing, they need to align perfectly. Any slight movement or shift in perspective can make it difficult to align the elements accurately. A tripod minimizes camera movement, making it easier to match up the different layers during the compositing process.
- Sharpness: To achieve optimal image quality, especially in scenarios like focus stacking, where multiple images are combined to increase depth of field, it's crucial that each individual shot is sharp and free from blur. Using a tripod helps eliminate camera shake, resulting in sharper images.
- Controlled Composition: Still life photography often involves meticulous composition and arrangement of elements within the frame. By using a tripod, you can carefully compose your shot and make precise adjustments without worrying about the camera shifting position unintentionally.
- Ease of Post-Processing: Working with images captured on a tripod makes the post-processing workflow smoother and more efficient. Since all the images have consistent framing and alignment, it's easier to blend them together seamlessly and achieve the desired composite result.
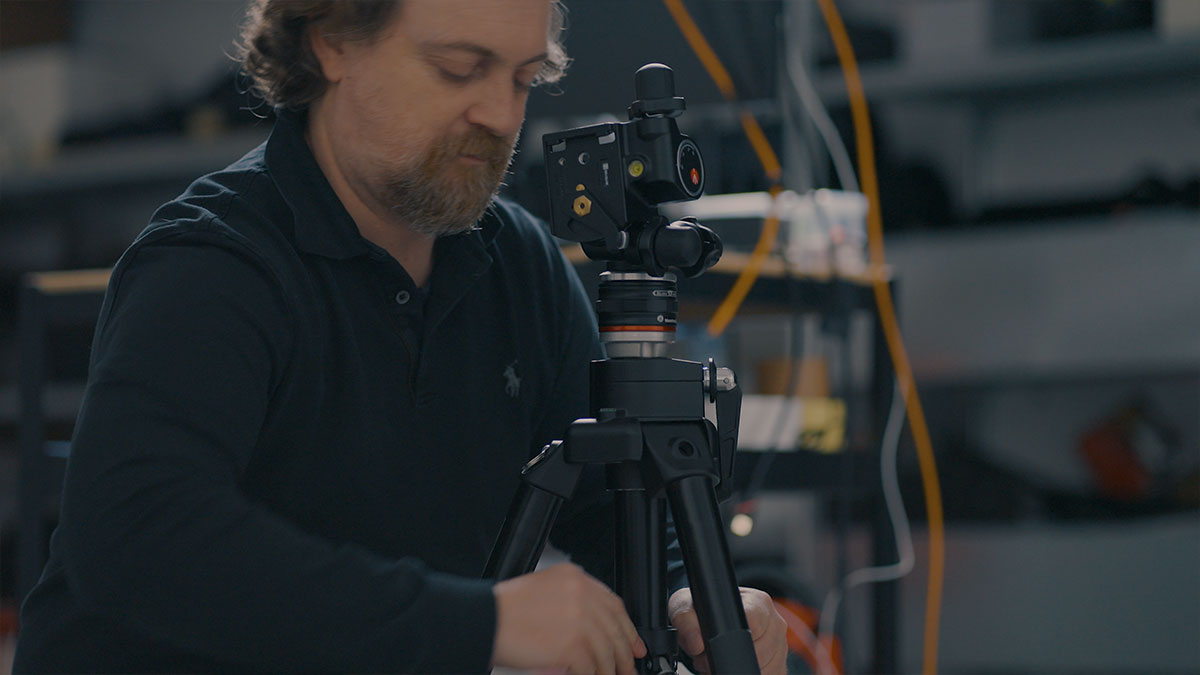
As a professional photographer I don’t just need to master the techniques, such as compositing, but I also need to have all the right tools that allow me to be consistent in quality and results. I am a Fujifilm X-Photographer so as for cameras I have full support from a long tradition of great camera production. I have a wide choice of lighting systems and other accessories. However, when I do this special genre of photography, my tripod must be the most accountable piece of the pack, because without it the result wouldn’t be so astonishing.
GEAR USED
So what is important about my tripod?
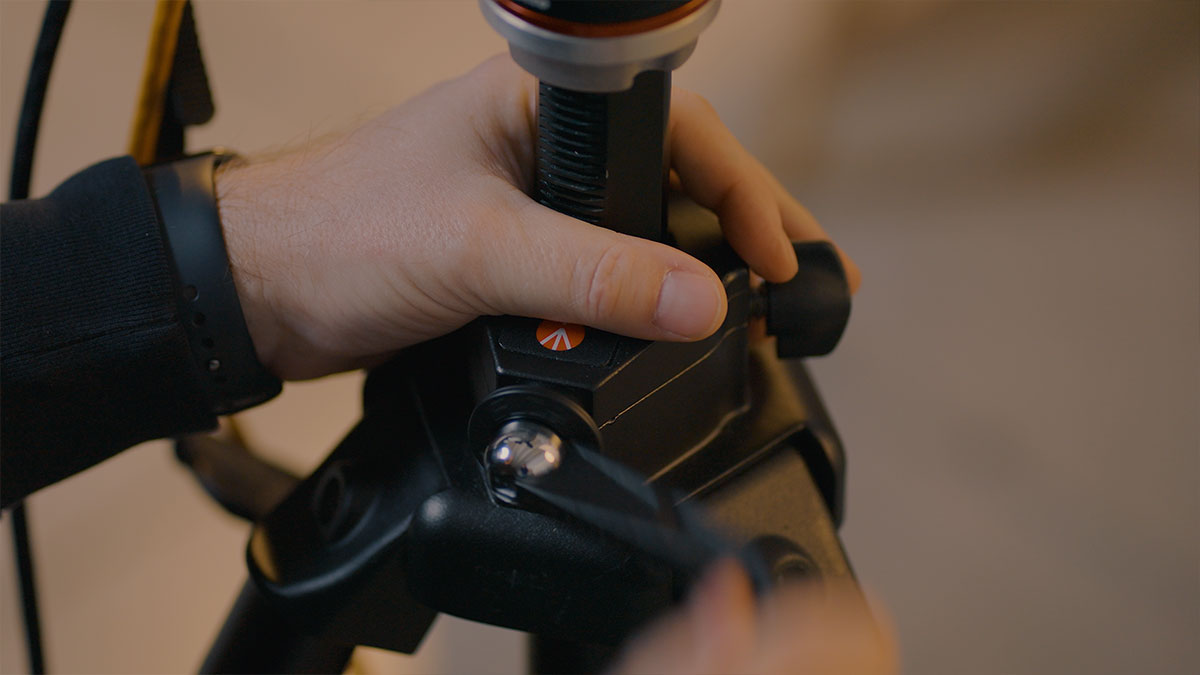
It have to be part of a system, be rock solid, be flexible and support my work in every situation I need it to. That’s the reason why in my studio stands out my with the mighty . They are faithful work mates. The tripod is a professional steel heavy tripod with geared central column, so even if you trip on it, it hardly moves, which is a great thing. Moreover, it reaches 267 cm as its maximum height, which is very useful in several situation, most importantly lay flat photography. Regardless its size, it also can go down as low as 44 cm, again a great thing.
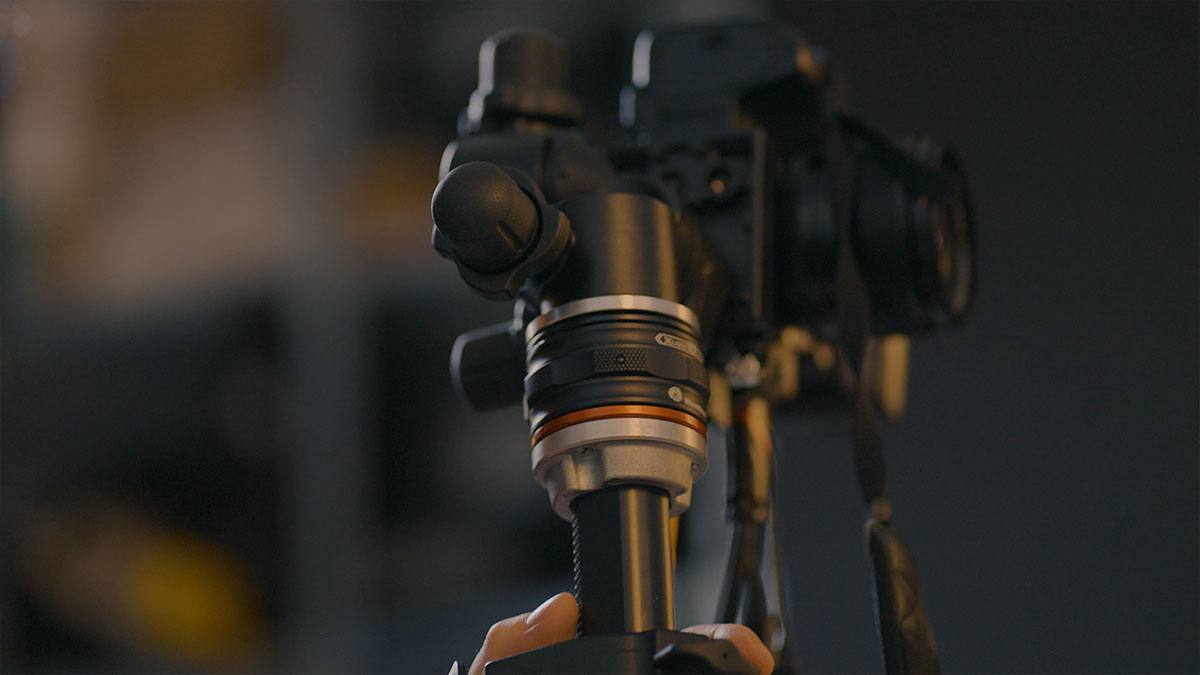
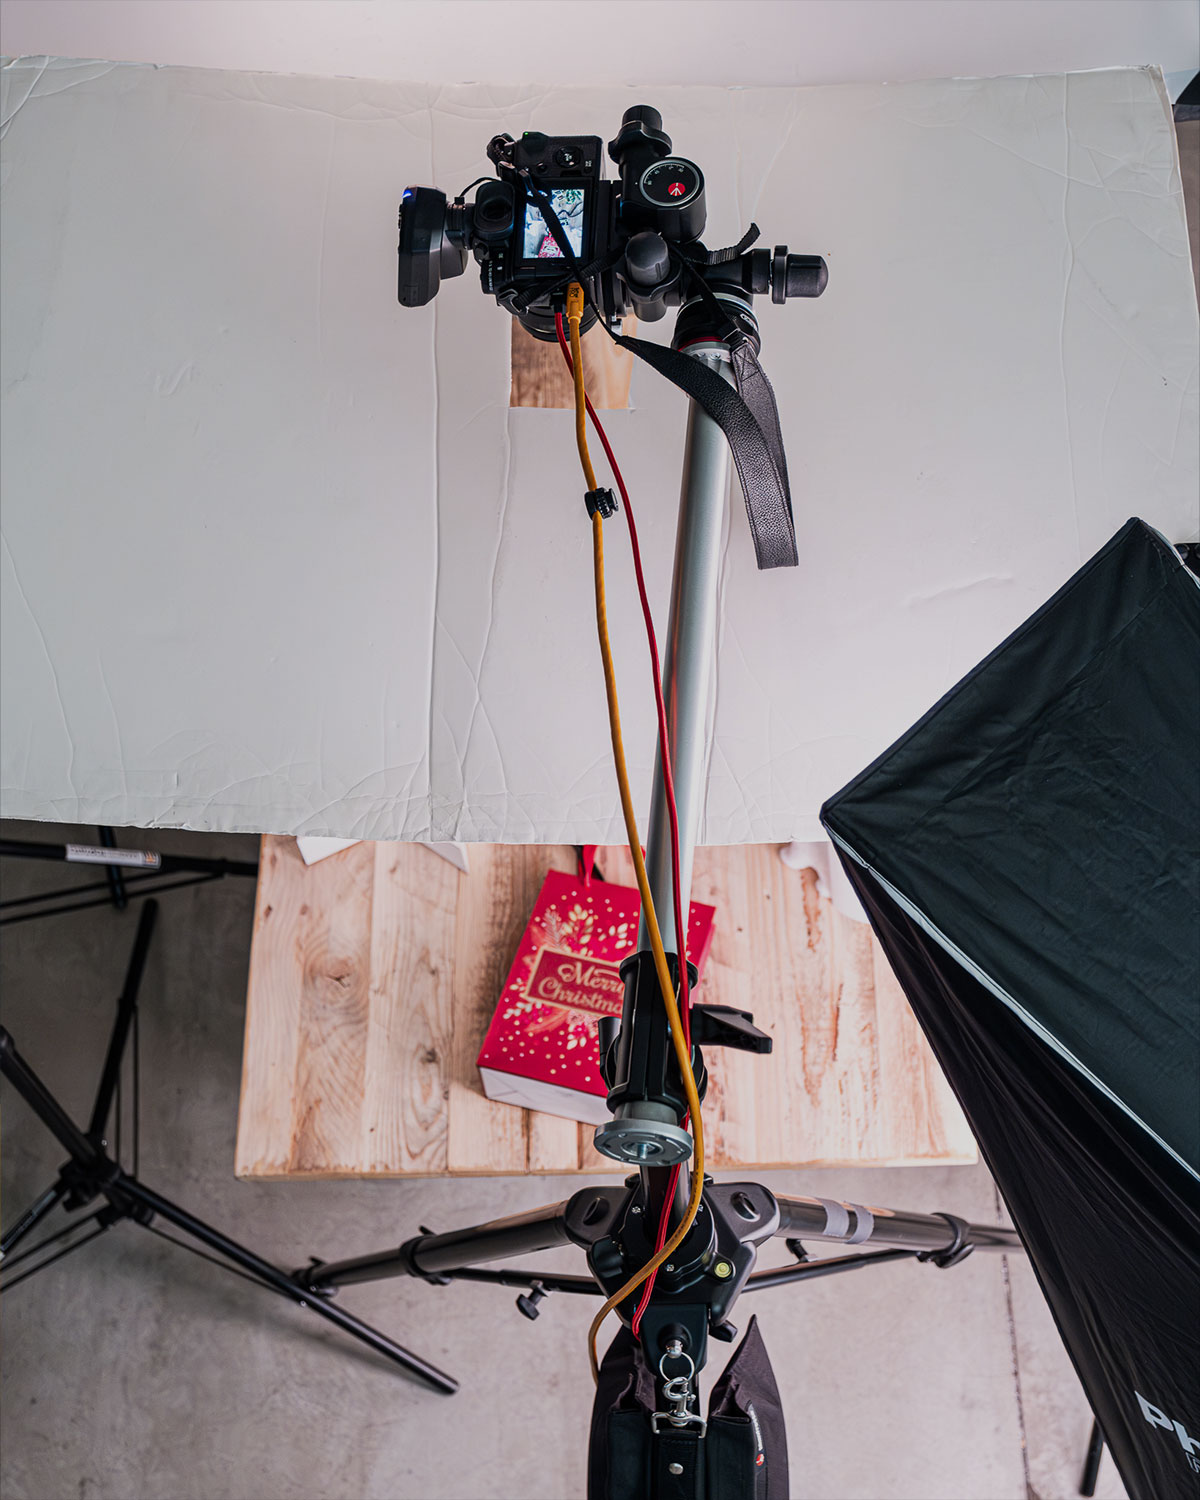
In addition to all that, I must say, a plus is, as I mentioned, the system of products that Manfrotto offer. It allows me to have a great lay flat solution with the , that I easily connect to my tripod and head now with the new device. A small piece of equipment, but so helpful that once you got it you’ll never do anything without it. It is a set of two pieces: goes on top your tripod and one at the base of your head. I have two of these sets, and one is attached also to the base of the 131D arm, and the other to one of its head connections. The locking system is a quick release which allows you to switch from one setup to another in just the time of a twist of the hand. No more unscrewing of the head and screwing it back to the arm, but just a very simple and no-effort-involved twist of your hand. One might think that it’s not a solid and sturdy connection, but I must say, after almost a year I have been using it, it never failed me.
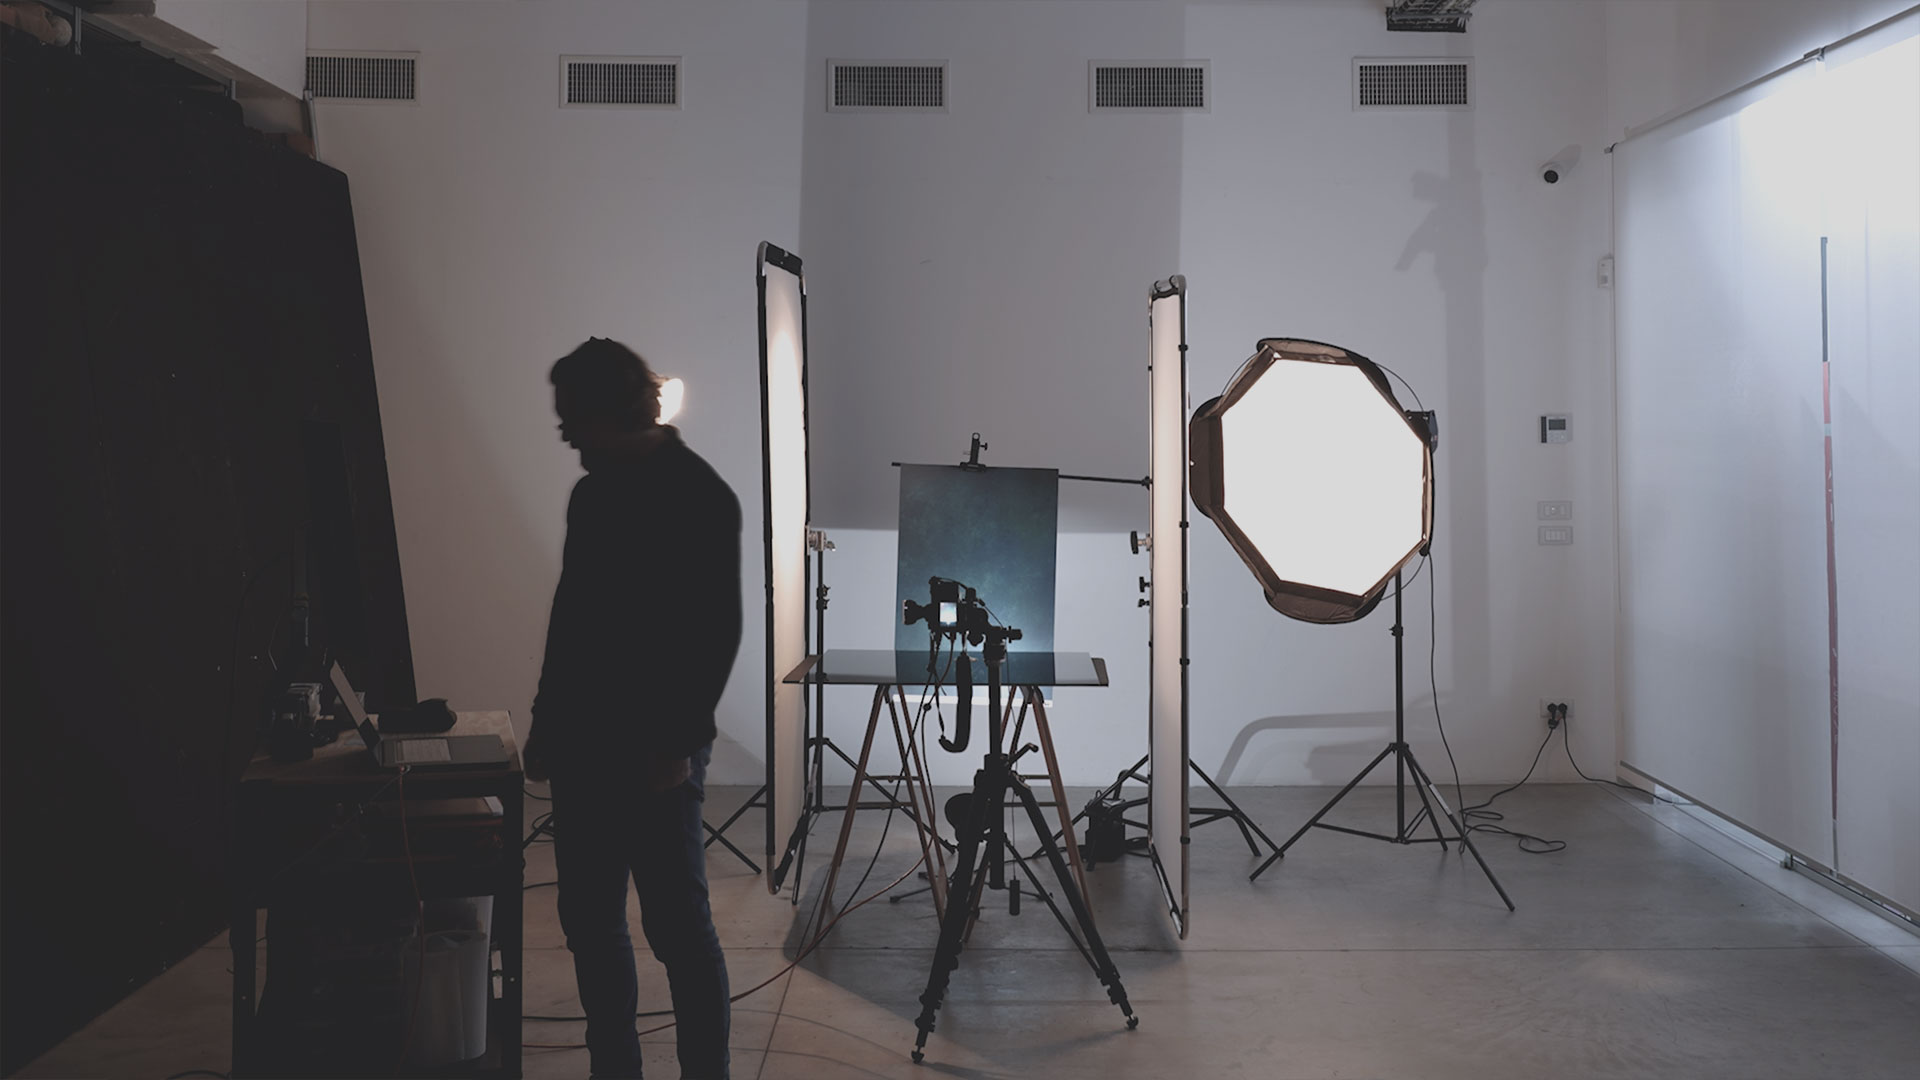
I deal every day with a work environment that sometimes gets messy. Lots of lights, lots of things and different aspects to control, lots of people on the set, so the one thing I don’t want to bother me is my framing. I mean, once I decide how the picture has to be framed, I need my camera to stay still there exactly where I decided. In addition, I usually shoot tethered and connected to a monitor that shows what the camera sees. Which means two cables sticking out of the camera: one going to the monitor and one to the tethered computer. Due to this, having the camera solid still on its support is paramount.
Gear used
- Save -25%
 131D
131D
Reproduction Arm, Double Camera Attachment
| Weight | 2.65 lbs |
| Accessory Size Length | 23.62 in |
- Out of Stock
 161MK2B
Black Mark II Super Professional Studio Tripod
| Weight | 19.84 lbs |
| Leg Sections | 3 |
| Maximum Height | 105.12 in |
| Min Height | 17.32 in |
| Safety Payload Weight | 44.09 lbs |
| Closed Length | 41.34 in |
| Maximum Height (with Center Column Down) | 95.28 in |
| Bubble Spirit Level (No.) | 1 |
| Carrying Bag Included | none |
| Center Column | geared |
| Upper Disc Diameter | 2.36 in |
| Top Attachment | 3/8″ screw |
| Color | Black |
| Easy Link | No |
| Leg Type | Single |
| Leg Lock Type | Turn Lock |
| Legs Tube Diameter | 1.57- 1.38- 1.18 in |
| Material | Aluminum |
| Maximum Working Temperature | 140 °F |
| Minimum Working Temperature | -22 °F |
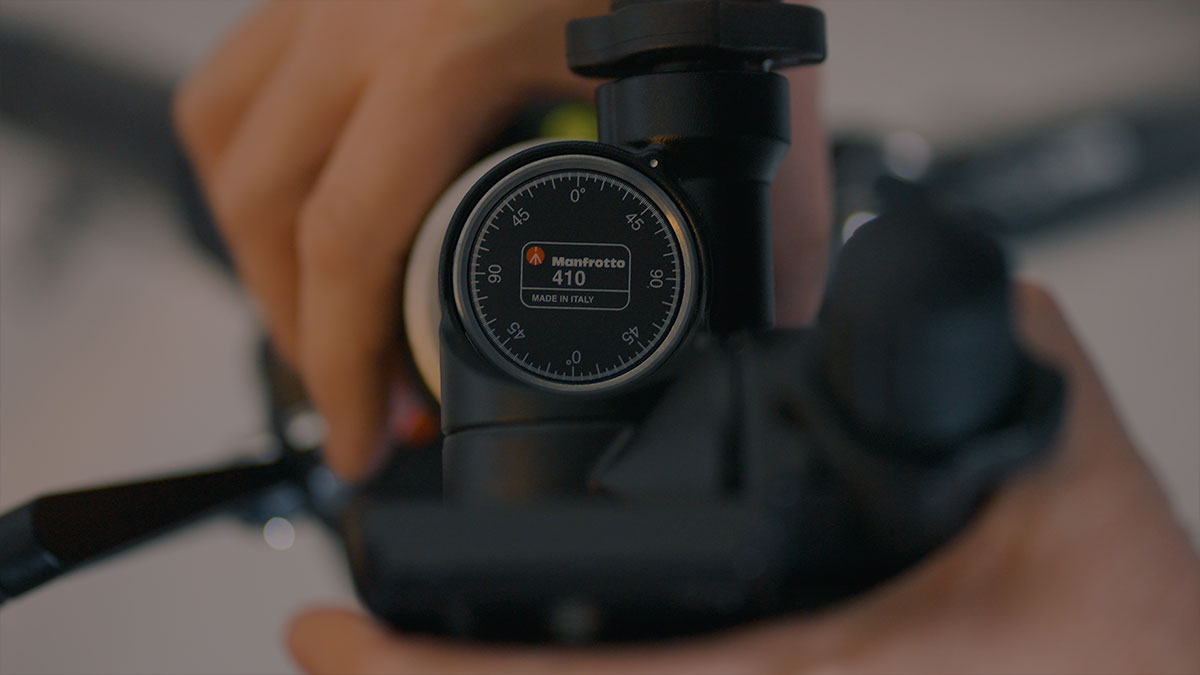
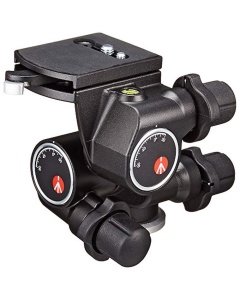 410
410
410 Junior Geared Tripod Head, easy to use ergonomic knobs
| Weight | 2.69 lbs |
| Base Diameter | 2.36 in |
| Material | Aluminum |
| Front Tilt | -30° / +90° |
| Safety Payload Weight | 11.02 lbs |
| Bubble Spirit Level (No.) | 1 |
| Plate Type | 410PL |
| Color | Black |
| Ball Locking | No |
| Top Attachment | 1/4″ screw, 3/8″ screw |
| Degrees of Rotation for Each Full Turn of Handle | 7.2 ° |
| Easy Link | No |
| Friction Control | No |
| Head Type | Geared Head |
| Independent Pan Lock | yes |
| Independent Tilt Lock | yes |
| Lateral Tilt | -90° / +30° |
| Maximum Working Temperature | 140 °F |
| Minimum Working Temperature | -22 °F |
| Pan Bar Included | No |
| Pan Drag | NONE |
| Panoramic Rotation | 360 ° |
| Quick Release | Yes |
| Tilt Drag | NONE |
| Working Height | 5.12 in |
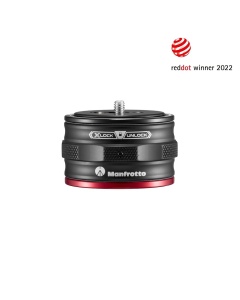 MVAQR
MVAQR
MOVE Quick release system
| Weight | 0.49 lbs |
| Material | Aluminum |
| Accessory Size Height | 1.5 in |
| Safety Payload Weight | 44.09 lbs |
| Base Diameter | 2.36 in |